Forest Temple Remake Guide: Keys, Bow & Phantom Ganon
Follow the Switch 2 Forest Temple guide through key chests, the Fairy Bow, Poe flames, basement puzzles and Phantom Ganon, with step-by-step images.
Where should I resume?
Follow the key chests and block room to the Fairy Bow, restore the four ghost flames, then solve the basement and face Phantom Ganon. The 13 illustrated steps below use the same source-based instructions as the map; select the room where you are stuck.
- Get the first two keys
- Drain the well and collect the map
- Build the block staircase
- Win the Fairy Bow
- Restore the red flame
- Straighten the corridor for the Boss Key
- Get the hand-room key and return upstairs
- Restore the blue flame
- Melt the frozen eye
- Cross the falling ceiling and solve the portrait
- Identify the last ghost
- Rotate the basement and melt its target
- Defeat Phantom Ganon and leave
How do I finish this chapter?
Walkthrough · 1 / 13
Get the first two keys
Forest Temple
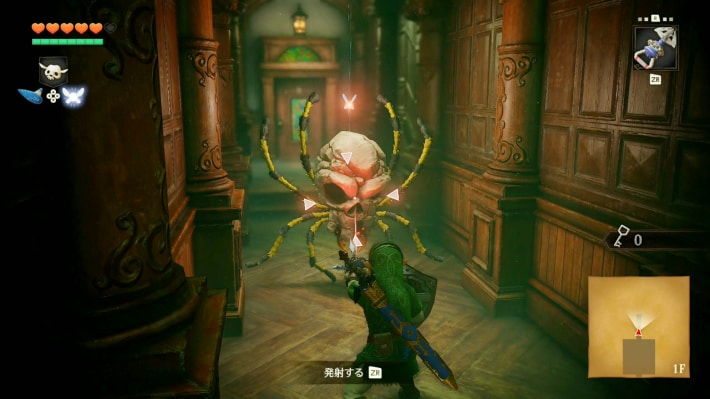
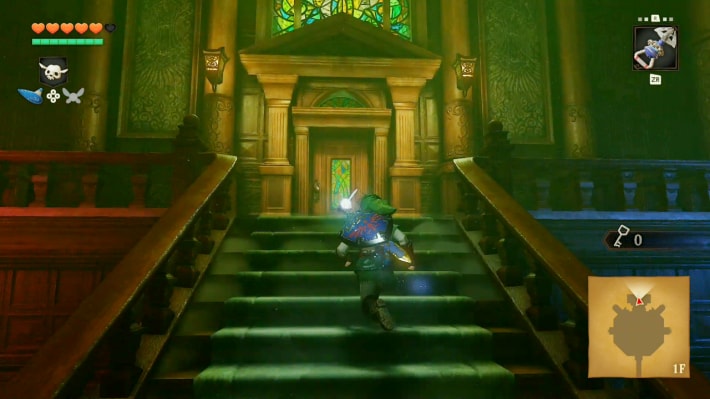
- Climb the right-hand vines in the entrance room and cross the branches to the key chest. Drop down and enter the main hall; after the flame theft, go straight north and defeat the Stalfos for another key.
Could not save. Export your records before leaving.
Source maps and images
GameWith · 2026-11-06Source-based guide · individual gameplay conditions may need verification Maps and screenshots retain their source attribution. Third-party ownership and reuse terms are unchanged.
Step location is described in the guide; no precise map marker is available.
Walkthrough · 2 / 13
Drain the well and collect the map
Forest Temple
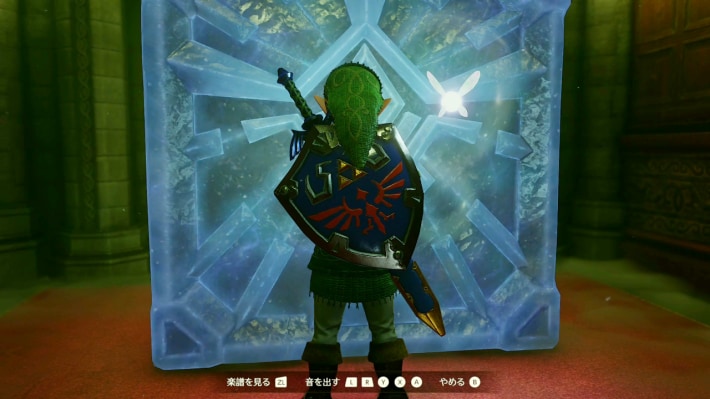
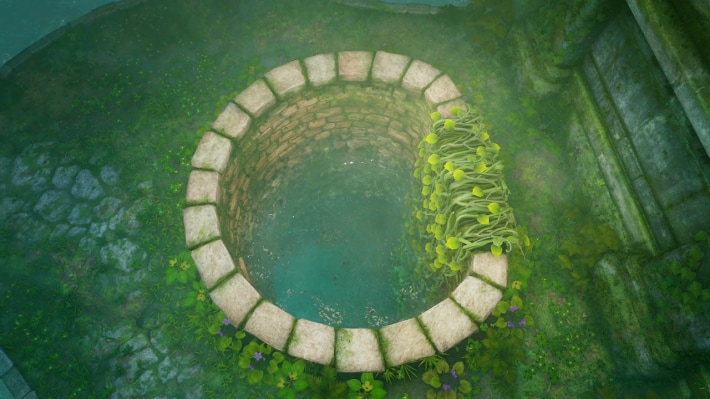
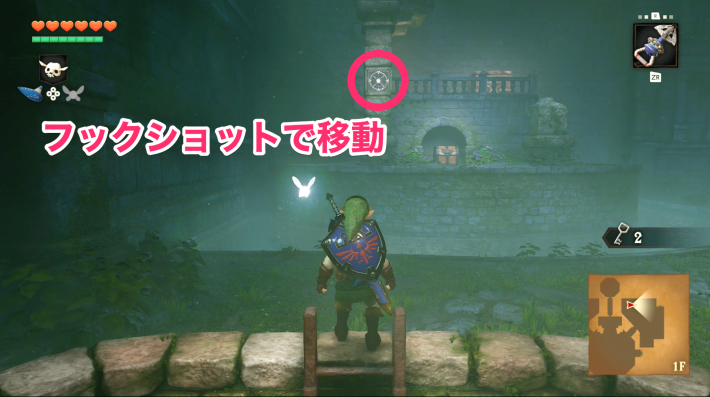
- Return to the hall and open the northwest passage with the Song of Time. Clear spiders from the right vines, climb to the midway ledge and Hookshot north. Press the switch, descend the drained well for its key, climb the far ladder and Hookshot to the map chest. The next floor switch reopens the hall.
Could not save. Export your records before leaving.
Source maps and images
GameWith · 2026-11-06Source-based guide · individual gameplay conditions may need verification Maps and screenshots retain their source attribution. Third-party ownership and reuse terms are unchanged.
Step location is described in the guide; no precise map marker is available.
Walkthrough · 3 / 13
Build the block staircase
Forest Temple
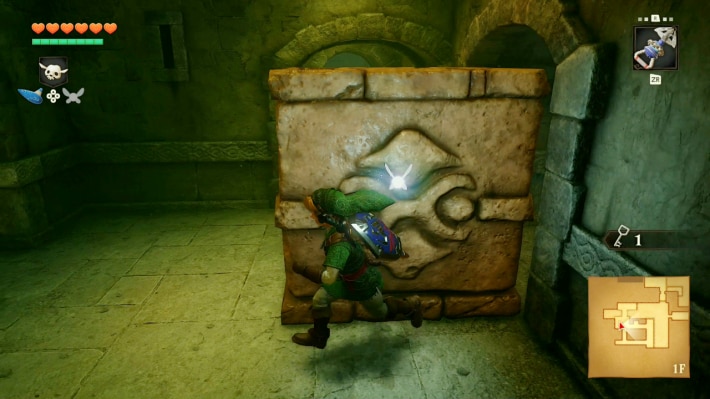
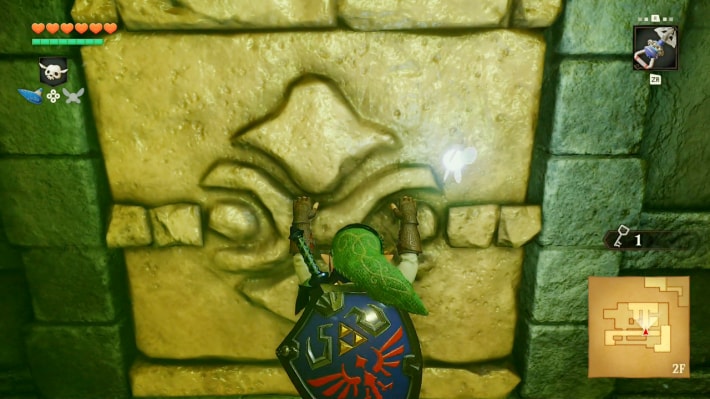
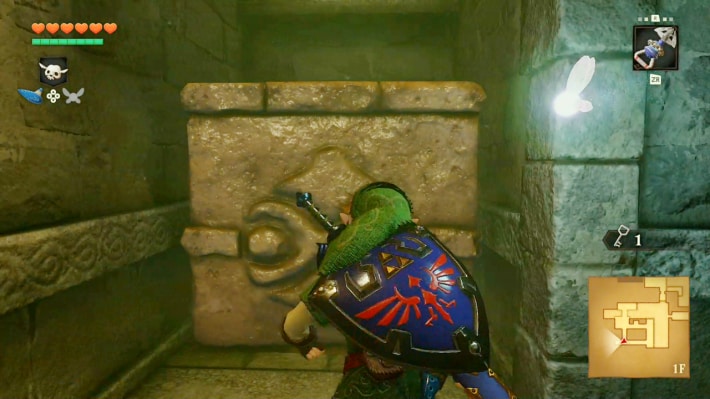
- Enter the west hall door and climb its ladders. Pull the first block along the arrows; use the ladder it concealed and push the upper block fully along the right corridor. Return below, push the first block into its socket and climb it; push the second into its socket and climb to the locked twisted corridor.
Could not save. Export your records before leaving.
Source maps and images
GameWith · 2026-11-06Source-based guide · individual gameplay conditions may need verification Maps and screenshots retain their source attribution. Third-party ownership and reuse terms are unchanged.
Step location is described in the guide; no precise map marker is available.
Walkthrough · 4 / 13
Win the Fairy Bow
Forest Temple
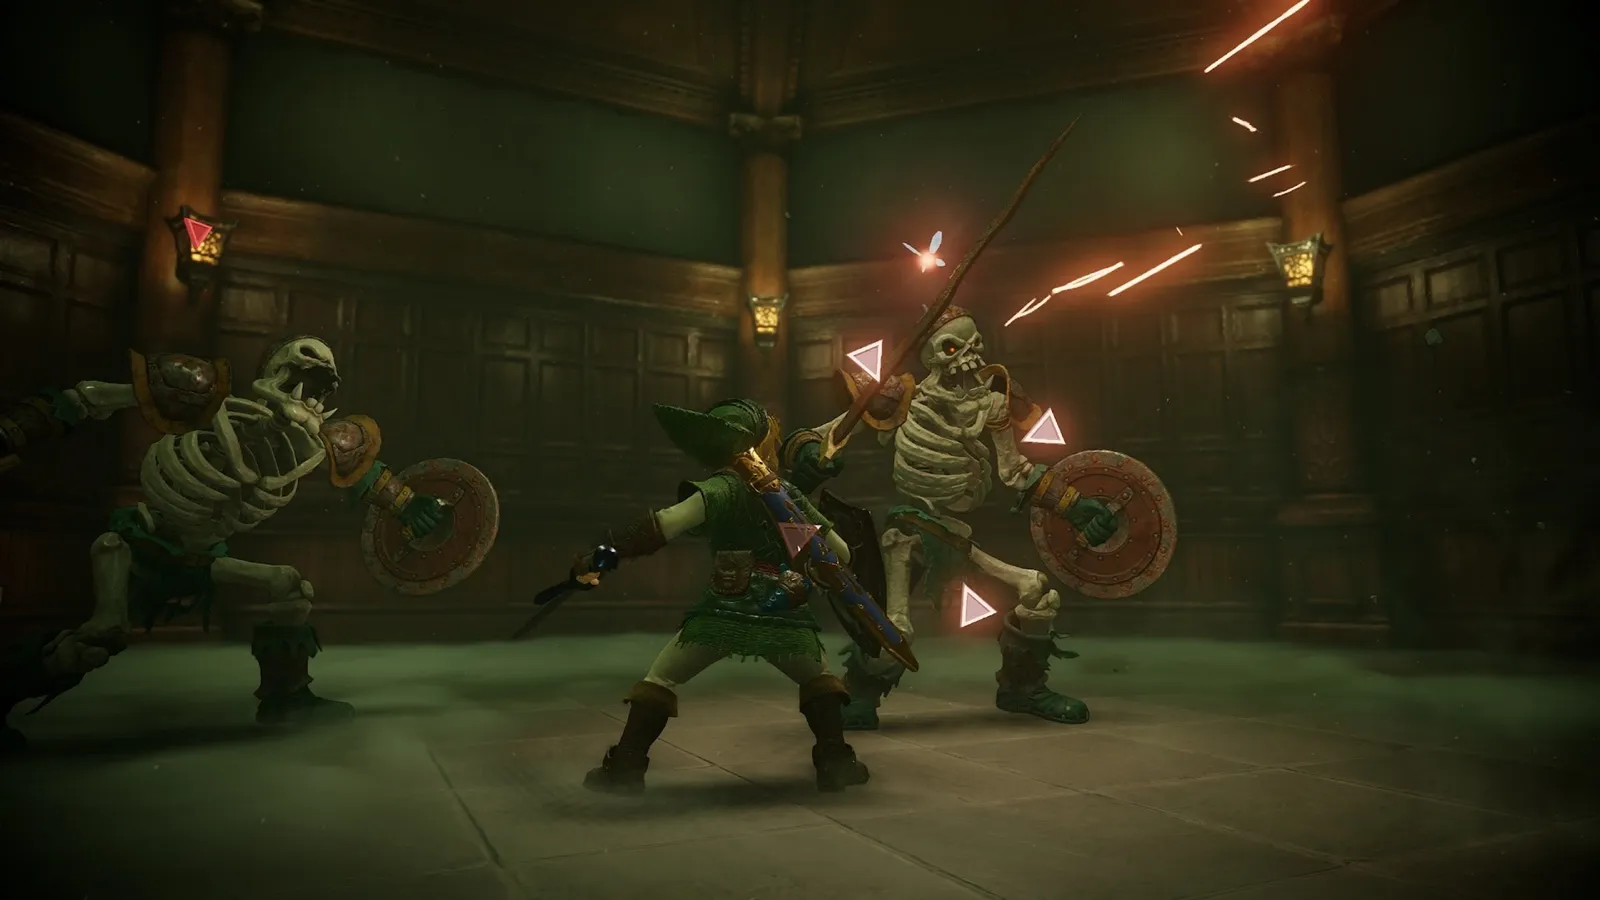
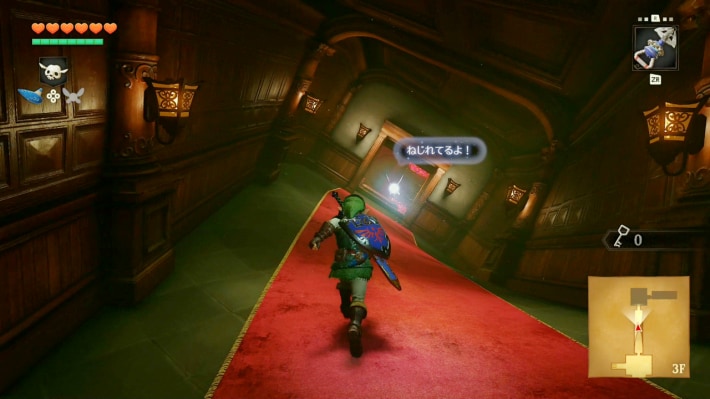
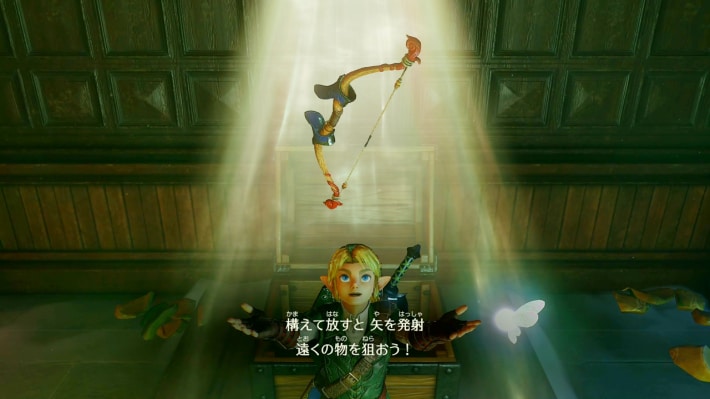
- Unlock and cross the twisted corridor; hurry into the room on the right before the ceiling hand grabs you. Descend the stairs and defeat one Stalfos, then the pair that follows. Stay out of the central poison pool and open the bow chest.
Could not save. Export your records before leaving.
Source maps and images
GameWith · 2026-11-06Source-based guide · individual gameplay conditions may need verification Maps and screenshots retain their source attribution. Third-party ownership and reuse terms are unchanged.
Walkthrough · 5 / 13
Restore the red flame
Forest Temple
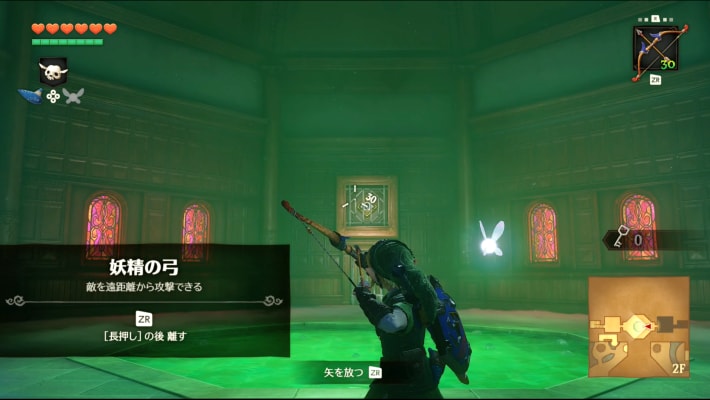
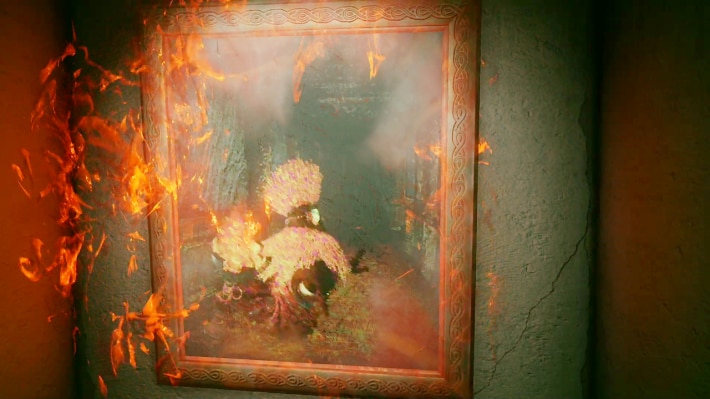
- Shoot the target over the return door. In the stair room, shoot the ghost in three portraits to make Joelle appear below. Block or dodge her charge, slash while she is tangible and collect the key after victory.
Could not save. Export your records before leaving.
Source maps and images
GameWith · 2026-11-06Source-based guide · individual gameplay conditions may need verification Maps and screenshots retain their source attribution. Third-party ownership and reuse terms are unchanged.
Step location is described in the guide; no precise map marker is available.
Walkthrough · 6 / 13
Straighten the corridor for the Boss Key
Forest Temple
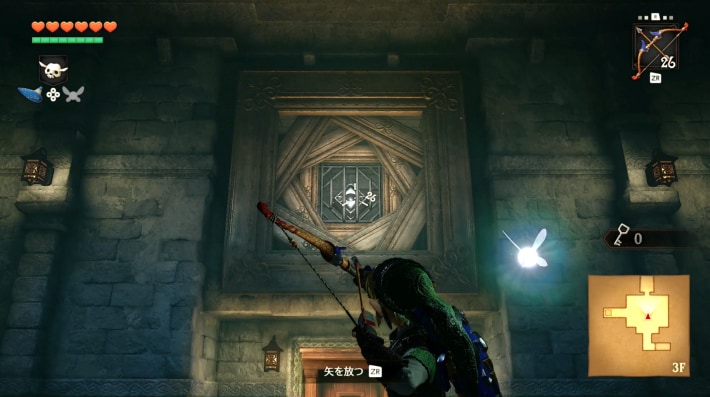
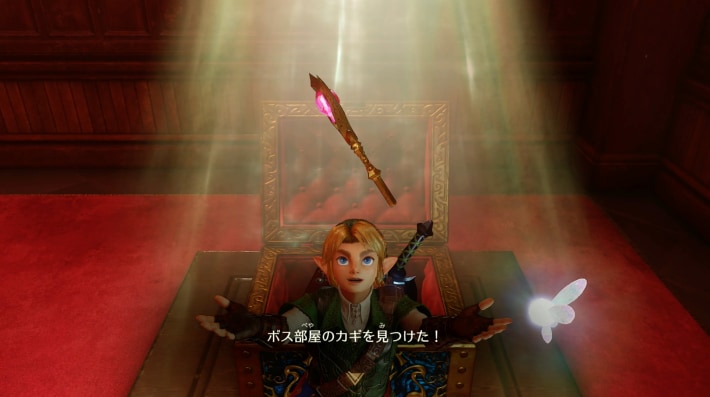
- Backtrack to the entrance of the twisted corridor and shoot the eye above its door. Cross the now-straight passage, open the floor-level Boss Key chest and drop through the hole behind it.
Could not save. Export your records before leaving.
Source maps and images
GameWith · 2026-11-06Source-based guide · individual gameplay conditions may need verification Maps and screenshots retain their source attribution. Third-party ownership and reuse terms are unchanged.
Walkthrough · 7 / 13
Get the hand-room key and return upstairs
Forest Temple
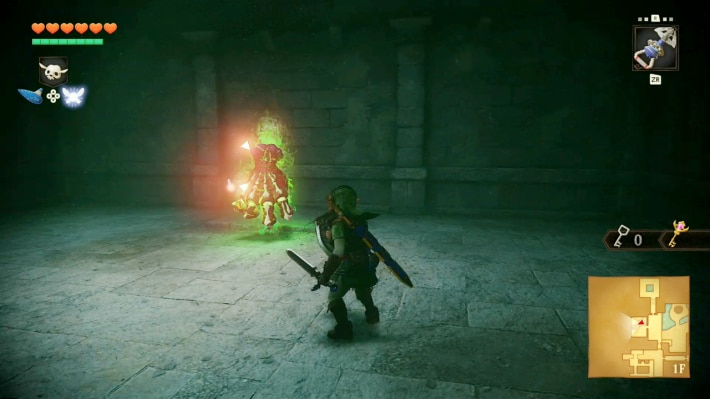
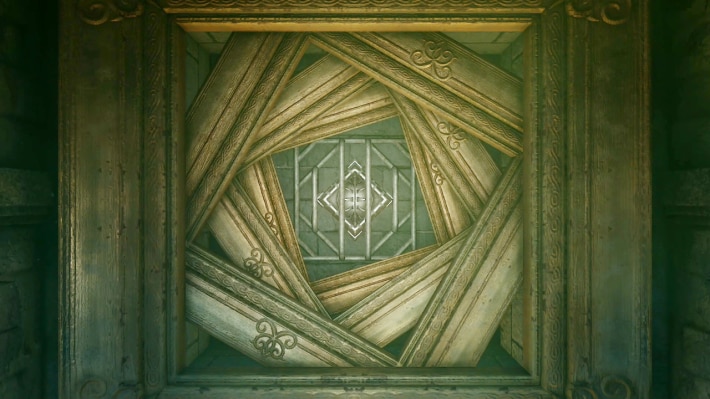
- Clear the skull enemies after landing, go onward and immediately into the right room. Block the Floormaster’s lunge, hit it and destroy all three small hands before they recombine. Take the key, exit right to the block room, climb to 3F and shoot the eye to twist the corridor again.
Could not save. Export your records before leaving.
Source maps and images
GameWith · 2026-11-06Source-based guide · individual gameplay conditions may need verification Maps and screenshots retain their source attribution. Third-party ownership and reuse terms are unchanged.
Step location is described in the guide; no precise map marker is available.
Walkthrough · 8 / 13
Restore the blue flame
Forest Temple
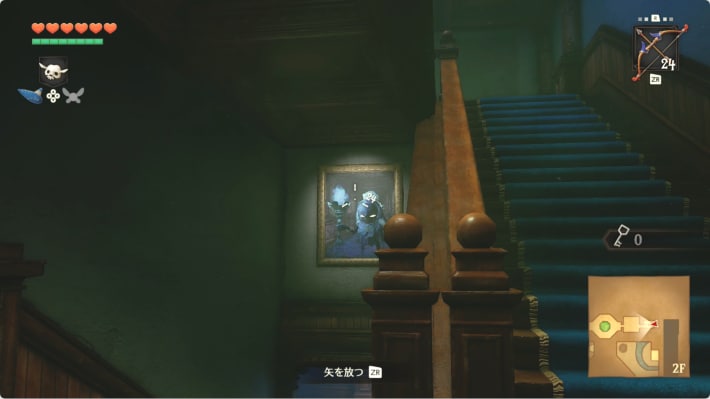
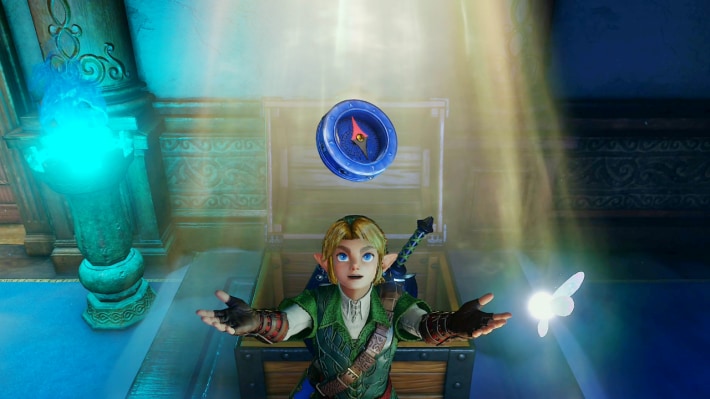
- Cross the twisted corridor and the red ghost’s room, then unlock the blue stair room. Shoot the ghost in three portraits. Beth charges twice in succession: avoid both before counterattacking. Take the Compass and climb to the top exit.
Could not save. Export your records before leaving.
Source maps and images
GameWith · 2026-11-06Source-based guide · individual gameplay conditions may need verification Maps and screenshots retain their source attribution. Third-party ownership and reuse terms are unchanged.
Step location is described in the guide; no precise map marker is available.
Walkthrough · 9 / 13
Melt the frozen eye
Forest Temple
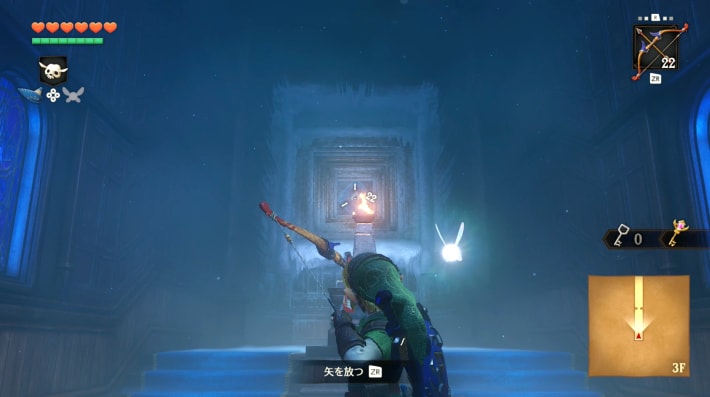
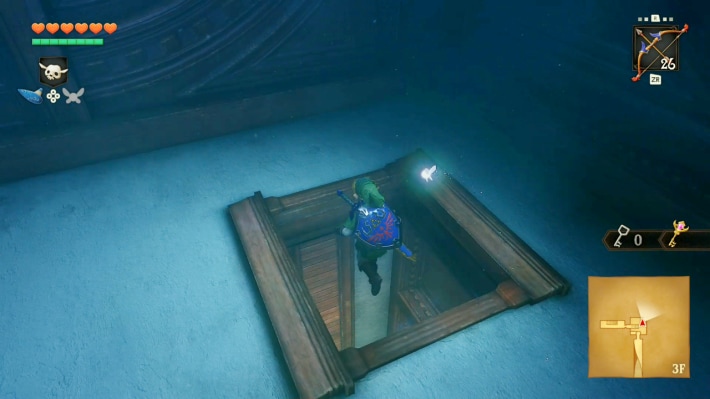
- From the upper blue-room exit, go right through the locked door. Activate the floor switch to light a flame. Shoot through that flame into the frozen target above your entrance, then shoot the thawed target again. Backtrack through the twisted passage and drop into the floor opening.
Could not save. Export your records before leaving.
Source maps and images
GameWith · 2026-11-06Source-based guide · individual gameplay conditions may need verification Maps and screenshots retain their source attribution. Third-party ownership and reuse terms are unchanged.
Step location is described in the guide; no precise map marker is available.
Walkthrough · 10 / 13
Cross the falling ceiling and solve the portrait
Forest Temple
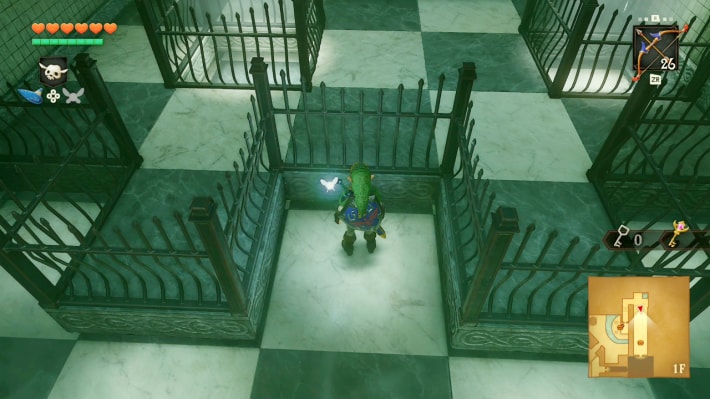
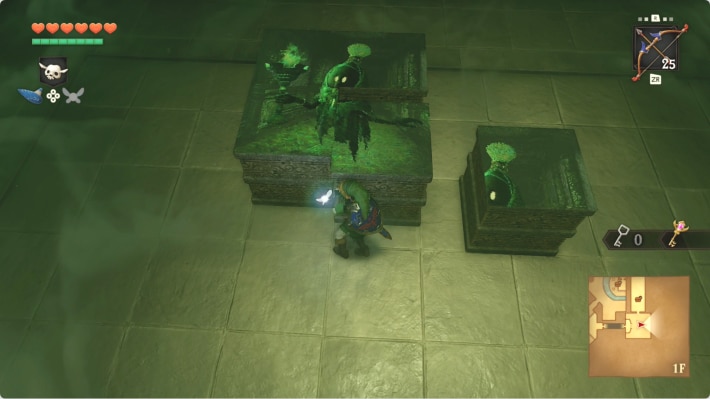
- Use the ceiling’s holes as safe spaces at the floor switch and chest, then run onward while it rises. Shoot the green portrait in the next room. Arrange four matching blocks into the picture before time expires; ignore the fifth decoy. Defeat Amy after her three-charge sequence.
Could not save. Export your records before leaving.
Source maps and images
GameWith · 2026-11-06Source-based guide · individual gameplay conditions may need verification Maps and screenshots retain their source attribution. Third-party ownership and reuse terms are unchanged.
Step location is described in the guide; no precise map marker is available.
Walkthrough · 11 / 13
Identify the last ghost
Forest Temple
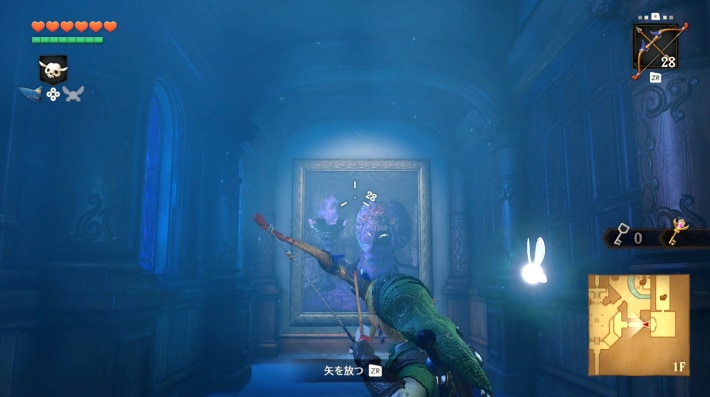
- Through the newly opened door, shoot the purple portrait and return to the hall. Meg makes four copies: in rounds one and two, target the one holding the purple torch; in round three, target the one with wide-open eyes. Strike the revealed original to restore the last flame.
Could not save. Export your records before leaving.
Source maps and images
GameWith · 2026-11-06Source-based guide · individual gameplay conditions may need verification Maps and screenshots retain their source attribution. Third-party ownership and reuse terms are unchanged.
Step location is described in the guide; no precise map marker is available.
Walkthrough · 12 / 13
Rotate the basement and melt its target
Forest Temple
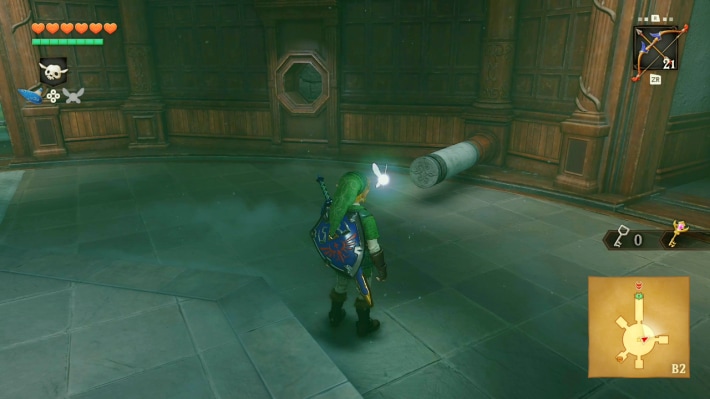
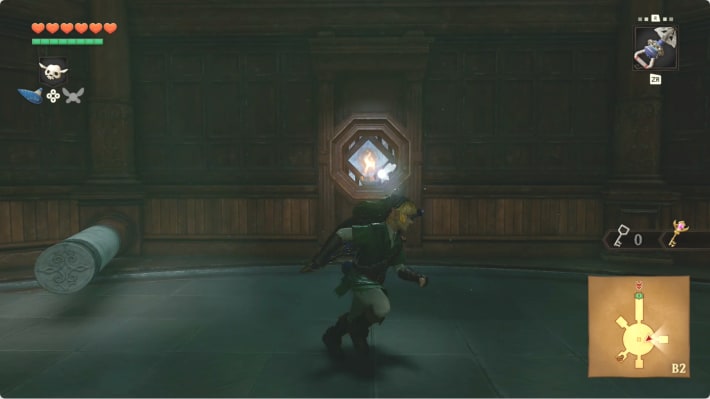
- Ride the central lift down. Push a wall handle once counterclockwise and press the switch in the northwest red room to light a wall torch. Rotate again until that flame aligns with the frozen target; shoot through the flame twice, then take the northern boss passage.
Could not save. Export your records before leaving.
Source maps and images
GameWith · 2026-11-06Source-based guide · individual gameplay conditions may need verification Maps and screenshots retain their source attribution. Third-party ownership and reuse terms are unchanged.
Step location is described in the guide; no precise map marker is available.
Walkthrough · 13 / 13
Defeat Phantom Ganon and leave
Forest Temple
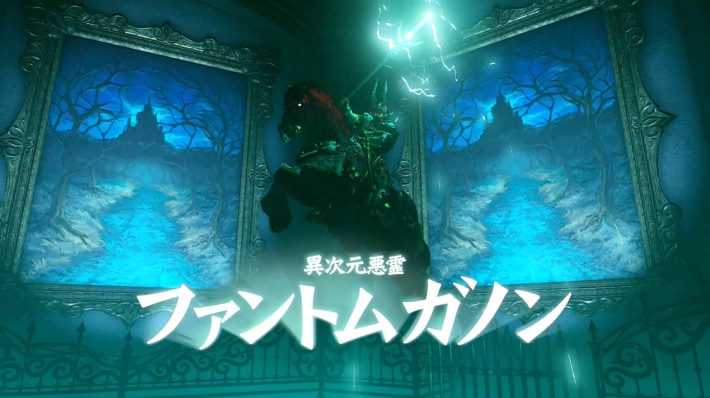
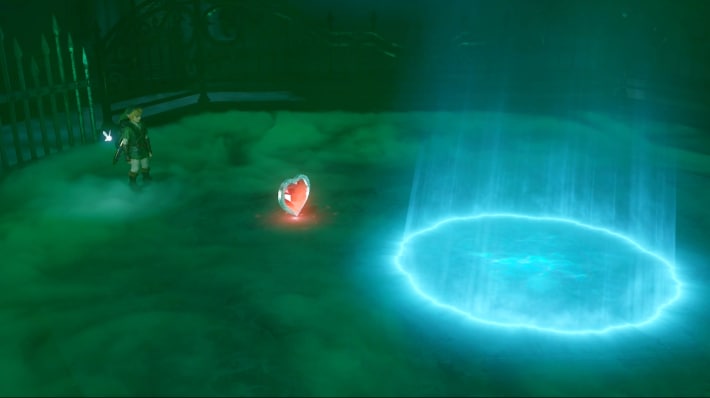
- Unlock the boss door. Shoot Phantom Ganon as he emerges from a painting; avoid the marked ground. In the floating phase, return his energy ball with the sword until it hits him, then attack. Dodge charged lunges sideways. Collect the Heart Container and warp out to receive the Forest Medallion.
Could not save. Export your records before leaving.
Source maps and images
GameWith · 2026-11-06Source-based guide · individual gameplay conditions may need verification Maps and screenshots retain their source attribution. Third-party ownership and reuse terms are unchanged.
Where do I go next?
Guide map · Walkthrough overview · Pieces of Heart · Dungeon order
What are these instructions based on?
Instructions and images are organized from the linked remake sources. This is source-based guidance, not a claim that every step has been independently playtested. Check each step’s image and conditions.
Related Articles
dungeons
Bottom of the Well: Walkthrough (Switch 2)
Follow the Switch 2 route through Bottom of the Well: Drain the village well. Illustrated steps explain the actions, requirements and next objectives.
dungeons
Dodongo's Cavern: Walkthrough (Switch 2)
Follow the Switch 2 route through Dodongo's Cavern: Open the lobby and take the map. Illustrated steps explain the actions, requirements and next objectives.
dungeons
Fire Temple: Walkthrough (Switch 2)
Follow the Switch 2 route through Fire Temple: Rescue the first Goron. Illustrated steps explain the actions, requirements and next objectives.
Was this helpful?
Thanks for the feedback!