Shadow Temple: Walkthrough (Switch 2)
Follow the Switch 2 route through Shadow Temple: Open the Shadow Temple. Illustrated steps explain the actions, requirements and next objectives.
How do I complete this area?
Bring the Lens of Truth and Din’s Fire. As an adult, visit Kakariko for Sheik’s event and the Nocturne of Shadow, then warp to the graveyard ledge.
Walkthrough · 1 / 10
Open the Shadow Temple
Shadow Temple
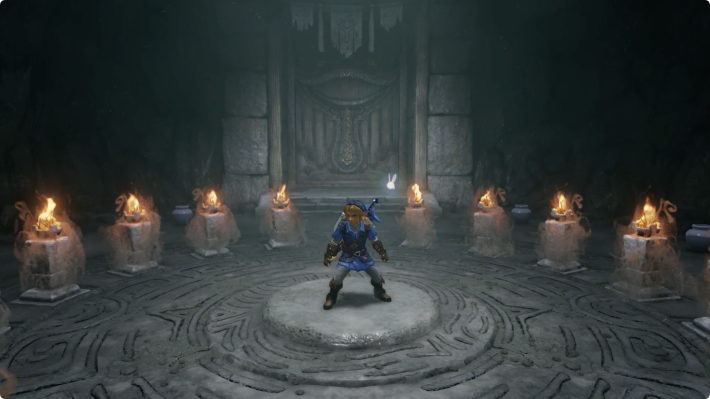
- Bring the Lens of Truth and Din’s Fire. As an adult, visit Kakariko for Sheik’s event and the Nocturne of Shadow, then warp to the graveyard ledge.
- Descend to the entrance, use the Lens to see the torches and cast Din’s Fire from their centre to light them together.
Could not save. Export your records before leaving.
Source maps and images
GameWith · 2026-11-06Source-based guide · individual gameplay conditions may need verification Maps and screenshots retain their source attribution. Third-party ownership and reuse terms are unchanged.
Step location is described in the guide; no precise map marker is available.
Walkthrough · 2 / 10
Map and Hover Boots
Shadow Temple
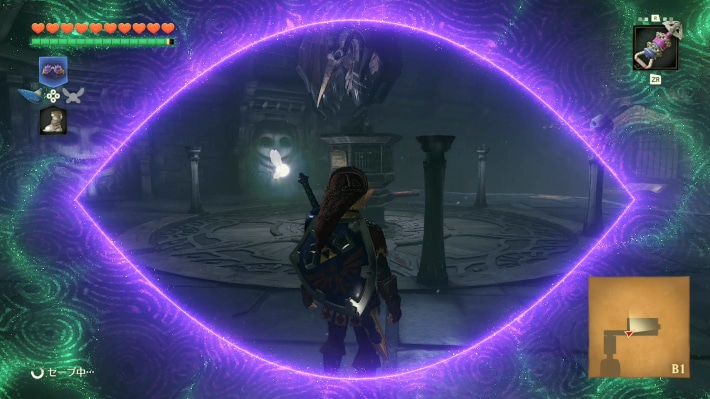
- Hookshot across the entrance pit and use the Lens to pass false walls. In the northern side room, defeat the ReDead and two Keese for the map.
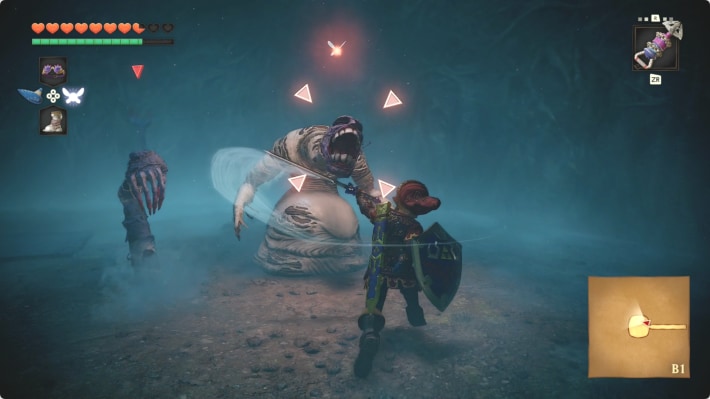
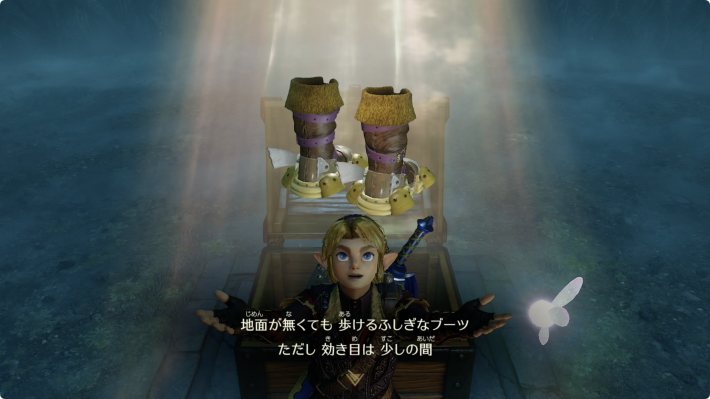
- Continue west through false walls to Dead Hand. Let a hand summon the body, strike its lowered head and take the Hover Boots.
Could not save. Export your records before leaving.
Source maps and images
GameWith · 2026-11-06Source-based guide · individual gameplay conditions may need verification Maps and screenshots retain their source attribution. Third-party ownership and reuse terms are unchanged.
Walkthrough · 3 / 10
Turn the bird statue
Shadow Temple
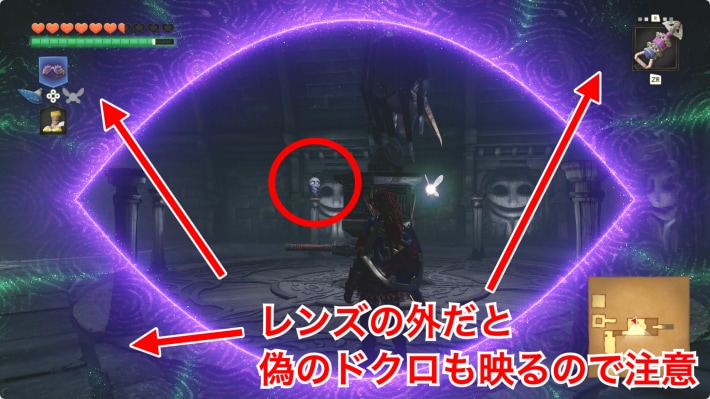
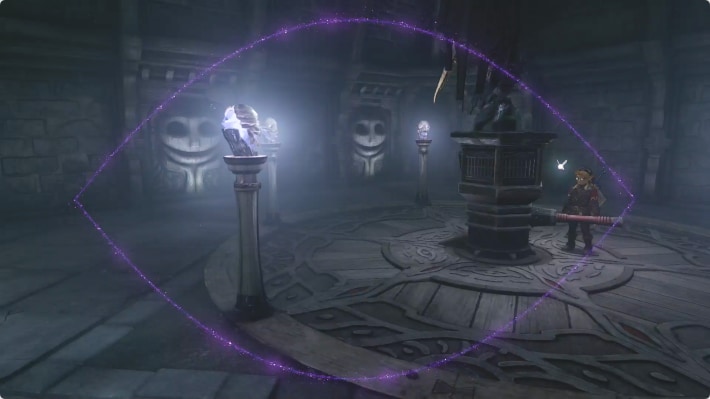
- Hover back across the broken path to the statue hall. Through the Lens, find the pillar whose skull remains visible and turn the bird to face it.
- Hover through the opened east door and descend. The south false-wall room contains two Gibdos; defeat them for the compass.
Could not save. Export your records before leaving.
Source maps and images
GameWith · 2026-11-06Source-based guide · individual gameplay conditions may need verification Maps and screenshots retain their source attribution. Third-party ownership and reuse terms are unchanged.
Step location is described in the guide; no precise map marker is available.
Walkthrough · 4 / 10
First key and guillotines
Shadow Temple
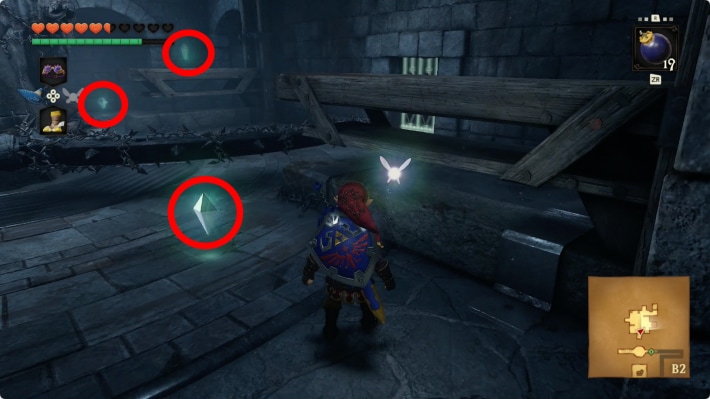
- In the north blade room, collect five silver rupees; use the wall target to reach the raised one. Take the key.
- Bomb the cracked east wall, unlock the door and pass falling spiders and guillotines. Descend and cross the broken platforms with Hover Boots, timing each blade.
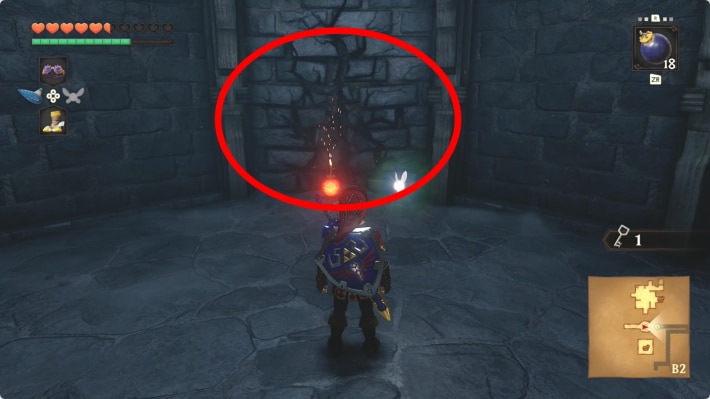
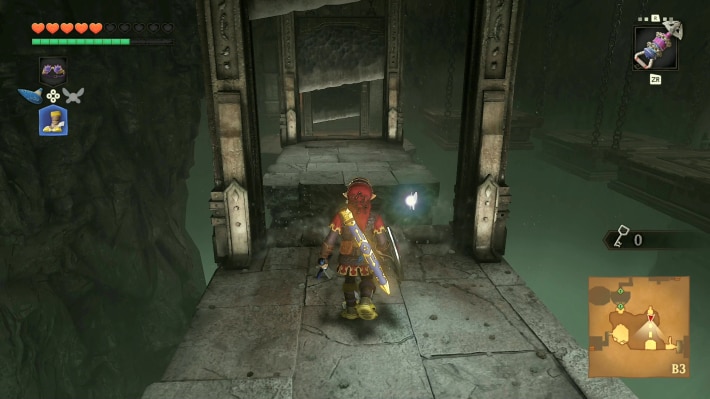
Could not save. Export your records before leaving.
Source maps and images
GameWith · 2026-11-06Source-based guide · individual gameplay conditions may need verification Maps and screenshots retain their source attribution. Third-party ownership and reuse terms are unchanged.
Walkthrough · 5 / 10
Support the falling spikes
Shadow Temple
- Cross the western moving platform to the Beamos and collect five silver rupees using the Lens and Hover Boots.
- In the next room reveal the hidden block. Push it between both falling ceilings, then pull from the far side until beyond the second. Climb onto the block and use the ceilings’ upper surfaces to reach the key chest.
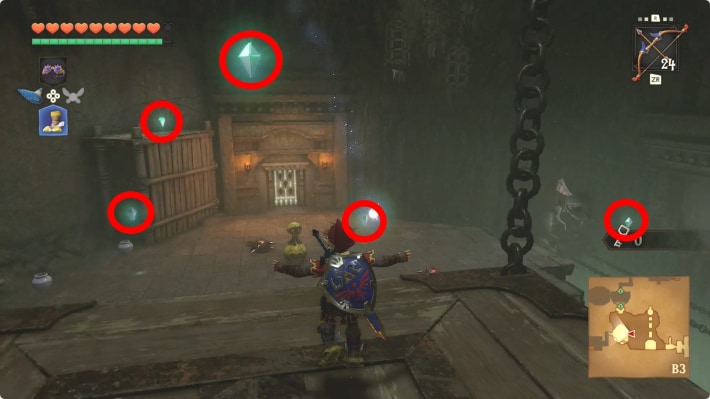
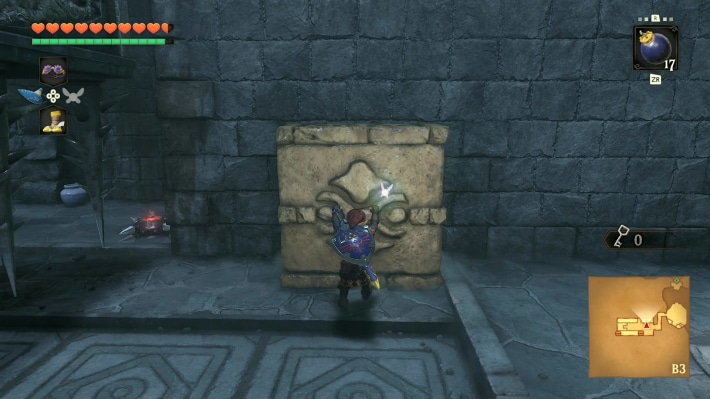
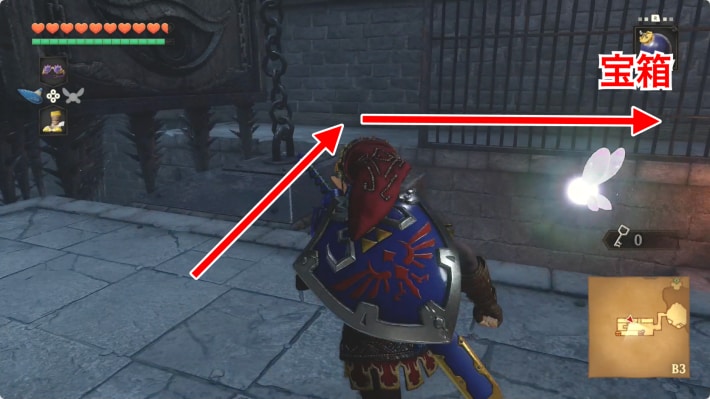
Could not save. Export your records before leaving.
Source maps and images
GameWith · 2026-11-06Source-based guide · individual gameplay conditions may need verification Maps and screenshots retain their source attribution. Third-party ownership and reuse terms are unchanged.
Walkthrough · 6 / 10
Hidden spikes and the giant pot
Shadow Temple
- Return to the Beamos area and cross the hidden northern platforms to the locked door. Use the Lens to avoid floor spikes and reveal Hookshot targets while collecting five silver rupees.
- Enter the opened side room and throw a bomb into the giant pot for a key. Kill all Keese to leave; return and Hookshot the hidden ceiling target above the locked door.
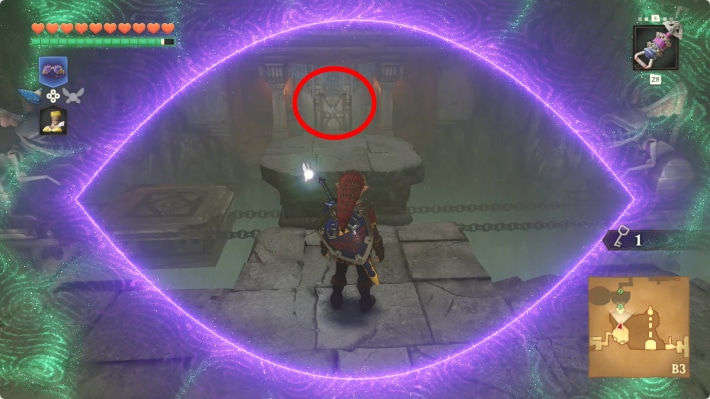
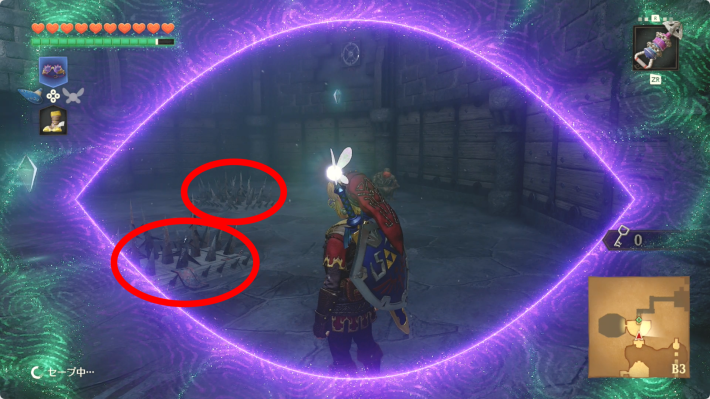
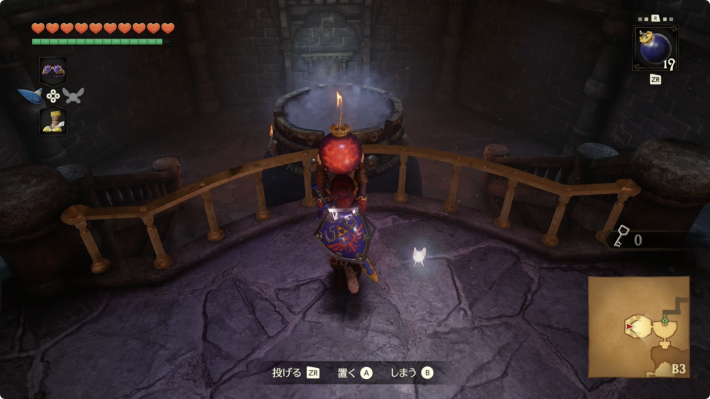
Could not save. Export your records before leaving.
Source maps and images
GameWith · 2026-11-06Source-based guide · individual gameplay conditions may need verification Maps and screenshots retain their source attribution. Third-party ownership and reuse terms are unchanged.
Walkthrough · 7 / 10
Pass the fans
Shadow Temple
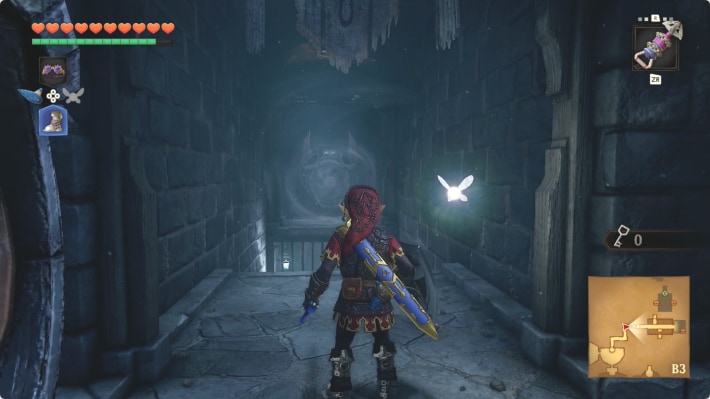
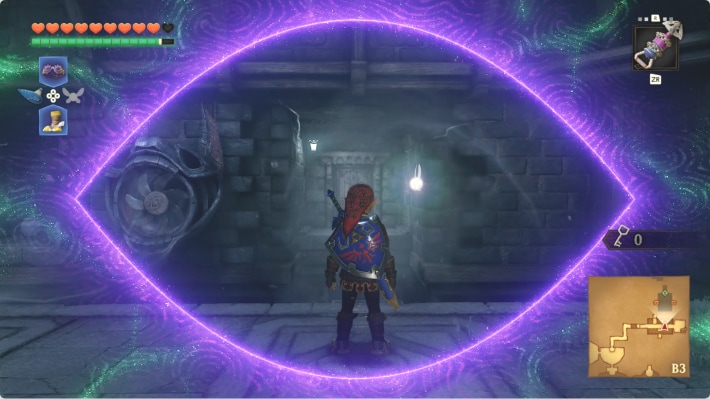
- Unlock the door and wear Iron Boots against the fans; time movement past the blades.
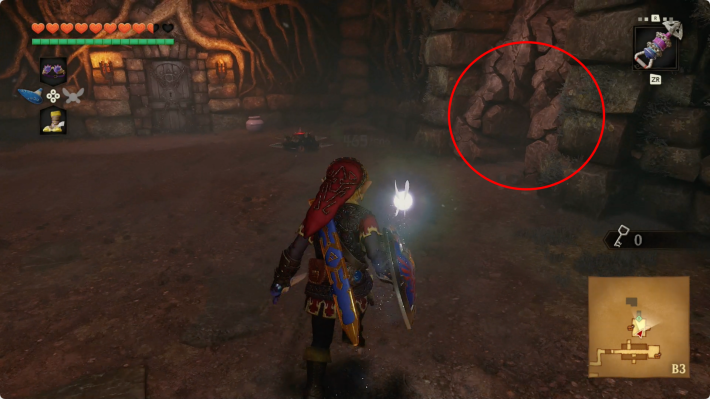
- At the corridor with fans on both sides, reveal the hidden opening on the left. Switch to Hover Boots and use the wind to cross. Bomb the rock immediately right inside, reveal the chest and take its key to open the next door.
Could not save. Export your records before leaving.
Source maps and images
GameWith · 2026-11-06Source-based guide · individual gameplay conditions may need verification Maps and screenshots retain their source attribution. Third-party ownership and reuse terms are unchanged.
Walkthrough · 8 / 10
Board the ghost ship
Shadow Temple
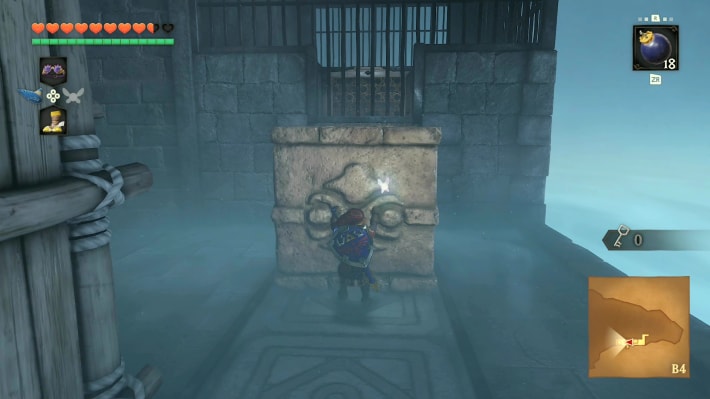
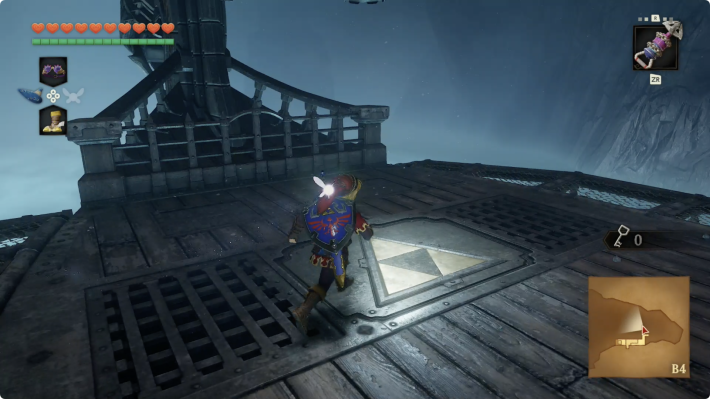
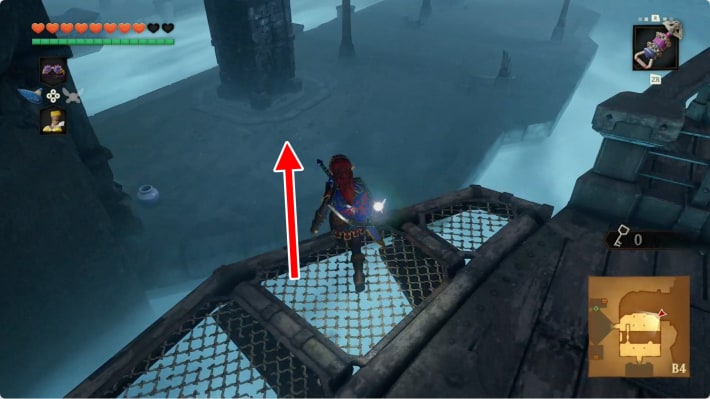
- Move the block left of the entrance into the recess beneath the ladder. Climb onto the ship and play Zelda’s Lullaby on its crest.
- Defend against the two Stalfos during the ride; jump to the platform on the left when it appears. Burn the web ahead with Din’s Fire or a Fire Arrow.
Could not save. Export your records before leaving.
Source maps and images
GameWith · 2026-11-06Source-based guide · individual gameplay conditions may need verification Maps and screenshots retain their source attribution. Third-party ownership and reuse terms are unchanged.
Walkthrough · 9 / 10
Both final keys and the bridge
Shadow Temple
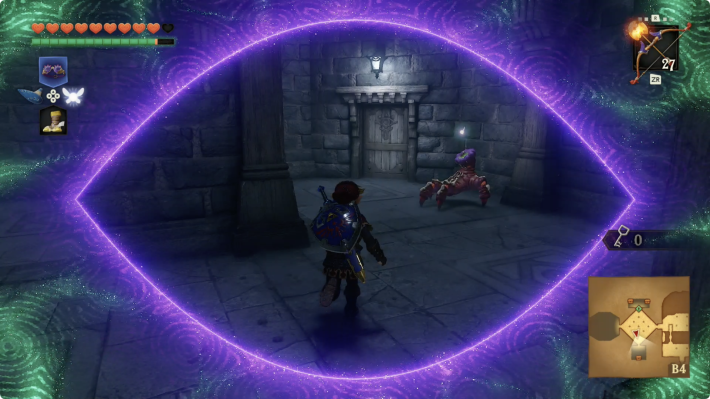
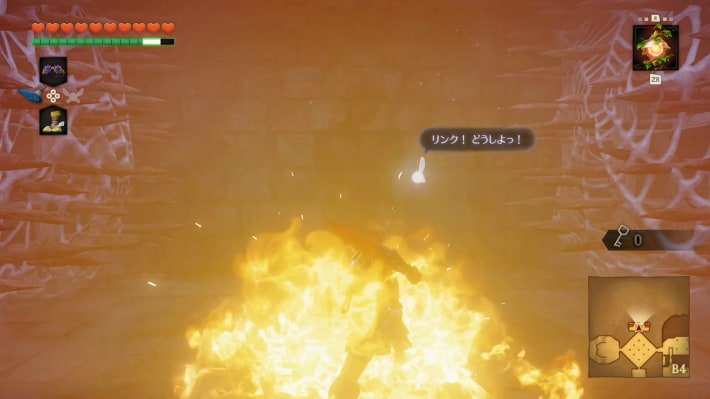
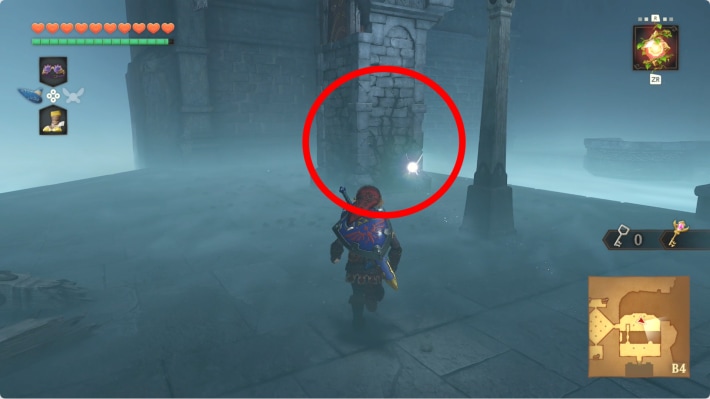
- Use the Lens through the false-wall maze. In the south room defeat the invisible Floormaster for a small key; in the north room burn both closing spike walls with Din’s Fire and take the Boss Key.
- Return to the ship landing and bomb the giant bird statue’s base. Cross the fallen statue, then use the Lens and Hover Boots across the invisible platforms to the boss door.
Could not save. Export your records before leaving.
Source maps and images
GameWith · 2026-11-06Source-based guide · individual gameplay conditions may need verification Maps and screenshots retain their source attribution. Third-party ownership and reuse terms are unchanged.
Walkthrough · 10 / 10
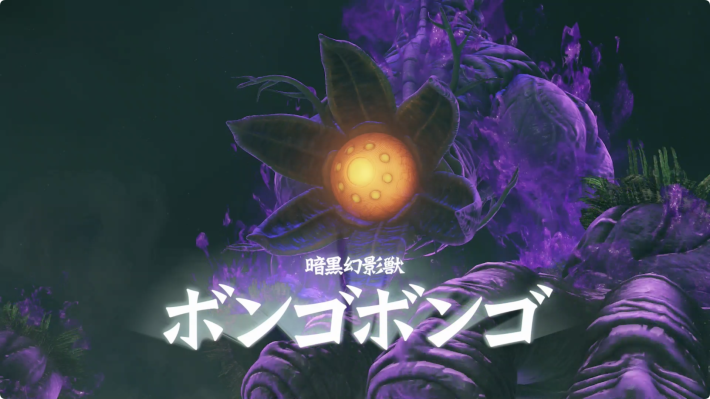
Defeat Bongo Bongo
Shadow Temple
- Shoot one hand and then the other with arrows; arrows do not work while a hand is purple. Hover Boots help while the hands drum.
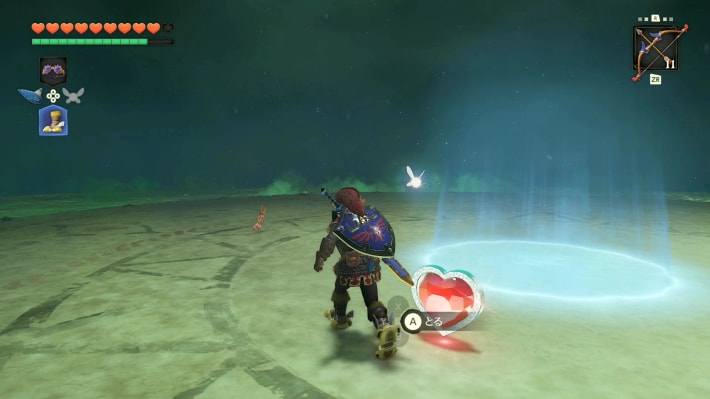
- Use the Lens to see the exposed body, strike its eye and repeat. Collect the Heart Container and enter the warp to receive the Shadow Medallion.
Could not save. Export your records before leaving.
Source maps and images
GameWith · 2026-11-06Source-based guide · individual gameplay conditions may need verification Maps and screenshots retain their source attribution. Third-party ownership and reuse terms are unchanged.
Related guides
Related Articles
dungeons
Bottom of the Well: Walkthrough (Switch 2)
Follow the Switch 2 route through Bottom of the Well: Drain the village well. Illustrated steps explain the actions, requirements and next objectives.
dungeons
Dodongo's Cavern: Walkthrough (Switch 2)
Follow the Switch 2 route through Dodongo's Cavern: Open the lobby and take the map. Illustrated steps explain the actions, requirements and next objectives.
dungeons
Fire Temple: Walkthrough (Switch 2)
Follow the Switch 2 route through Fire Temple: Rescue the first Goron. Illustrated steps explain the actions, requirements and next objectives.
Was this helpful?
Thanks for the feedback!