Haunted Wasteland: Walkthrough (Switch 2)
Follow the Switch 2 route through Haunted Wasteland: Cross the sand river. Illustrated steps explain the actions, requirements and next objectives.

How do I complete this area?
Bring the Lens of Truth and either the Longshot or Hover Boots; pass the opened fortress gate.
Walkthrough · 1 / 3
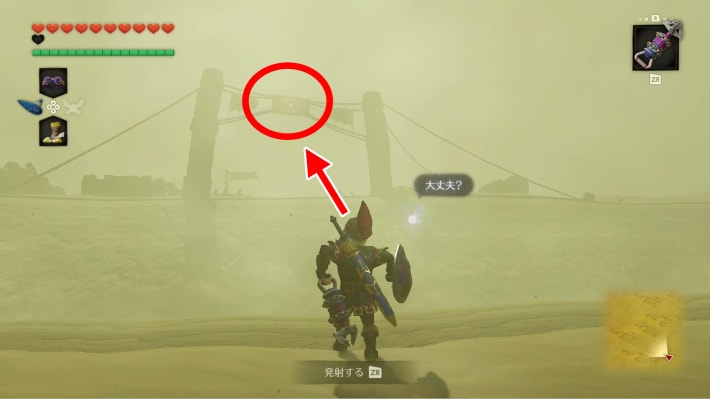
Cross the sand river
Haunted Wasteland
- Bring the Lens of Truth and either the Longshot or Hover Boots; pass the opened fortress gate.
- Longshot the target in the middle of the far gate, or cross the quicksand with Hover Boots.
Could not save. Export your records before leaving.
Source maps and images
GameWith · 2026-11-06Source-based guide · individual gameplay conditions may need verification Maps and screenshots retain their source attribution. Third-party ownership and reuse terms are unchanged.
Step location is described in the guide; no precise map marker is available.
Walkthrough · 2 / 3
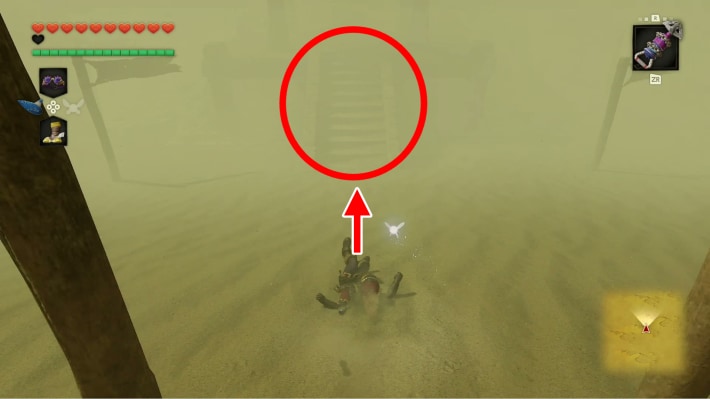
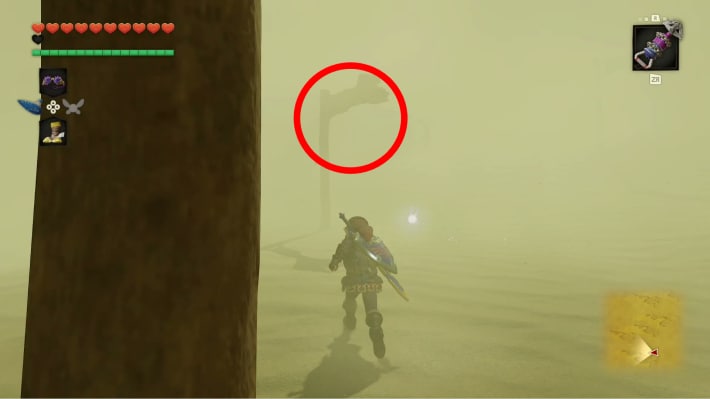
Follow the flags
Haunted Wasteland
- Follow the flags through the sandstorm until you reach the stone shelter; climb its stairs.
- Going away from the flags sends you back to the entrance. The shelter’s underground room contains an optional Gold Skulltula.
Could not save. Export your records before leaving.
Source maps and images
GameWith · 2026-11-06Source-based guide · individual gameplay conditions may need verification Maps and screenshots retain their source attribution. Third-party ownership and reuse terms are unchanged.
Step location is described in the guide; no precise map marker is available.
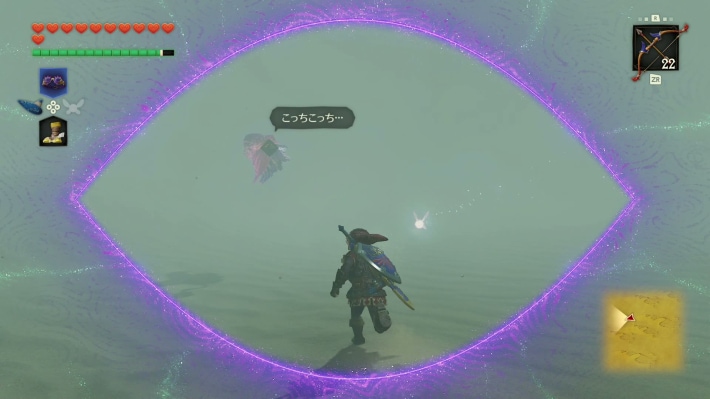
Walkthrough · 3 / 3
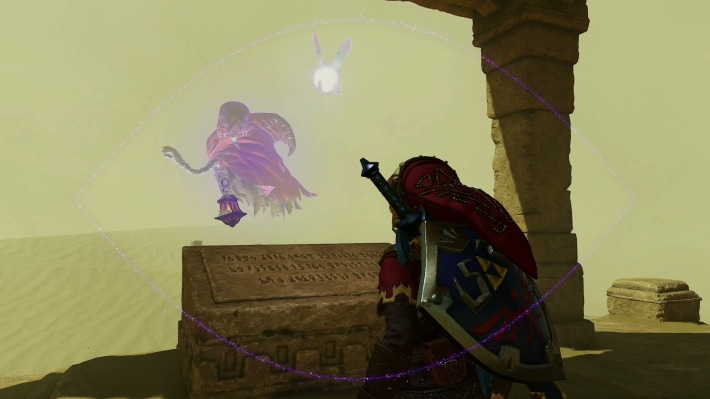
Follow the ghost guide
Haunted Wasteland
- Use the Lens of Truth at the shelter’s stone tablet, speak to the ghost and accept its guidance.
- Keep the Lens active and follow closely to Desert Colossus; replenish magic before setting off so the guide stays visible.
Could not save. Export your records before leaving.
Source maps and images
GameWith · 2026-11-06Source-based guide · individual gameplay conditions may need verification Maps and screenshots retain their source attribution. Third-party ownership and reuse terms are unchanged.
Step location is described in the guide; no precise map marker is available.
Related guides
Related Articles
dungeons
Bottom of the Well: Walkthrough (Switch 2)
Follow the Switch 2 route through Bottom of the Well: Drain the village well. Illustrated steps explain the actions, requirements and next objectives.
dungeons
Dodongo's Cavern: Walkthrough (Switch 2)
Follow the Switch 2 route through Dodongo's Cavern: Open the lobby and take the map. Illustrated steps explain the actions, requirements and next objectives.
dungeons
Fire Temple: Walkthrough (Switch 2)
Follow the Switch 2 route through Fire Temple: Rescue the first Goron. Illustrated steps explain the actions, requirements and next objectives.
Was this helpful?
Thanks for the feedback!