Spirit Temple: Walkthrough (Switch 2)
Follow the Switch 2 route through Spirit Temple: Child route: Nabooru and the bridge. Illustrated steps explain the actions, requirements and next objectives.
How do I complete this area?
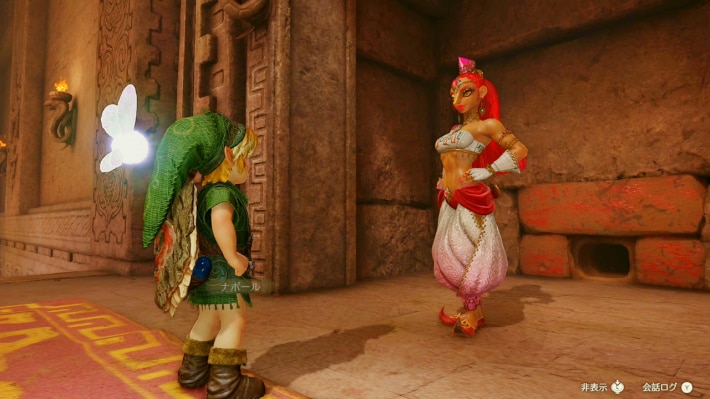
As a child, accept Nabooru’s request and crawl through the left tunnel. Defeat every enemy; a bomb or Boomerang followed by a back attack defeats the Armos.
Walkthrough · 1 / 13
Child route: Nabooru and the bridge
Spirit Temple
- As a child, accept Nabooru’s request and crawl through the left tunnel. Defeat every enemy; a bomb or Boomerang followed by a back attack defeats the Armos.
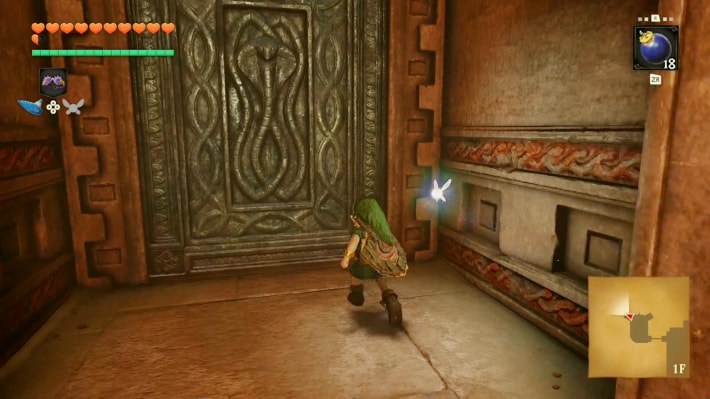
- Take the left door, defeat the Stalfos and curve the Boomerang behind the grate to hit the switch. Cross the lowered grate and crawl onward.
Could not save. Export your records before leaving.
Source maps and images
GameWith · 2026-11-06Source-based guide · individual gameplay conditions may need verification Maps and screenshots retain their source attribution. Third-party ownership and reuse terms are unchanged.
Step location is described in the guide; no precise map marker is available.
Walkthrough · 2 / 13
Anubis and the first key
Spirit Temple
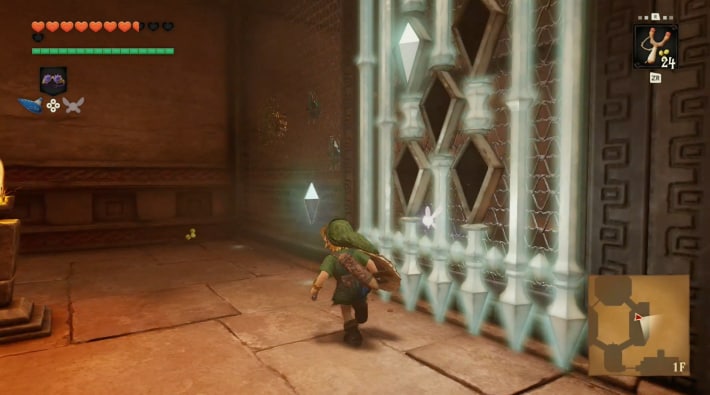
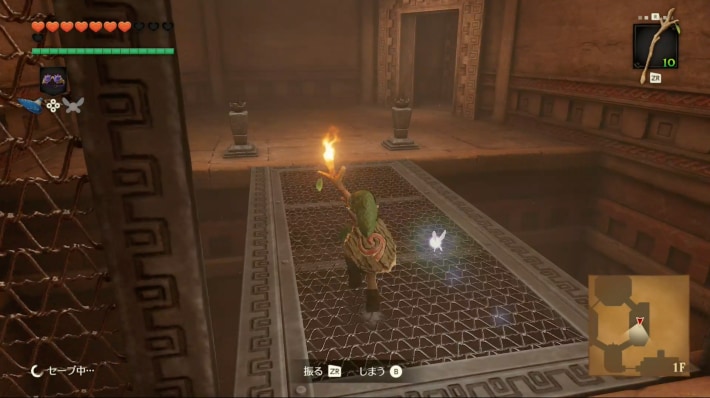
- Anubis mirrors your movement: cross the room, shoot the eye with the slingshot to ignite the flame and guide Anubis into it.
- In the next room collect five silver rupees: above and below both grates, plus the northeast corner. Light both unlit torches with a Deku Stick or Din’s Fire and open the key chest.
Could not save. Export your records before leaving.
Source maps and images
GameWith · 2026-11-06Source-based guide · individual gameplay conditions may need verification Maps and screenshots retain their source attribution. Third-party ownership and reuse terms are unchanged.
Walkthrough · 3 / 13
Open the skylight
Spirit Temple
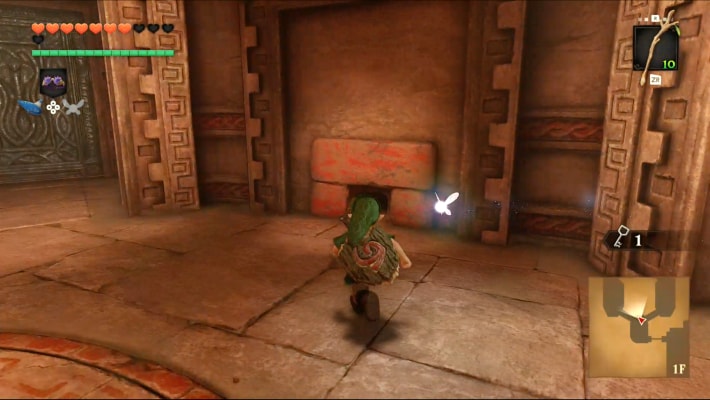
- Return to the first cleared room, crawl through its middle tunnel and unlock the door. Clear wall spiders before climbing to the second floor.
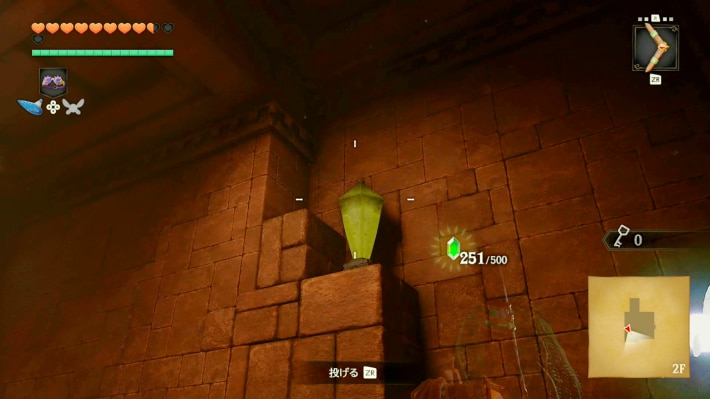
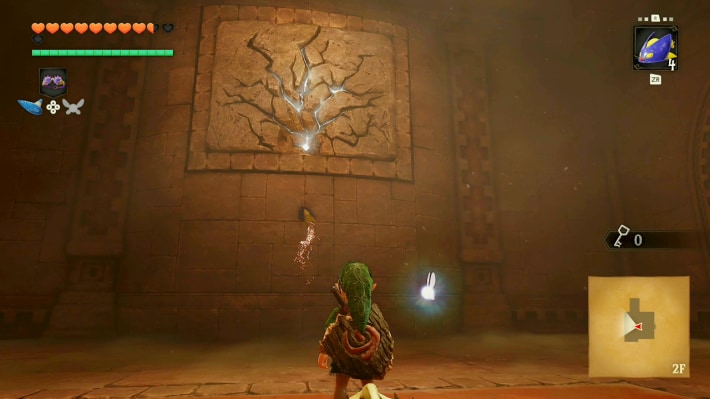
- Defeat the enemies and Boomerang the high switch for Bombchus. Aim a Bombchu at the cracked wall to admit sunlight and open the next route.
Could not save. Export your records before leaving.
Source maps and images
GameWith · 2026-11-06Source-based guide · individual gameplay conditions may need verification Maps and screenshots retain their source attribution. Third-party ownership and reuse terms are unchanged.
Walkthrough · 4 / 13
Statue switch and sun block
Spirit Temple
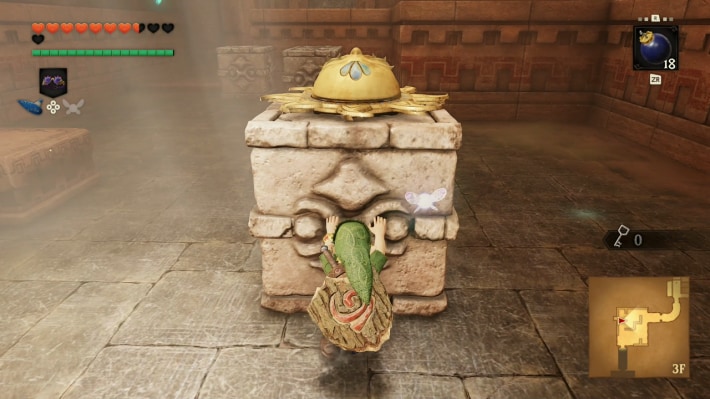
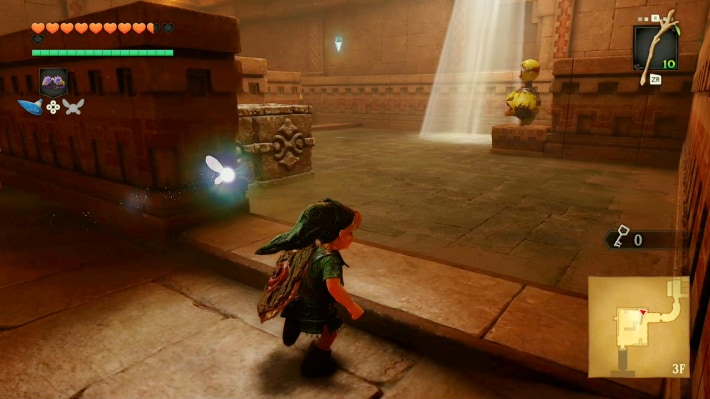
- In the statue hall, light the two torches for the map. Climb the stairs and mesh, drop the small statue and move it onto the switch.
- In the next room bomb the Beamos, push the sun-marked block into the light for a small key and collect five silver rupees, using blocks to reach high ones. Unlock the route to Iron Knuckle.
Could not save. Export your records before leaving.
Source maps and images
GameWith · 2026-11-06Source-based guide · individual gameplay conditions may need verification Maps and screenshots retain their source attribution. Third-party ownership and reuse terms are unchanged.
Walkthrough · 5 / 13
Win the Silver Gauntlets
Spirit Temple
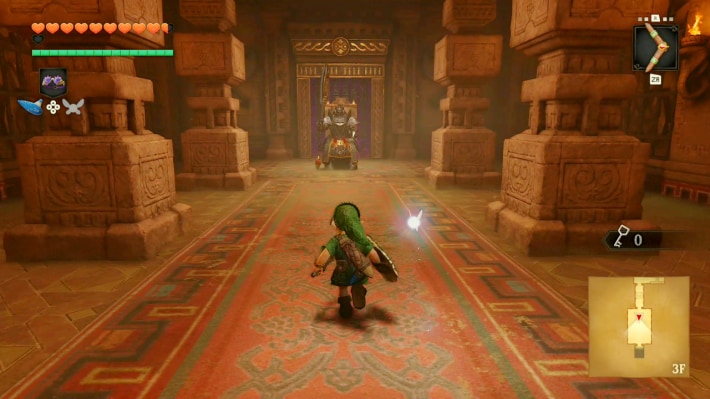
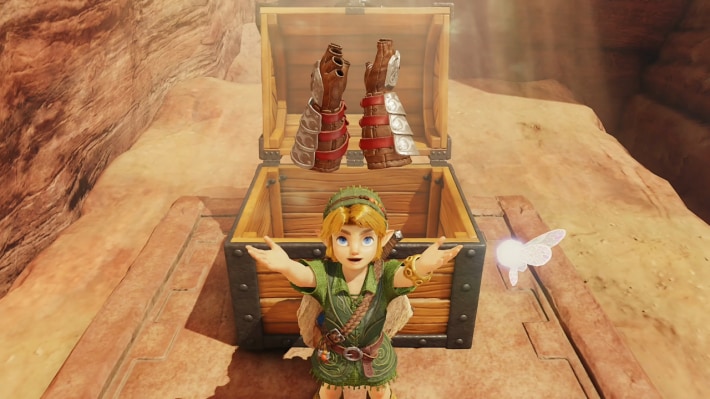
- Strike Iron Knuckle to start. Evade its downward axe or two horizontal swings; counter after the swing, rather than blocking. Its axe can break pillars for hearts.
- After victory, go outside and press the switch to reveal the Silver Gauntlets chest. Return to the Temple of Time, become an adult and warp back with the Requiem.
Could not save. Export your records before leaving.
Source maps and images
GameWith · 2026-11-06Source-based guide · individual gameplay conditions may need verification Maps and screenshots retain their source attribution. Third-party ownership and reuse terms are unchanged.
Walkthrough · 6 / 13
Adult route and compass
Spirit Temple
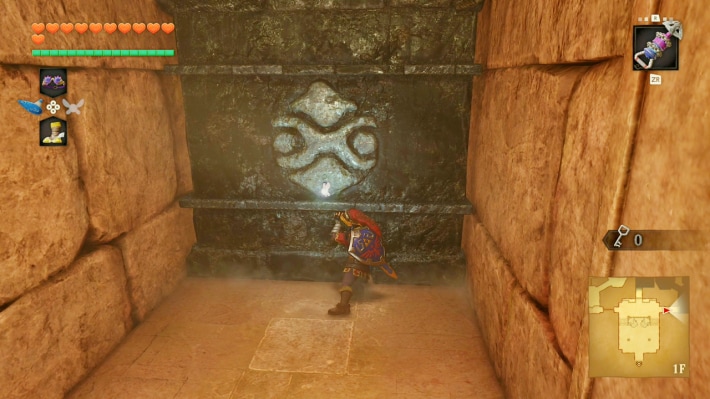
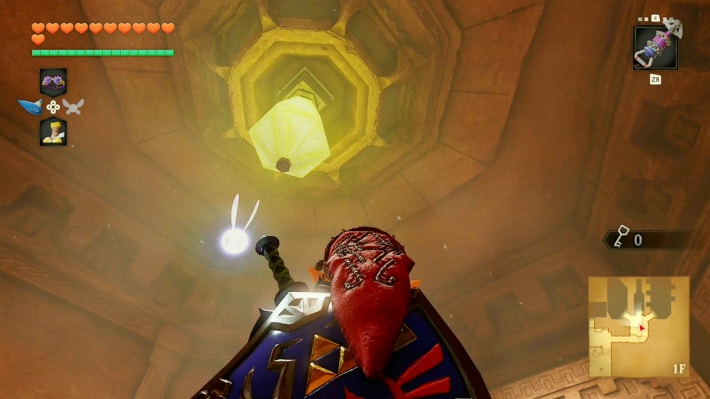
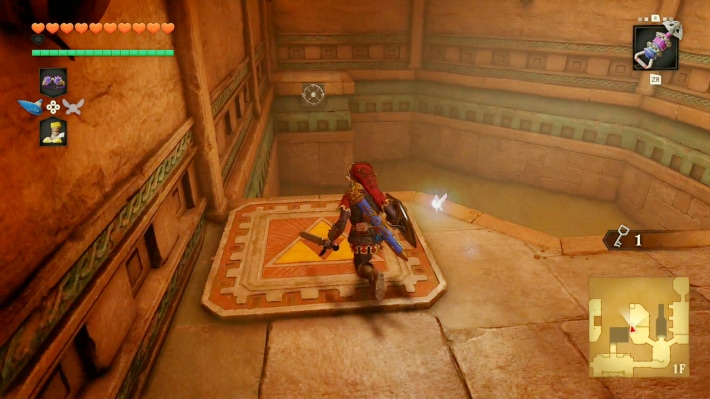
- Push the giant eastern entrance block with the Silver Gauntlets. Bomb the Beamos and hit the ceiling switch with the Longshot or bow.
- Take the left door, defeat the Wolfos and play Zelda’s Lullaby on the crest. Longshot to the spawned chest for the compass, then return to the fork.
Could not save. Export your records before leaving.
Source maps and images
GameWith · 2026-11-06Source-based guide · individual gameplay conditions may need verification Maps and screenshots retain their source attribution. Third-party ownership and reuse terms are unchanged.
Walkthrough · 7 / 13
Rolling stones and the mirror
Spirit Temple
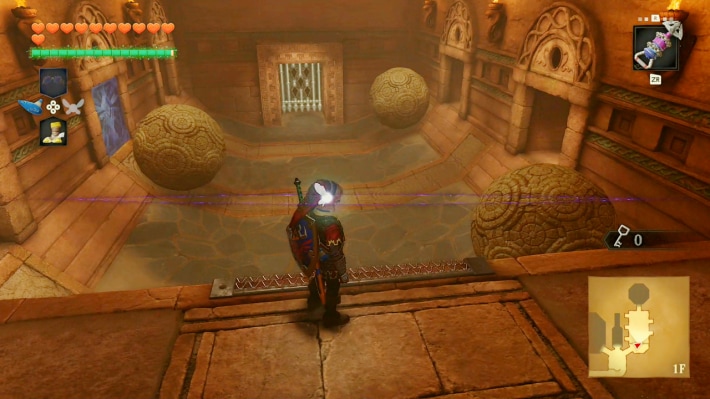
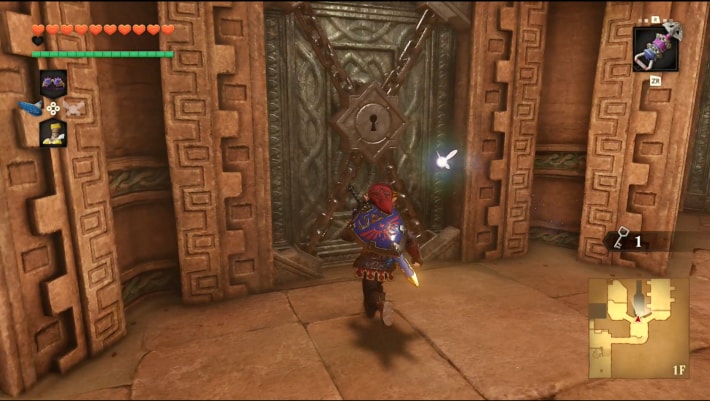
- Take the right branch and gather five silver rupees while dodging rocks. Remove the blue block with the Song of Time and use Hover Boots for the floating rupee. Take the key beyond.
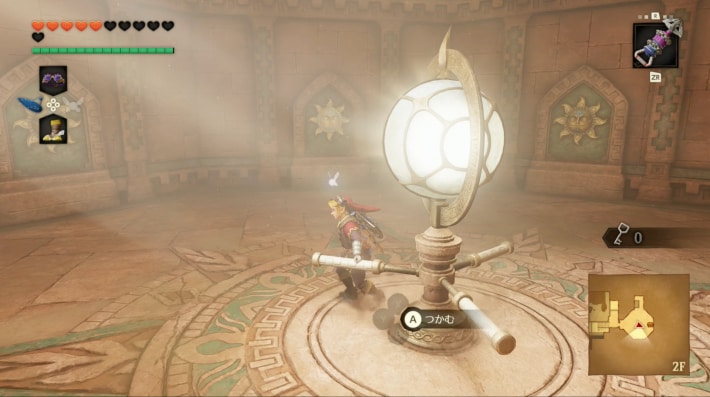
- Return two rooms and unlock the middle door. Clear enemies and climb the mesh. Reveal the invisible Floormaster, defeat it and turn the mirror toward the southern sun.
Could not save. Export your records before leaving.
Source maps and images
GameWith · 2026-11-06Source-based guide · individual gameplay conditions may need verification Maps and screenshots retain their source attribution. Third-party ownership and reuse terms are unchanged.
Walkthrough · 8 / 13
The giant statue’s hands
Spirit Temple
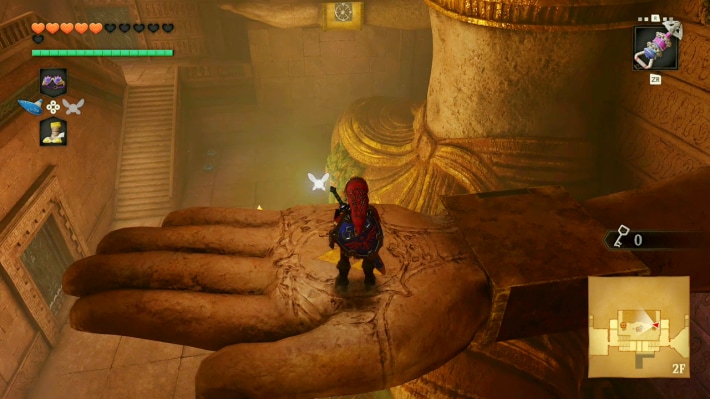
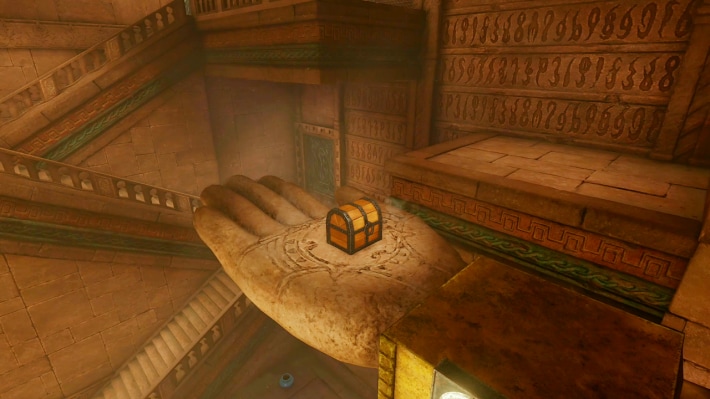
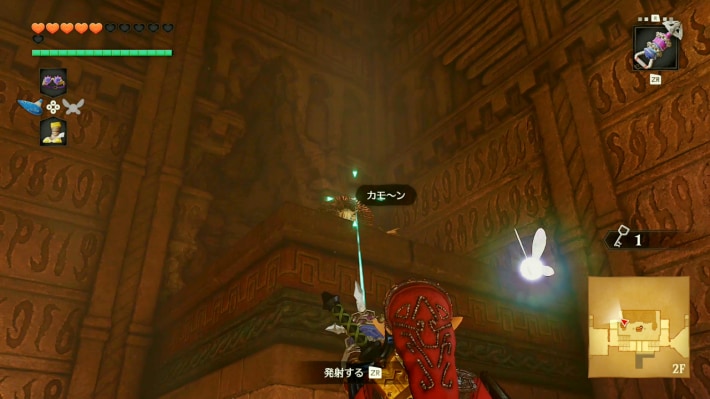
- Climb into the statue hall and jump to its left hand, using Hover Boots if needed. Play Zelda’s Lullaby on the crest; Longshot the chest that appears on the right hand for a small key.
- Return via the left hand to the northeast ledge. Hammer its switch and push the block beyond to open an entrance shortcut; return to the third-floor southwest locked door.
Could not save. Export your records before leaving.
Source maps and images
GameWith · 2026-11-06Source-based guide · individual gameplay conditions may need verification Maps and screenshots retain their source attribution. Third-party ownership and reuse terms are unchanged.
Walkthrough · 9 / 13
Win the Mirror Shield
Spirit Temple
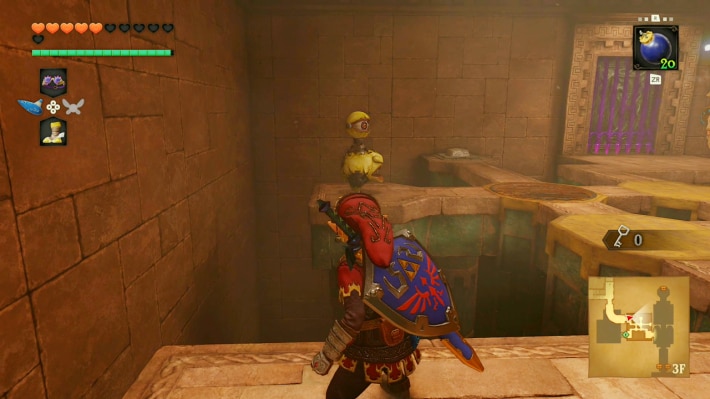
- Unlock the southwest route and clear the enemies. Bomb the Beamos and burn all three Anubis with Din’s Fire, Fire Arrows or by luring them into the room’s activated flames.
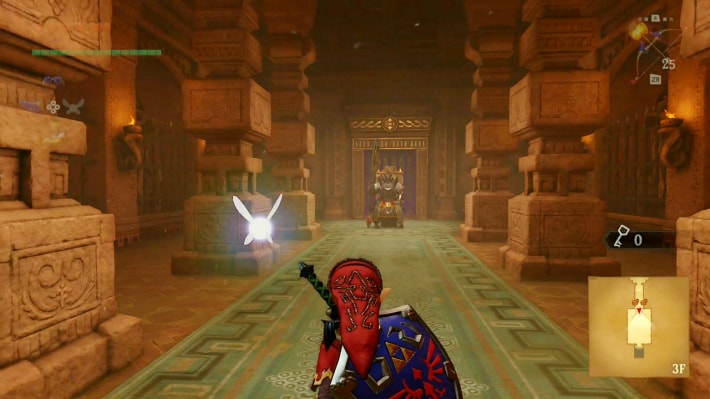
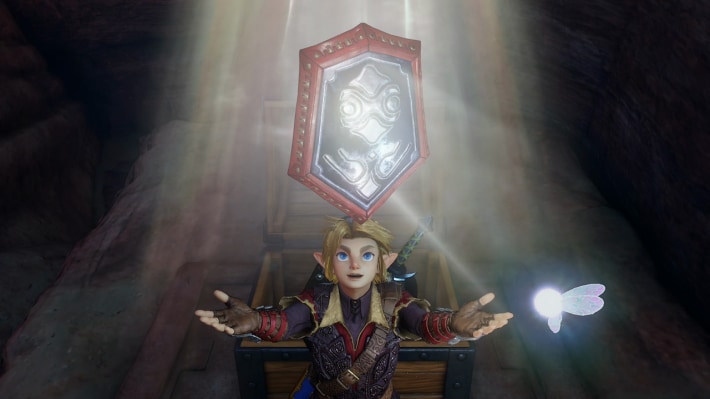
- In the next room awaken an Armos and lure it onto the floor switch. Continue to Iron Knuckle, evade its axe and counter. Outside, press the switch and open the Mirror Shield chest.
Could not save. Export your records before leaving.
Source maps and images
GameWith · 2026-11-06Source-based guide · individual gameplay conditions may need verification Maps and screenshots retain their source attribution. Third-party ownership and reuse terms are unchanged.
Walkthrough · 10 / 13
Reflected light and the Boss Key
Spirit Temple
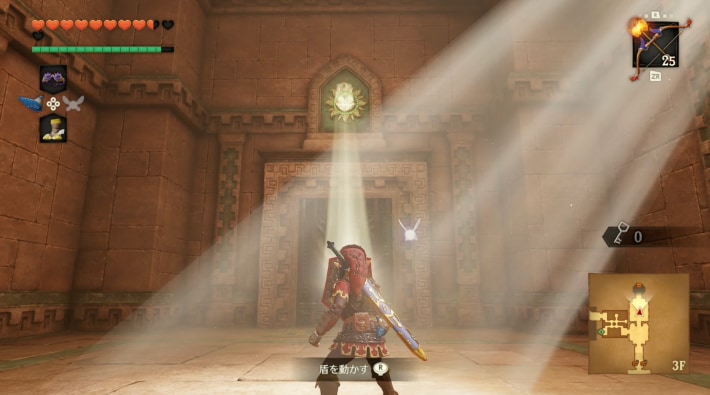
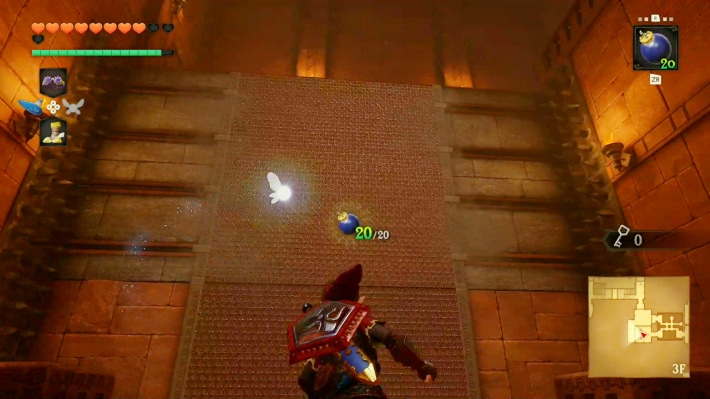
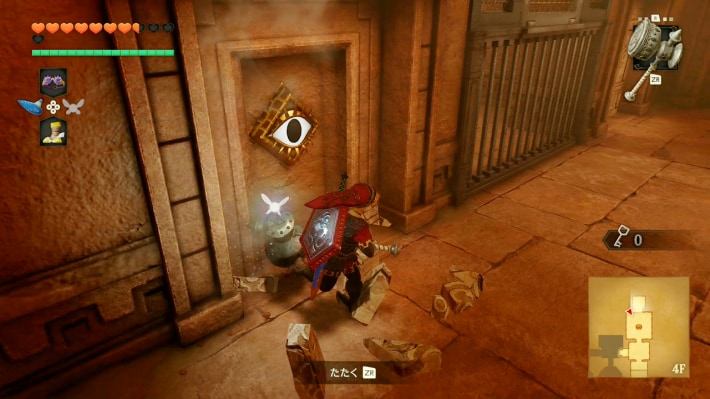
- Return to the Armos-switch room; reflect its sunlight onto the sun emblem and take the small key beyond. Return to the Anubis room and unlock the other door.
- Bomb two Beamos, Longshot the stationary upper part of the climbing wall and defeat the enemies above. Play the lullaby at the crest. Hammer the northwest false door, shoot the eye behind it, Longshot onto the new platform and press the switch to extinguish the Boss Key chest’s flames.
Could not save. Export your records before leaving.
Source maps and images
GameWith · 2026-11-06Source-based guide · individual gameplay conditions may need verification Maps and screenshots retain their source attribution. Third-party ownership and reuse terms are unchanged.
Walkthrough · 11 / 13
Send the light to the statue
Spirit Temple
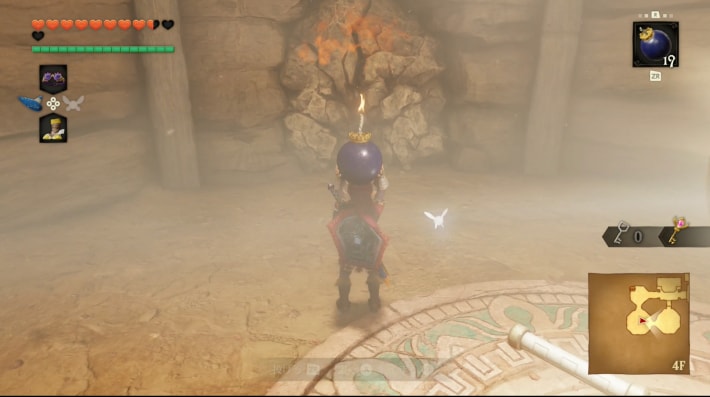
- Return one room, climb the western mesh and enter. Drop down to activate the switch, clear the Bubbles beyond and bomb the cracked wall; defeat the Lizalfos.
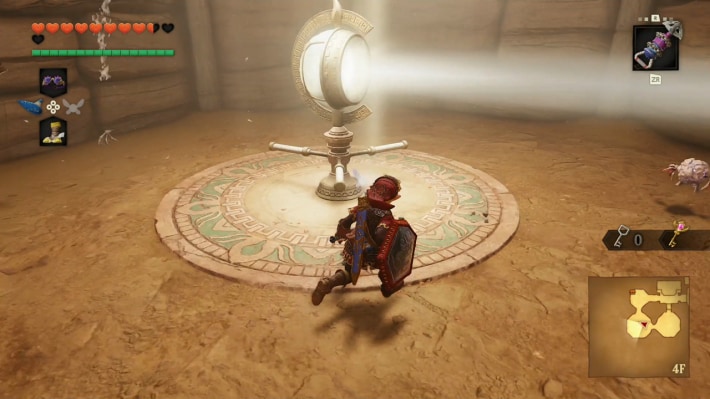
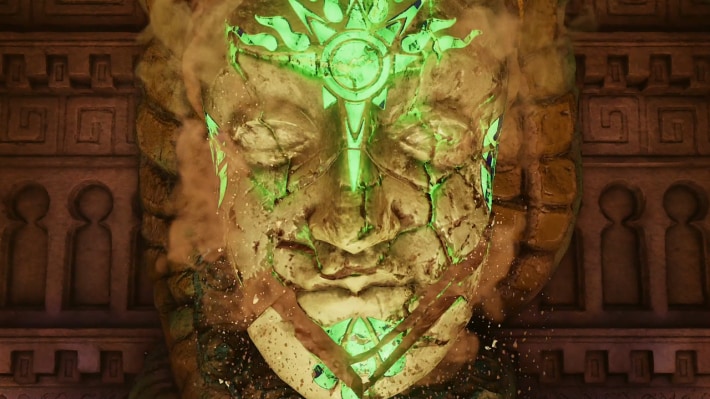
- Turn both mirrors so light reaches the previous room. Reflect it onto the wall sun to lower the platform, then hold light on the giant statue’s face for several seconds. Longshot the revealed grille and enter the boss route.
Could not save. Export your records before leaving.
Source maps and images
GameWith · 2026-11-06Source-based guide · individual gameplay conditions may need verification Maps and screenshots retain their source attribution. Third-party ownership and reuse terms are unchanged.
Step location is described in the guide; no precise map marker is available.
Walkthrough · 12 / 13
Defeat Twinrova
Spirit Temple
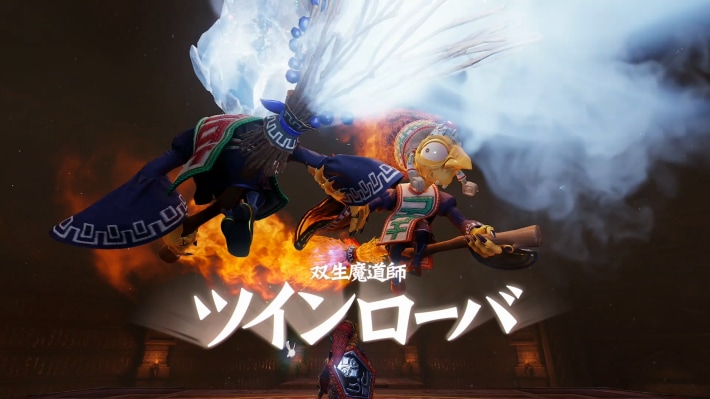
- In the first phase, aim the Mirror Shield without locking on: reflect one sister’s elemental beam into the other.
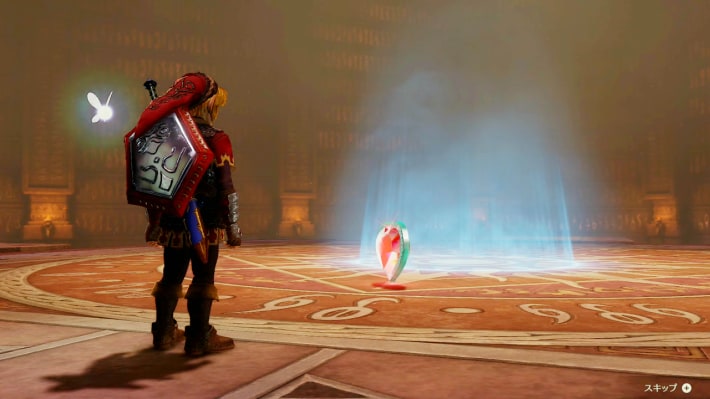
- After they merge, absorb three consecutive attacks of the same element; dodge the opposite element because absorbing it resets the charge. Release the stored beam into Twinrova, close in and strike while stunned. Take the heart and warp for the Spirit Medallion.
Could not save. Export your records before leaving.
Source maps and images
GameWith · 2026-11-06Source-based guide · individual gameplay conditions may need verification Maps and screenshots retain their source attribution. Third-party ownership and reuse terms are unchanged.
Step location is described in the guide; no precise map marker is available.
Walkthrough · 13 / 13
Prepare for Ganon’s Castle
Outside Ganon's Castle
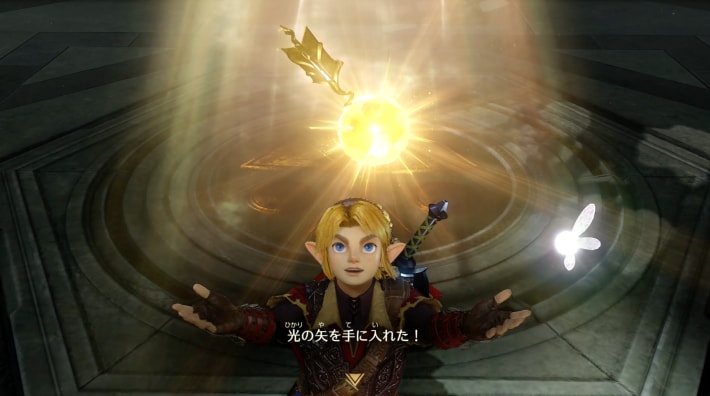
- After receiving the Spirit Medallion, return to the Temple of Time. Watch Sheik’s event to receive the Light Arrows.
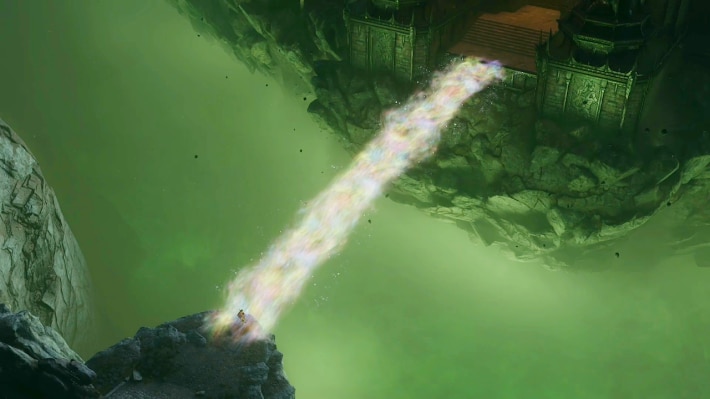
- Leave through the Market toward Ganon’s Castle. With all six medallions, approach the entrance to create the light bridge, then cross into the final dungeon.
Could not save. Export your records before leaving.
Source maps and images
GameWith · 2026-11-06Source-based guide · individual gameplay conditions may need verification Maps and screenshots retain their source attribution. Third-party ownership and reuse terms are unchanged.
Step location is described in the guide; no precise map marker is available.
Related guides
Related Articles
dungeons
Bottom of the Well: Walkthrough (Switch 2)
Follow the Switch 2 route through Bottom of the Well: Drain the village well. Illustrated steps explain the actions, requirements and next objectives.
dungeons
Dodongo's Cavern: Walkthrough (Switch 2)
Follow the Switch 2 route through Dodongo's Cavern: Open the lobby and take the map. Illustrated steps explain the actions, requirements and next objectives.
dungeons
Fire Temple: Walkthrough (Switch 2)
Follow the Switch 2 route through Fire Temple: Rescue the first Goron. Illustrated steps explain the actions, requirements and next objectives.
Was this helpful?
Thanks for the feedback!