Jabu Jabu's Belly: Walkthrough (Switch 2)
Follow the Switch 2 route through Jabu Jabu's Belly: Open the first door. Illustrated steps explain the actions, requirements and next objectives.
How do I complete this area?
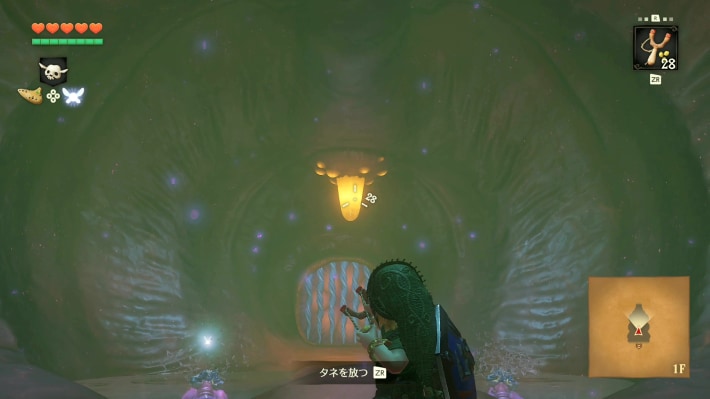
Shoot the ceiling switch with the Slingshot. Reflect the Octorok’s shots with your shield, then follow the passage to Ruto.
Walkthrough · 1 / 12
Open the first door
Jabu-Jabu’s Belly
- Shoot the ceiling switch with the Slingshot. Reflect the Octorok’s shots with your shield, then follow the passage to Ruto.
Could not save. Export your records before leaving.
Source maps and images
GameWith · 2026-11-06Source-based guide · individual gameplay conditions may need verification Maps and screenshots retain their source attribution. Third-party ownership and reuse terms are unchanged.
Step location is described in the guide; no precise map marker is available.
Walkthrough · 2 / 12
Carry Ruto through the rear door
Jabu-Jabu’s Belly
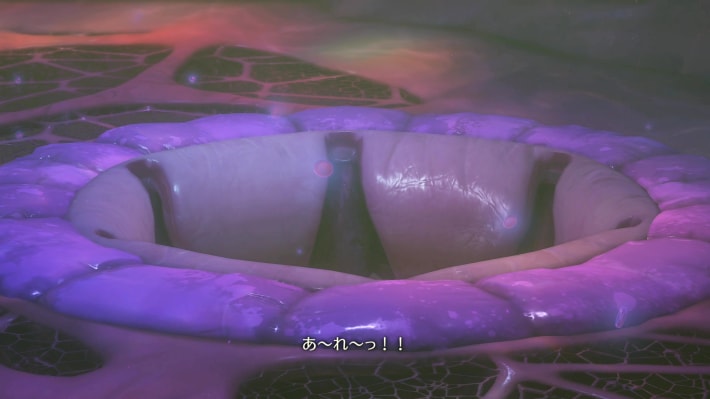
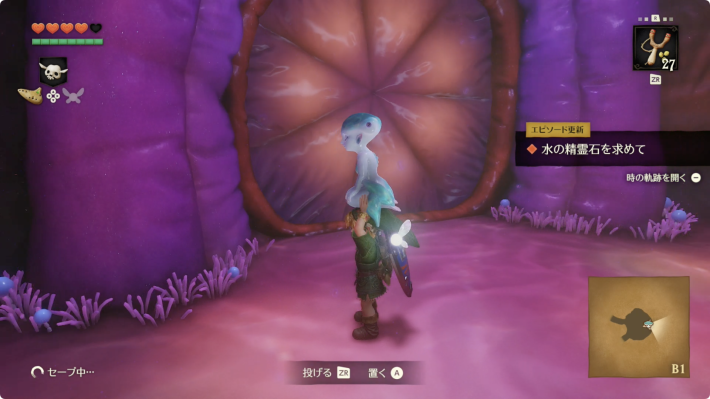
- Drop through the same hole as Ruto. Finish her conversation until you can lift her, then carry her through the nearby rear door. If separated, her position is shown on the map.
Could not save. Export your records before leaving.
Source maps and images
GameWith · 2026-11-06Source-based guide · individual gameplay conditions may need verification Maps and screenshots retain their source attribution. Third-party ownership and reuse terms are unchanged.
Step location is described in the guide; no precise map marker is available.
Walkthrough · 3 / 12
Raise the water
Jabu-Jabu’s Belly
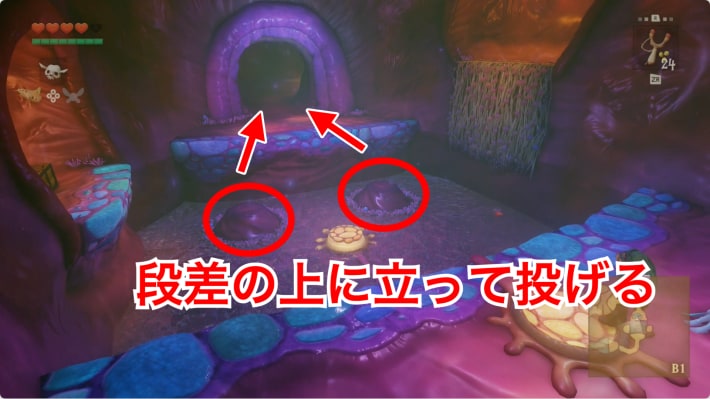
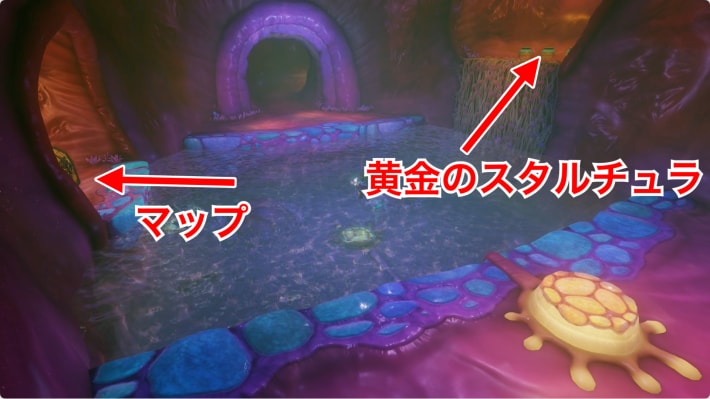
- From the raised mound, throw Ruto onto the opposite ledge. Step on the floor switch to raise the water and swim across. The eastern chest holds the dungeon map; pick Ruto up again before leaving.
Could not save. Export your records before leaving.
Source maps and images
GameWith · 2026-11-06Source-based guide · individual gameplay conditions may need verification Maps and screenshots retain their source attribution. Third-party ownership and reuse terms are unchanged.
Step location is described in the guide; no precise map marker is available.
Walkthrough · 4 / 12
Return to the upper corridor
Jabu-Jabu’s Belly
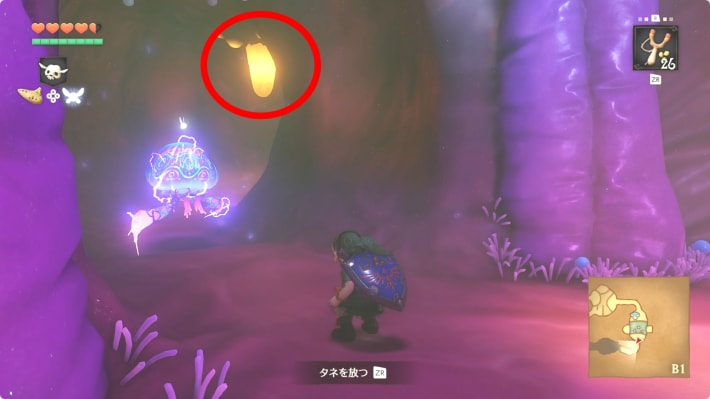
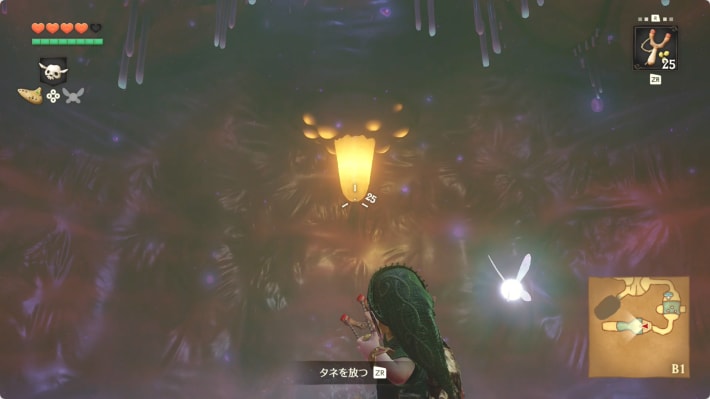
- Shoot the next ceiling switch and carry Ruto onward. Put her down to reflect the Octorok’s shot. Shoot the lift’s ceiling switch, ride up together and cross the hole room toward its far door.
Could not save. Export your records before leaving.
Source maps and images
GameWith · 2026-11-06Source-based guide · individual gameplay conditions may need verification Maps and screenshots retain their source attribution. Third-party ownership and reuse terms are unchanged.
Step location is described in the guide; no precise map marker is available.
Walkthrough · 5 / 12
Get the Boomerang
Jabu-Jabu’s Belly
- At the left branch, stand on the switch while carrying Ruto: Link alone is too light. Enter and defeat every flying Stinger with targeted Slingshot shots to reveal the Boomerang chest.
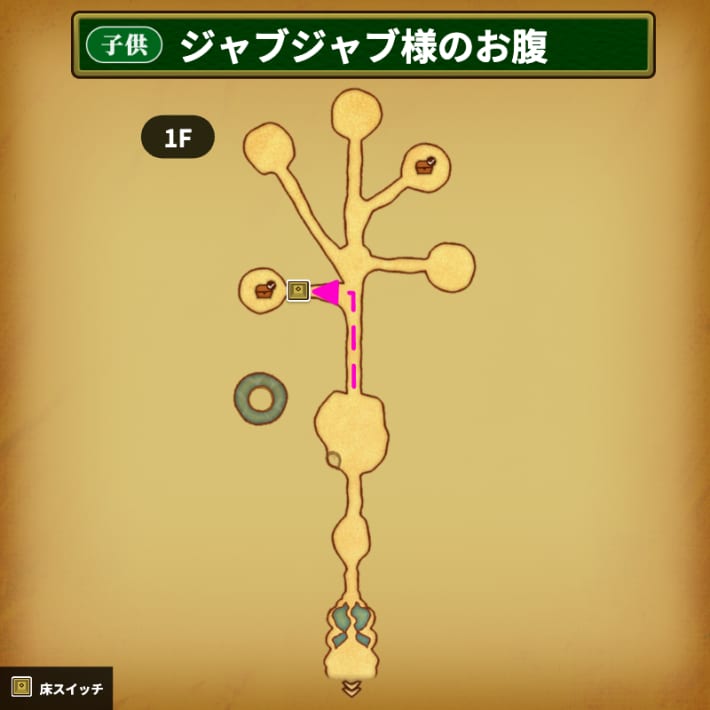
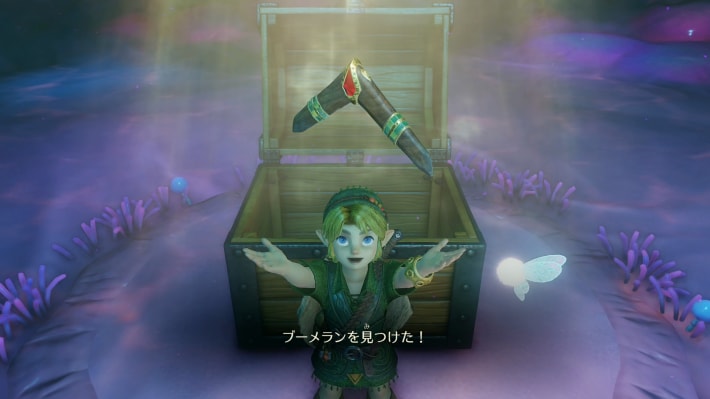
Could not save. Export your records before leaving.
Source maps and images
GameWith · 2026-11-06Source-based guide · individual gameplay conditions may need verification Maps and screenshots retain their source attribution. Third-party ownership and reuse terms are unchanged.
Walkthrough · 6 / 12
Remove the red and blue tentacles
Jabu-Jabu’s Belly
- Return to the branching corridor. Leave Ruto on the switch by the right room and defeat its red tentacle with the Boomerang. Then enter the upper-left room and defeat the blue tentacle to clear the forward passage.
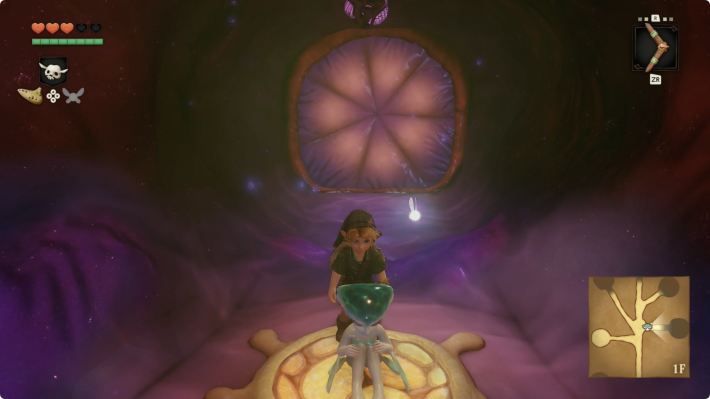
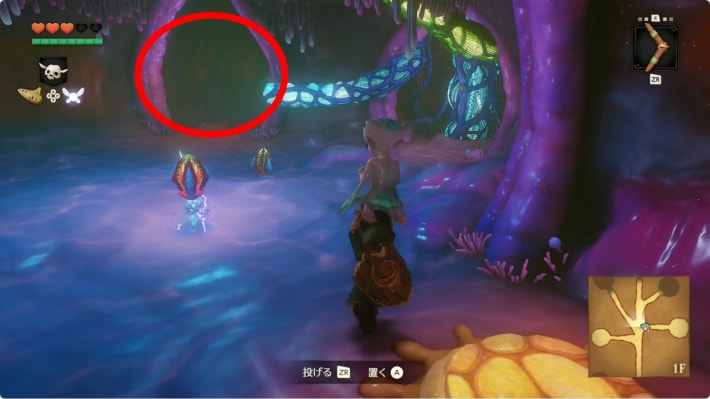
Could not save. Export your records before leaving.
Source maps and images
GameWith · 2026-11-06Source-based guide · individual gameplay conditions may need verification Maps and screenshots retain their source attribution. Third-party ownership and reuse terms are unchanged.
Step location is described in the guide; no precise map marker is available.
Walkthrough · 7 / 12
Compass, then green tentacle
Jabu-Jabu’s Belly
- Take the newly opened passage and clear all bubbles in the right room to get the Compass. Enter the north-central room next and kill the green tentacle with the Boomerang.
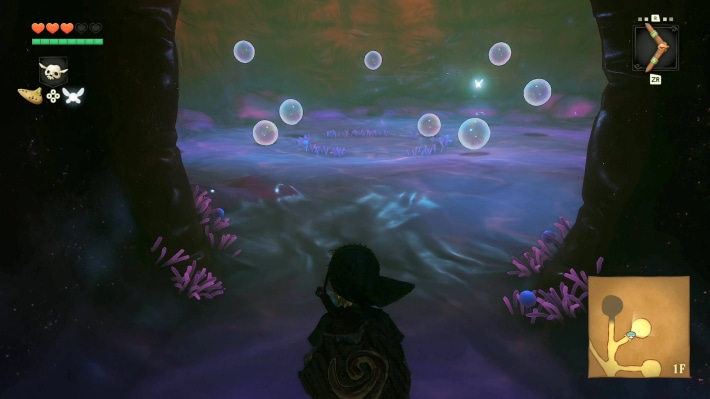
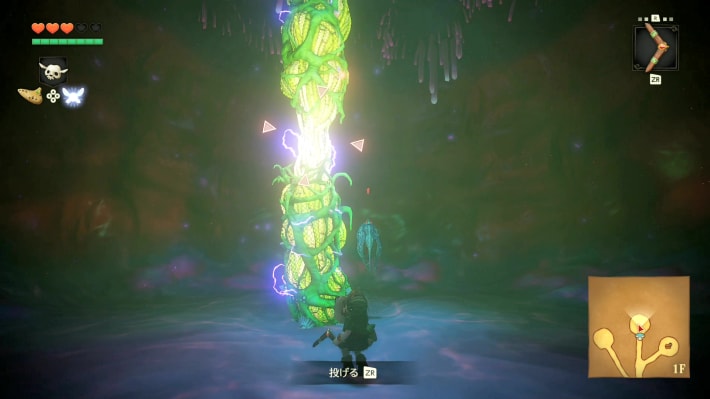
Could not save. Export your records before leaving.
Source maps and images
GameWith · 2026-11-06Source-based guide · individual gameplay conditions may need verification Maps and screenshots retain their source attribution. Third-party ownership and reuse terms are unchanged.
Step location is described in the guide; no precise map marker is available.
Walkthrough · 8 / 12
Drop to Big Octo
Jabu-Jabu’s Belly
- Carry Ruto back south and drop into the hole formerly blocked by the green tentacle. Continue to Big Octo: stun it from the front with the Boomerang, circle the central pillar and slash its exposed back.
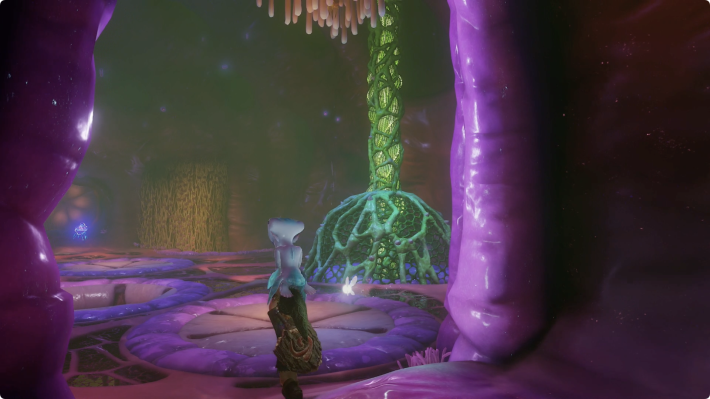
Could not save. Export your records before leaving.
Source maps and images
GameWith · 2026-11-06Source-based guide · individual gameplay conditions may need verification Maps and screenshots retain their source attribution. Third-party ownership and reuse terms are unchanged.
Step location is described in the guide; no precise map marker is available.
Walkthrough · 9 / 12
Ride up and freeze the platforms
Jabu-Jabu’s Belly
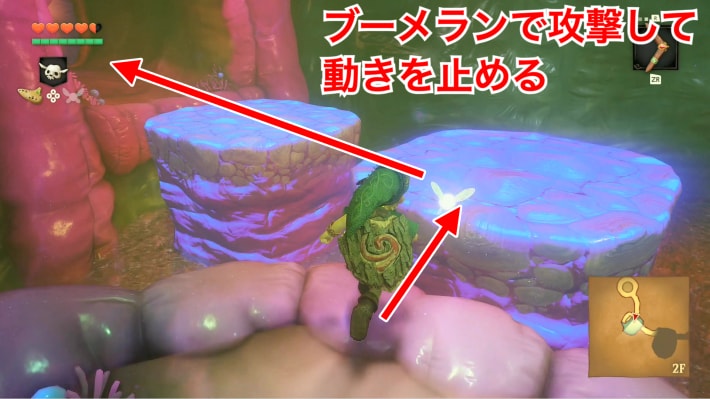
- After the fight, ride the central platform upward and take the southern passage. Hit the moving platforms to stop them briefly, then cross before they resume moving.
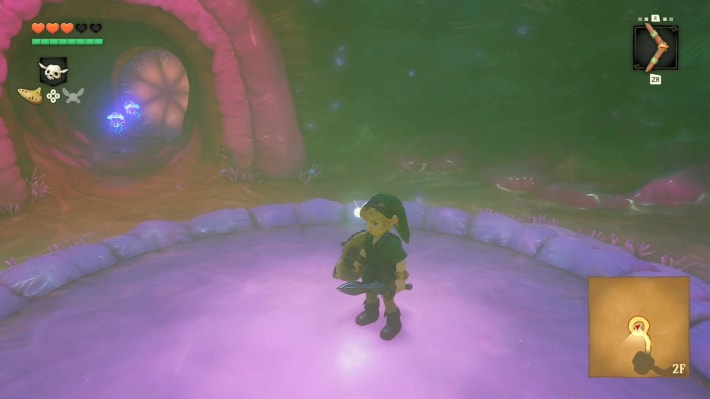
Could not save. Export your records before leaving.
Source maps and images
GameWith · 2026-11-06Source-based guide · individual gameplay conditions may need verification Maps and screenshots retain their source attribution. Third-party ownership and reuse terms are unchanged.
Step location is described in the guide; no precise map marker is available.
Walkthrough · 10 / 12
Weight the switch and open the boss door
Jabu-Jabu’s Belly
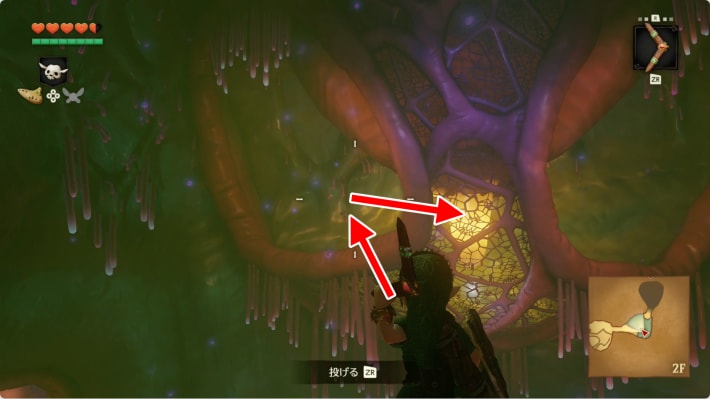
- Throw and carry the stone block from the south onto the floor switch. In the next room, clear the jellyfish, climb the eastern vines and lock onto the ceiling switch with the Boomerang. Exit north.
Could not save. Export your records before leaving.
Source maps and images
GameWith · 2026-11-06Source-based guide · individual gameplay conditions may need verification Maps and screenshots retain their source attribution. Third-party ownership and reuse terms are unchanged.
Step location is described in the guide; no precise map marker is available.
Walkthrough · 11 / 12
Defeat Barinade
Jabu-Jabu’s Belly
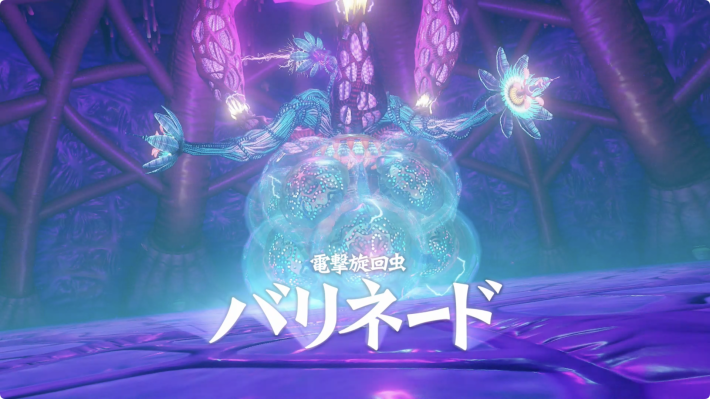
- Sever all ceiling tendrils with the Boomerang. Attack jellyfish only when their electricity stops; when the central body pauses, stun it and remove the remaining jellyfish. Finally stun its exposed airborne core and follow with sword attacks.
Could not save. Export your records before leaving.
Source maps and images
GameWith · 2026-11-06Source-based guide · individual gameplay conditions may need verification Maps and screenshots retain their source attribution. Third-party ownership and reuse terms are unchanged.
Walkthrough · 12 / 12
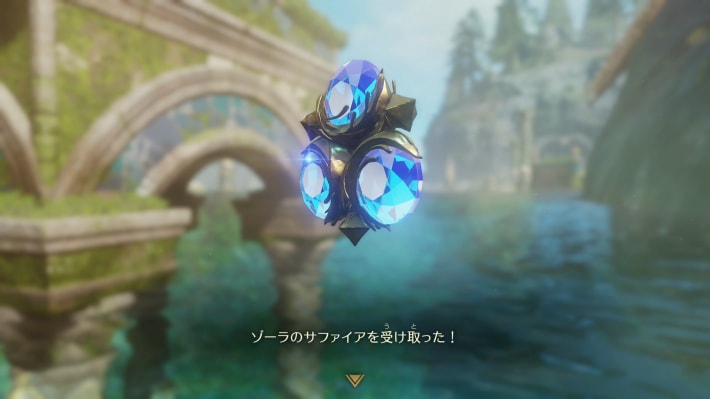
Collect the heart and Sapphire
Jabu-Jabu’s Belly
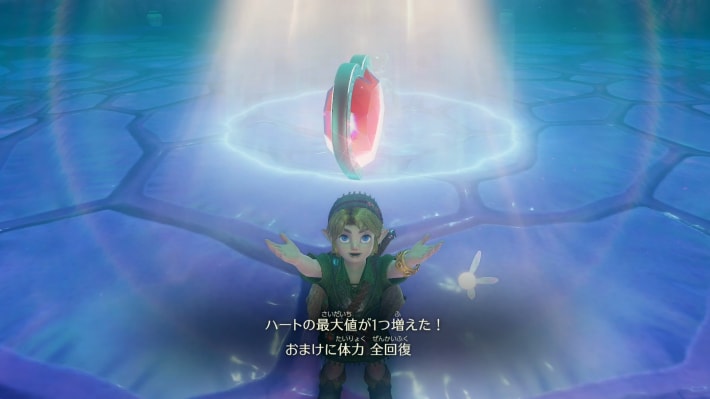
- Pick up the Heart Container before entering the blue warp. Choose to return with Ruto; the fountain scene awards the Zora’s Sapphire. Collectibles left inside are separate from finishing this chapter.
Could not save. Export your records before leaving.
Source maps and images
GameWith · 2026-11-06Source-based guide · individual gameplay conditions may need verification Maps and screenshots retain their source attribution. Third-party ownership and reuse terms are unchanged.
Step location is described in the guide; no precise map marker is available.
Related guides
Related Articles
dungeons
Bottom of the Well: Walkthrough (Switch 2)
Follow the Switch 2 route through Bottom of the Well: Drain the village well. Illustrated steps explain the actions, requirements and next objectives.
dungeons
Dodongo's Cavern: Walkthrough (Switch 2)
Follow the Switch 2 route through Dodongo's Cavern: Open the lobby and take the map. Illustrated steps explain the actions, requirements and next objectives.
dungeons
Fire Temple: Walkthrough (Switch 2)
Follow the Switch 2 route through Fire Temple: Rescue the first Goron. Illustrated steps explain the actions, requirements and next objectives.
Was this helpful?
Thanks for the feedback!