Death Mountain Crater: Walkthrough (Switch 2)
Follow the Switch 2 route through Death Mountain Crater: Enter with the Goron Tunic. Illustrated steps explain the actions, requirements and next objectives.
How do I complete this area?
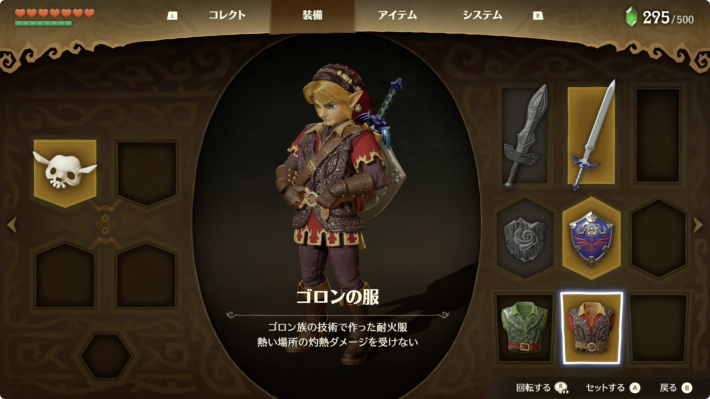
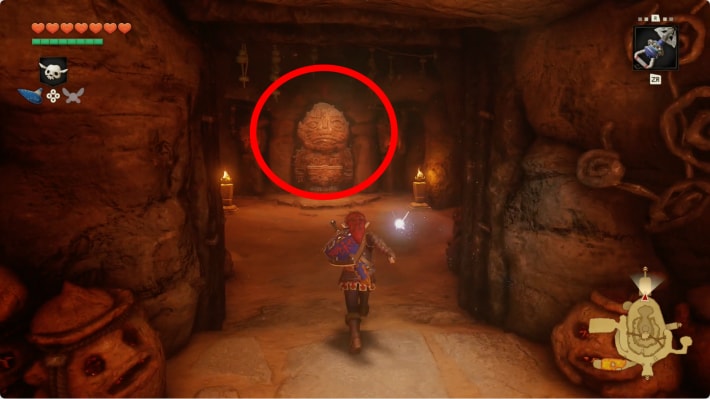
As an adult, stop the rolling Goron on Goron City’s third floor with a Bomb Flower and speak to him for the tunic. Equip it, go to Darunia’s lowest-level room and pull the statue to expose the crater passage.
Walkthrough · 1 / 3
Enter with the Goron Tunic
Death Mountain Crater
- As an adult, stop the rolling Goron on Goron City’s third floor with a Bomb Flower and speak to him for the tunic. Equip it, go to Darunia’s lowest-level room and pull the statue to expose the crater passage.
Could not save. Export your records before leaving.
Source maps and images
GameWith · 2026-11-06Source-based guide · individual gameplay conditions may need verification Maps and screenshots retain their source attribution. Third-party ownership and reuse terms are unchanged.
Step location is described in the guide; no precise map marker is available.
Walkthrough · 2 / 3
Cross the bridge and learn the Bolero
Death Mountain Crater
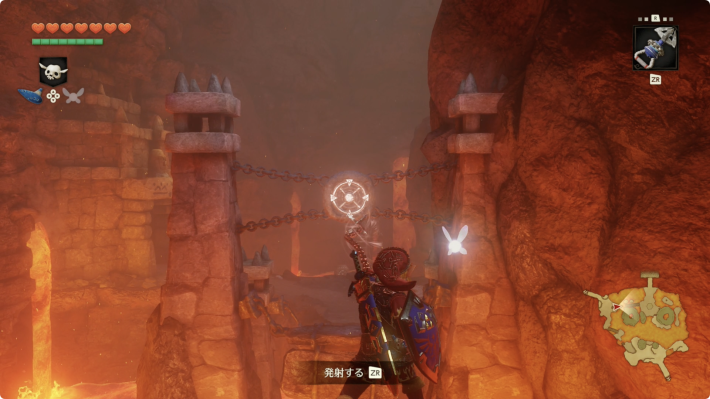
- Use the Hookshot across the broken bridge. Finish Sheik’s conversation to learn the Bolero of Fire, then continue north into the Fire Temple. The song provides a direct return route later.
Could not save. Export your records before leaving.
Source maps and images
GameWith · 2026-11-06Source-based guide · individual gameplay conditions may need verification Maps and screenshots retain their source attribution. Third-party ownership and reuse terms are unchanged.
Walkthrough · 3 / 3
Optional: plant now, collect as an adult
Death Mountain Crater
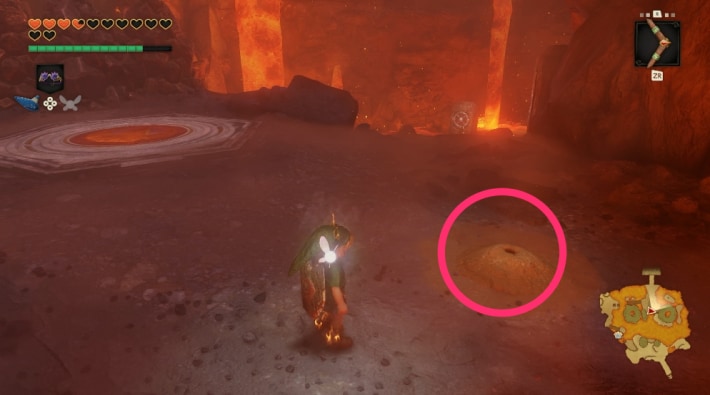
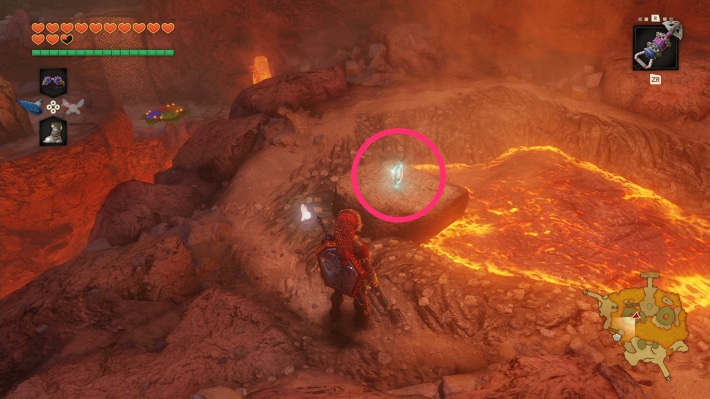
- After learning the Bolero and unlocking child travel, warp here as a child and plant a Magic Bean in the soil by the warp point. Return as an adult and ride the plant to the Heart Piece on the nearby rock.
Could not save. Export your records before leaving.
Source maps and images
GameWith · 2026-11-06Source-based guide · individual gameplay conditions may need verification Maps and screenshots retain their source attribution. Third-party ownership and reuse terms are unchanged.
Related guides
Related Articles
dungeons
Bottom of the Well: Walkthrough (Switch 2)
Follow the Switch 2 route through Bottom of the Well: Drain the village well. Illustrated steps explain the actions, requirements and next objectives.
dungeons
Dodongo's Cavern: Walkthrough (Switch 2)
Follow the Switch 2 route through Dodongo's Cavern: Open the lobby and take the map. Illustrated steps explain the actions, requirements and next objectives.
dungeons
Fire Temple: Walkthrough (Switch 2)
Follow the Switch 2 route through Fire Temple: Rescue the first Goron. Illustrated steps explain the actions, requirements and next objectives.
Was this helpful?
Thanks for the feedback!