Ganon's Castle: Walkthrough (Switch 2)
Follow the Switch 2 route through Ganon's Castle: Cross the rainbow bridge. Illustrated steps explain the actions, requirements and next objectives.
How do I complete this area?
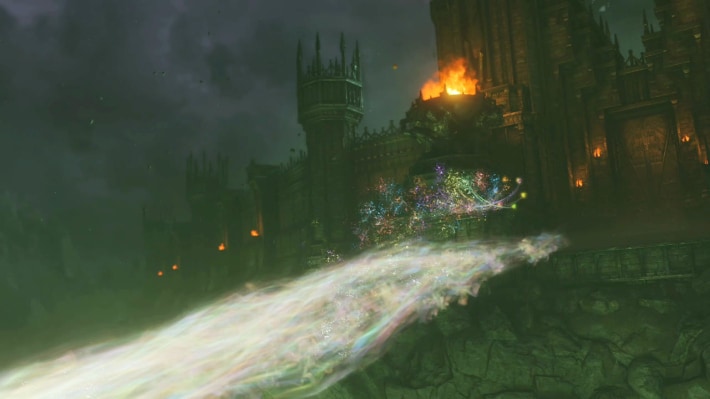
After the sage sequence, leave the Temple of Time and go north through the adult town. Stand at the cliff edge for the sages’ bridge, then cross and enter.
Walkthrough · 1 / 15
Cross the rainbow bridge
Adult · Final chapter
- After the sage sequence, leave the Temple of Time and go north through the adult town. Stand at the cliff edge for the sages' bridge, then cross and enter.
- Inside, reflect the Beamos beam with the Mirror Shield and keep away from its exploding head. Six barriers seal the central tower; start with the purple Shadow door.
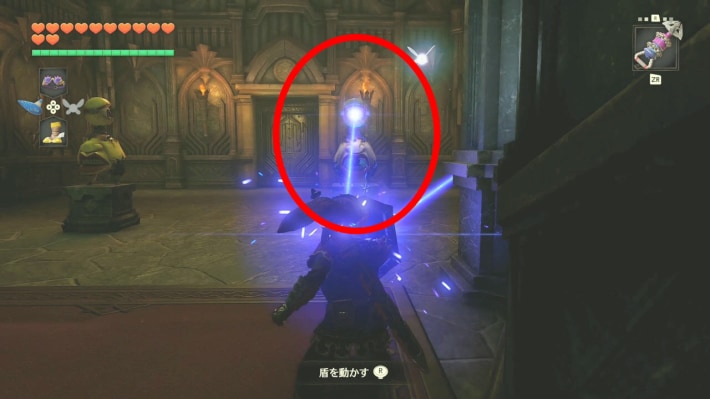
Result / next stop: Enter the six-trial hall.
Could not save. Export your records before leaving.
Source maps and images
GameWith · 2026-11-06Source-based guide · individual gameplay conditions may need verification Maps and screenshots retain their source attribution. Third-party ownership and reuse terms are unchanged.
Walkthrough · 2 / 15
Shadow trial: Golden Gauntlets
Adult · Final chapter
- Through the purple door, light the torch with a Fire Arrow to reveal platforms. Cross, kill the Like Like, then use Hover Boots over the floor gap.
- Use the Lens of Truth to follow the invisible path to the lower switch. Press it and open the chest that appears on the distant platform.
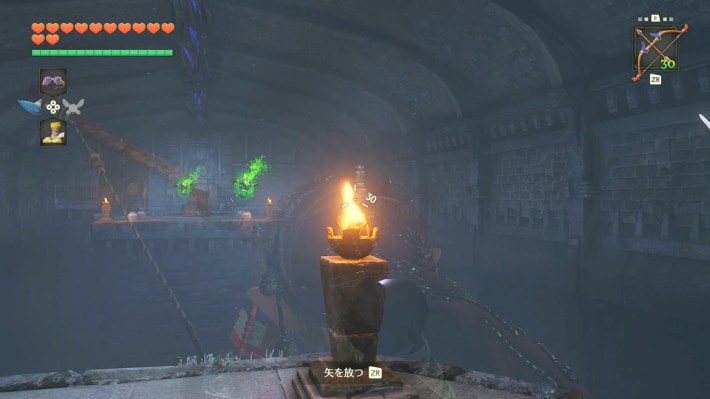
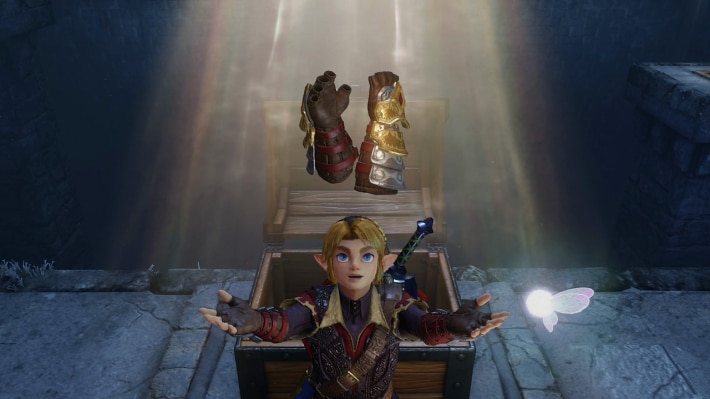
Result / next stop: Obtain the Golden Gauntlets.
Could not save. Export your records before leaving.
Source maps and images
GameWith · 2026-11-06Source-based guide · individual gameplay conditions may need verification Maps and screenshots retain their source attribution. Third-party ownership and reuse terms are unchanged.
Step location is described in the guide; no precise map marker is available.
Walkthrough · 3 / 15
Break the Shadow barrier
Adult · Final chapter
- Lift and throw the gold-marked pillar beside the chest. Follow the cleared passage and step on the far switch to remove the door bars.
- Use Hover Boots across the final gap, enter the purple door and shoot the black sphere with a Light Arrow.
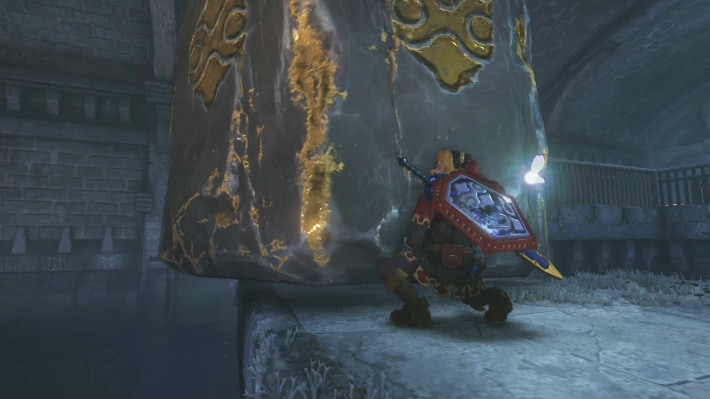
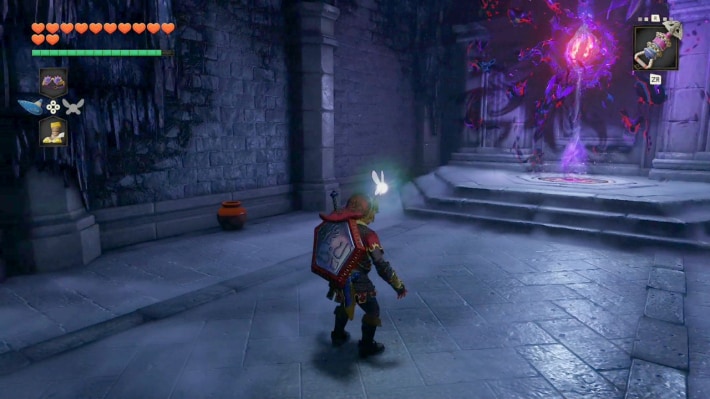
Result / next stop: The Shadow barrier falls; return to the hall.
Could not save. Export your records before leaving.
Source maps and images
GameWith · 2026-11-06Source-based guide · individual gameplay conditions may need verification Maps and screenshots retain their source attribution. Third-party ownership and reuse terms are unchanged.
Step location is described in the guide; no precise map marker is available.
Walkthrough · 4 / 15
Optional: strengthen your defense
Adult · Optional defense upgrade
- With the Golden Gauntlets, leave across the rainbow bridge and follow the cliff to the fountain. Throw aside its gold-marked pillar.
- Inside, play Zelda's Lullaby and offer 500 rupees. Return to the trials afterward.
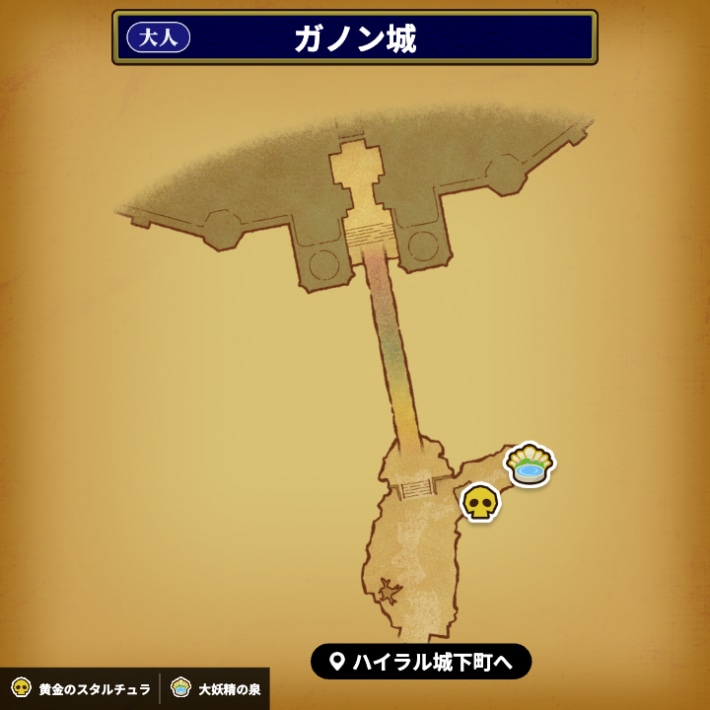
Result / next stop: The Great Fairy increases your defense.
Could not save. Export your records before leaving.
Source maps and images
GameWith · 2026-11-06Source-based guide · individual gameplay conditions may need verification Maps and screenshots retain their source attribution. Third-party ownership and reuse terms are unchanged.
Walkthrough · 5 / 15
Fire trial: five silver rupees
Adult · Final chapter
- Remove the pillar before the red door. Wear Hover Boots so platforms do not sink. Collect the first rupee, then the one on the rotating-flame platform.
- Throw the gold pillar: collect the rupee behind it, the one on the isolated fire-enemy platform, and the high one reached using the fallen pillar. Longshot the target right of the opened door and shoot the core with a Light Arrow.
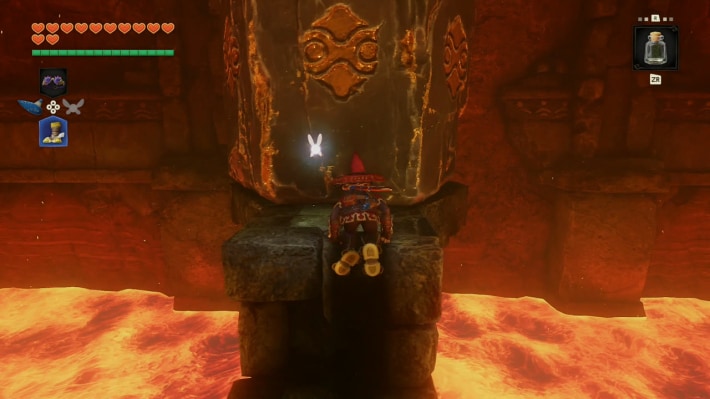
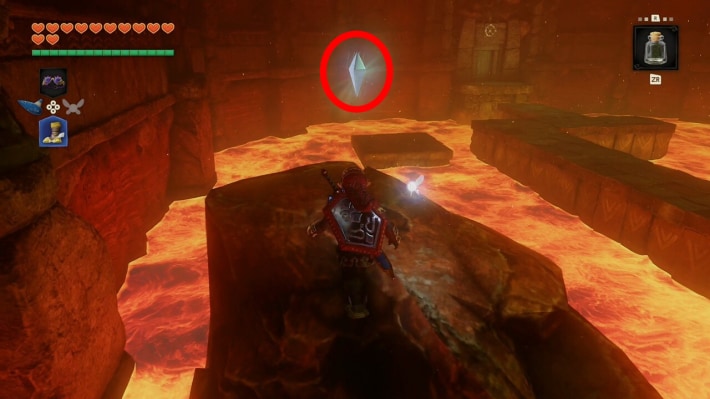
Result / next stop: The Fire barrier falls.
Could not save. Export your records before leaving.
Source maps and images
GameWith · 2026-11-06Source-based guide · individual gameplay conditions may need verification Maps and screenshots retain their source attribution. Third-party ownership and reuse terms are unchanged.
Step location is described in the guide; no precise map marker is available.
Walkthrough · 6 / 15
Light trial: reveal the hidden route
Adult · Final chapter
- Remove the pillar at the yellow door. Use the Lens to reveal and defeat every invisible enemy. In the next room, play Zelda's Lullaby on the crest for the small-key chest.
- Unlock the boulder room and collect five silver rupees; Longshot the ceiling target for the high one. Beyond the opened door, use the Lens to walk through the false end wall and shoot the core with a Light Arrow.
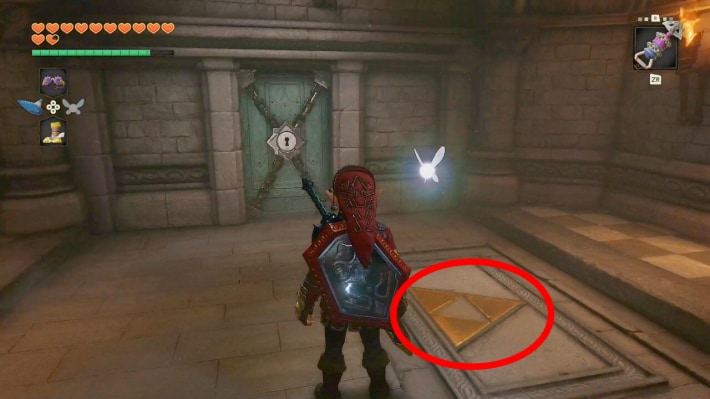
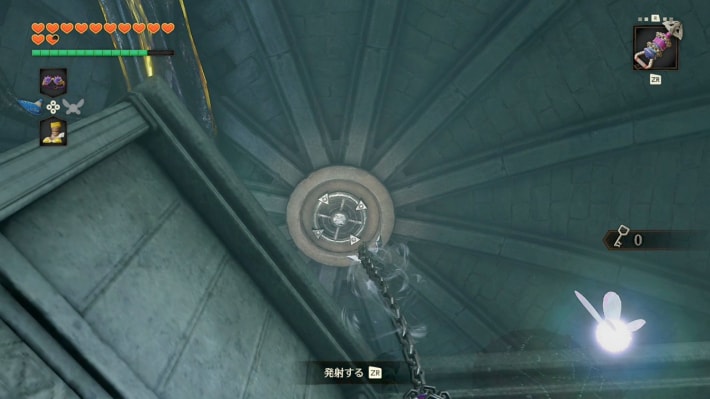
Result / next stop: The Light barrier falls.
Could not save. Export your records before leaving.
Source maps and images
GameWith · 2026-11-06Source-based guide · individual gameplay conditions may need verification Maps and screenshots retain their source attribution. Third-party ownership and reuse terms are unchanged.
Step location is described in the guide; no precise map marker is available.
Walkthrough · 7 / 15
Spirit trial: collect five rupees
Adult · Final chapter
- Enter the orange door. Reflect the Beamos beam with the Mirror Shield and collect the rupee behind it. Push statues to block the moving blades for the second and wall-side fifth rupees.
- Longshot the ceiling target for the third. Bomb the red-eyed statue near the rear door, then push a statue to shield yourself while collecting the fourth on the carpet.
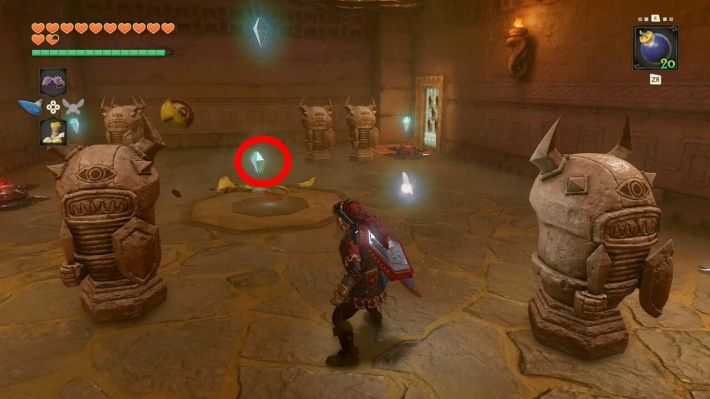
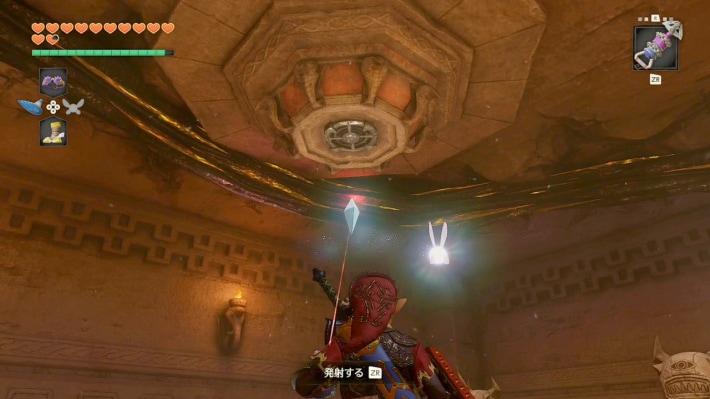
Result / next stop: All five rupees open the next door.
Could not save. Export your records before leaving.
Source maps and images
GameWith · 2026-11-06Source-based guide · individual gameplay conditions may need verification Maps and screenshots retain their source attribution. Third-party ownership and reuse terms are unchanged.
Step location is described in the guide; no precise map marker is available.
Walkthrough · 8 / 15
Spirit trial: Bombchu and sunlight
Adult · Final chapter
- Send a Bombchu through the gap above the bars to hit the switch behind them. In the upper room, burn the ceiling web with a Fire Arrow.
- Stand in the sunlight and face the entrance: reflect light onto the sun mural to its right. The correct mural glows green; false ones glow red and summon enemies. Enter and shoot the core with a Light Arrow.
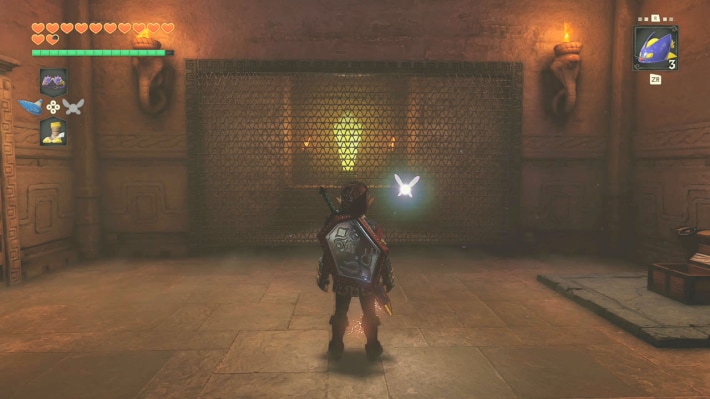
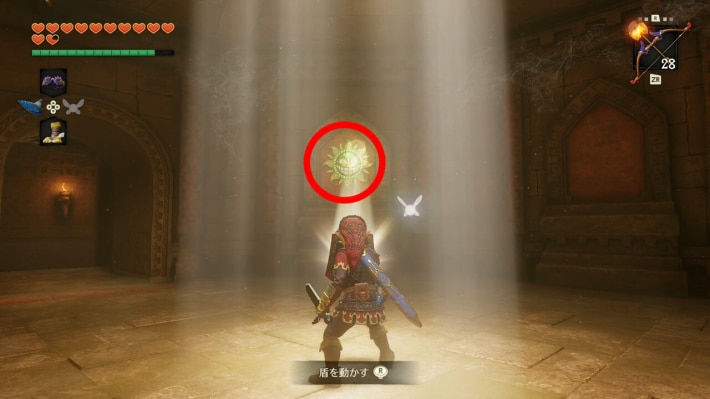
Result / next stop: The Spirit barrier falls.
Could not save. Export your records before leaving.
Source maps and images
GameWith · 2026-11-06Source-based guide · individual gameplay conditions may need verification Maps and screenshots retain their source attribution. Third-party ownership and reuse terms are unchanged.
Step location is described in the guide; no precise map marker is available.
Walkthrough · 9 / 15
Forest trial: torches and wind
Adult · Final chapter
- Through the green door, block and counter the Wolfos. Light floor torches with Din's Fire and the torch above the door with a Fire Arrow.
- For the five rupees: summon a Time Block for the first; use Hover Boots across the high octagonal platform for the second; press the switch and Longshot the new pillar for the third; jump to the wall ledge for the fourth; approach the fan right of the exit for the fifth. Shoot the core with light.
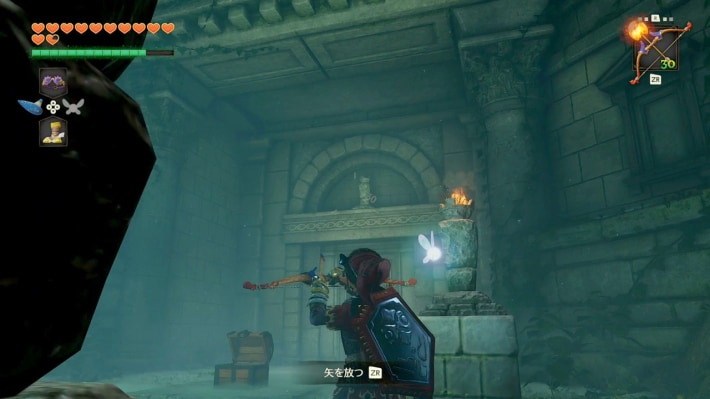
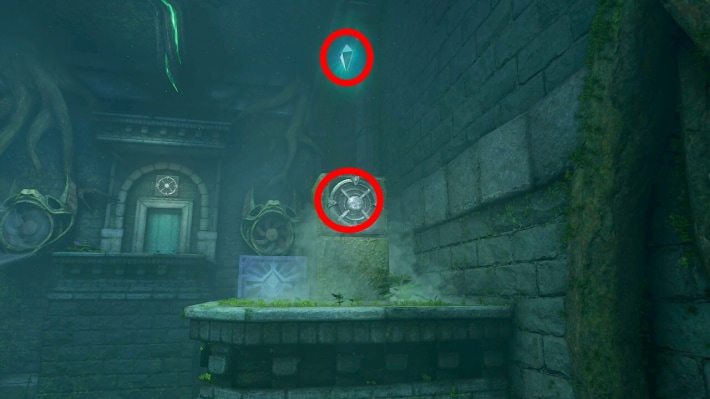
Result / next stop: The Forest barrier falls.
Could not save. Export your records before leaving.
Source maps and images
GameWith · 2026-11-06Source-based guide · individual gameplay conditions may need verification Maps and screenshots retain their source attribution. Third-party ownership and reuse terms are unchanged.
Step location is described in the guide; no precise map marker is available.
Walkthrough · 10 / 15
Water trial: fill the gaps with ice
Adult · Final chapter
- Enter the pale-blue door and defeat the ice enemies. Bottle Blue Fire, melt the rear red ice, then refill the bottle before leaving.
- Push the first ice block into the central hole to form floor. Push the second across it to the small ice pillar, then into the groove below the raised red ice. Climb, melt that ice and hammer the large switch. Enter and shoot the core with light.
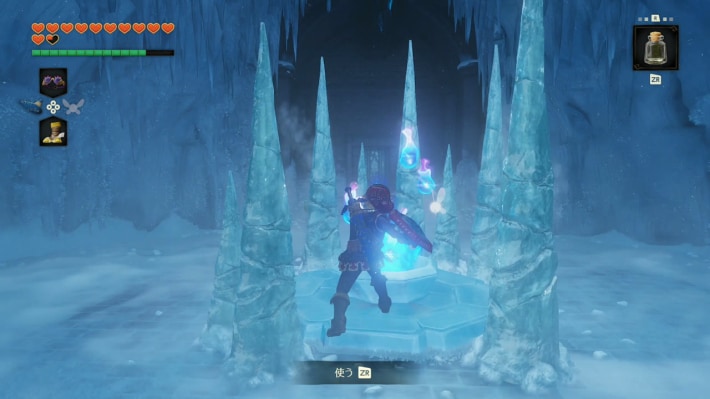
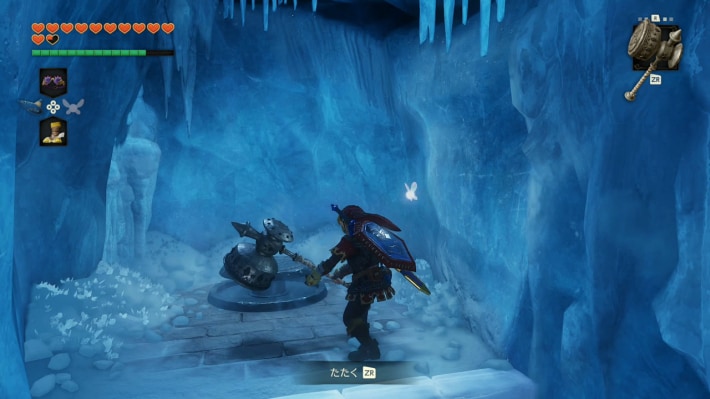
Result / next stop: The Water barrier falls; six cleared barriers open the tower.
Could not save. Export your records before leaving.
Source maps and images
GameWith · 2026-11-06Source-based guide · individual gameplay conditions may need verification Maps and screenshots retain their source attribution. Third-party ownership and reuse terms are unchanged.
Step location is described in the guide; no precise map marker is available.
Walkthrough · 11 / 15
Climb the central tower
Adult · Final chapter
- After all six barriers fall, cross into the tower. Defeat two Dinolfos, then two Stalfos in successive rooms by blocking and countering; avoid being surrounded.
- Against the two Iron Knuckles, stay out of axe range and strike after a swing; they speed up when armor breaks. Take the Boss Key, climb the purple stairs and unlock the chained door.
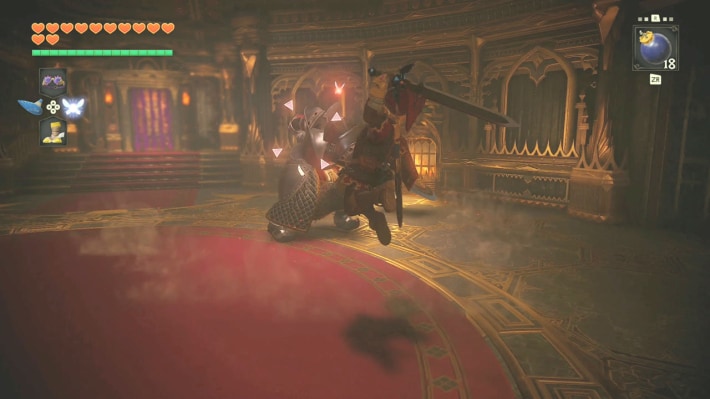
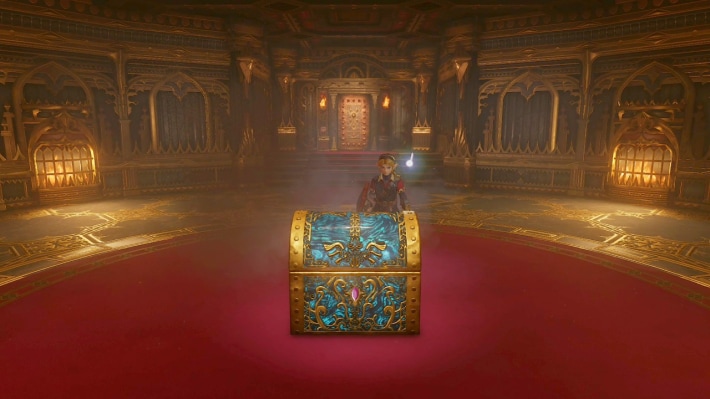
Result / next stop: Reach Ganondorf's chamber.
Could not save. Export your records before leaving.
Source maps and images
GameWith · 2026-11-06Source-based guide · individual gameplay conditions may need verification Maps and screenshots retain their source attribution. Third-party ownership and reuse terms are unchanged.
Step location is described in the guide; no precise map marker is available.
Walkthrough · 12 / 15
Defeat Ganondorf
Adult · Final chapter
- Return his energy ball with sword swings until it hits him, then shoot a Light Arrow to knock him down. Longshot toward him and attack with the sword.
- Use a spin attack against the multiple-ball volley, or shoot light while he charges. The green corner floors do not collapse; drop downstairs for recovery if necessary.
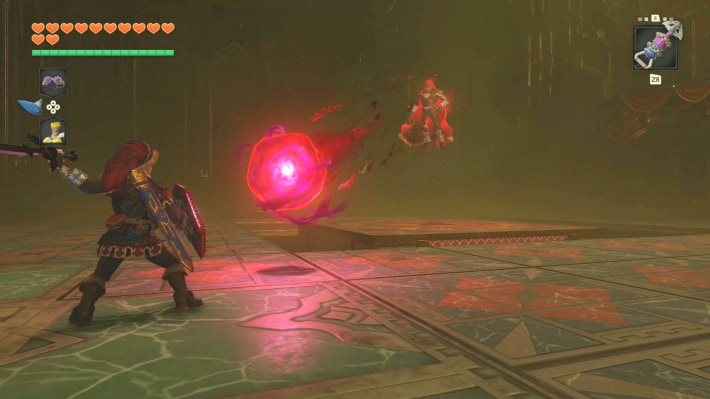
Result / next stop: Defeat Ganondorf and begin escaping with Zelda.
Could not save. Export your records before leaving.
Source maps and images
GameWith · 2026-11-06Source-based guide · individual gameplay conditions may need verification Maps and screenshots retain their source attribution. Third-party ownership and reuse terms are unchanged.
Step location is described in the guide; no precise map marker is available.
Walkthrough · 13 / 15
Escape the collapsing castle
Adult · Final chapter
- Stay with Zelda while she opens barred gates; avoid fire and falling rubble. When separated, defeat both Stalfos to reunite.
- Longshot the pillar target across the broken path to carry Zelda over. While she freezes enemies, bomb the cracked wall for a new route. Clear enemies held in her light and wait with her at the final gate until she opens it.
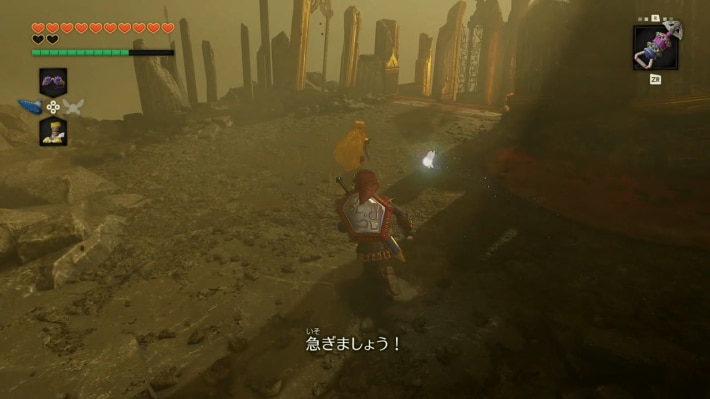
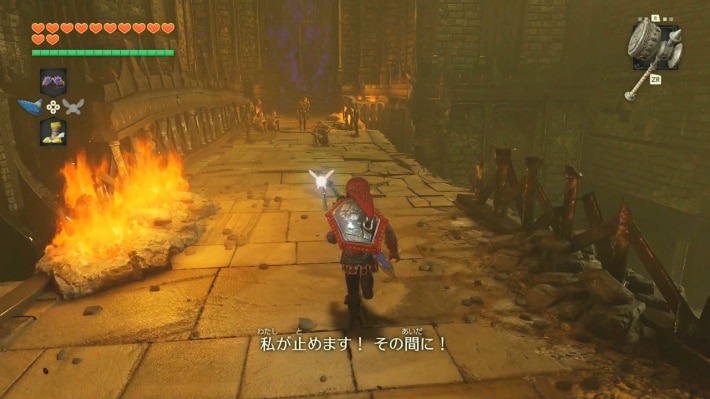
Result / next stop: Leave together and approach the rubble after the conversation.
Could not save. Export your records before leaving.
Source maps and images
GameWith · 2026-11-06Source-based guide · individual gameplay conditions may need verification Maps and screenshots retain their source attribution. Third-party ownership and reuse terms are unchanged.
Step location is described in the guide; no precise map marker is available.
Walkthrough · 14 / 15
Ganon: attack the tail crystal
Adult · Final chapter
- The Master Sword is knocked away at the start. Stun Ganon's face with Light Arrows, get behind him and strike the purple tail crystal with the Megaton Hammer.
- Break rubble when you need hearts or magic jars.
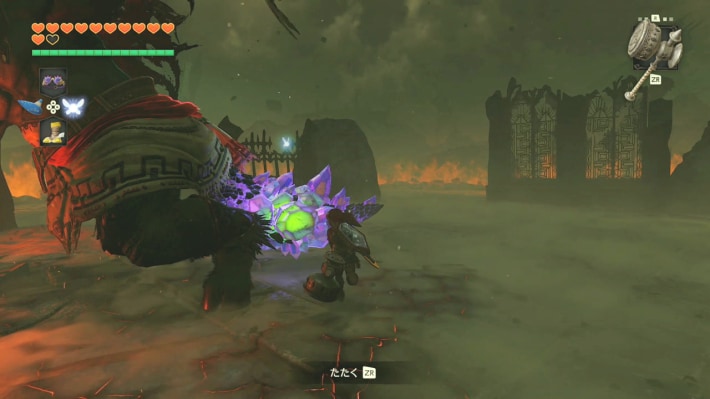
Result / next stop: Continue until Zelda returns the Master Sword.
Could not save. Export your records before leaving.
Source maps and images
GameWith · 2026-11-06Source-based guide · individual gameplay conditions may need verification Maps and screenshots retain their source attribution. Third-party ownership and reuse terms are unchanged.
Step location is described in the guide; no precise map marker is available.
Walkthrough · 15 / 15
Ganon: arms, eye and final blow
Adult · Final chapter
- With the Master Sword restored, attack the red weak spots on both arms. After breaking them, survive until Zelda suppresses Ganon's power.
- Attack the eye that appears on his forehead. When he collapses and the finishing prompt appears, use the Master Sword to deliver the final blow.
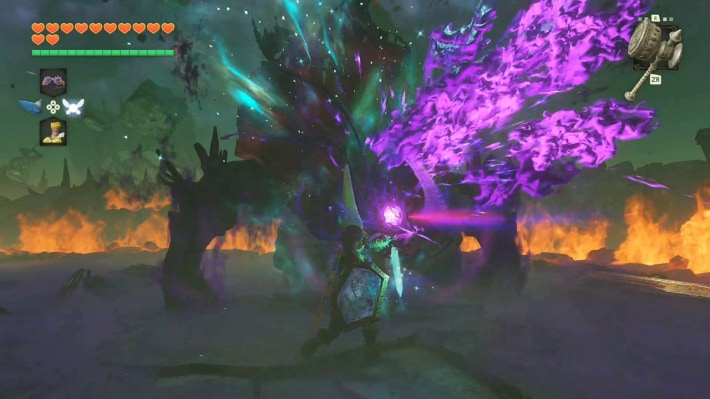
Result / next stop: The ending begins.
Could not save. Export your records before leaving.
Source maps and images
GameWith · 2026-11-06Source-based guide · individual gameplay conditions may need verification Maps and screenshots retain their source attribution. Third-party ownership and reuse terms are unchanged.
Step location is described in the guide; no precise map marker is available.
Related guides
Related Articles
dungeons
Bottom of the Well: Walkthrough (Switch 2)
Follow the Switch 2 route through Bottom of the Well: Drain the village well. Illustrated steps explain the actions, requirements and next objectives.
dungeons
Dodongo's Cavern: Walkthrough (Switch 2)
Follow the Switch 2 route through Dodongo's Cavern: Open the lobby and take the map. Illustrated steps explain the actions, requirements and next objectives.
dungeons
Fire Temple: Walkthrough (Switch 2)
Follow the Switch 2 route through Fire Temple: Rescue the first Goron. Illustrated steps explain the actions, requirements and next objectives.
Was this helpful?
Thanks for the feedback!