Ice Cavern: Walkthrough (Switch 2)
Follow the Switch 2 route through Ice Cavern: Reach the cave. Illustrated steps explain the actions, requirements and next objectives.
How do I complete this area?
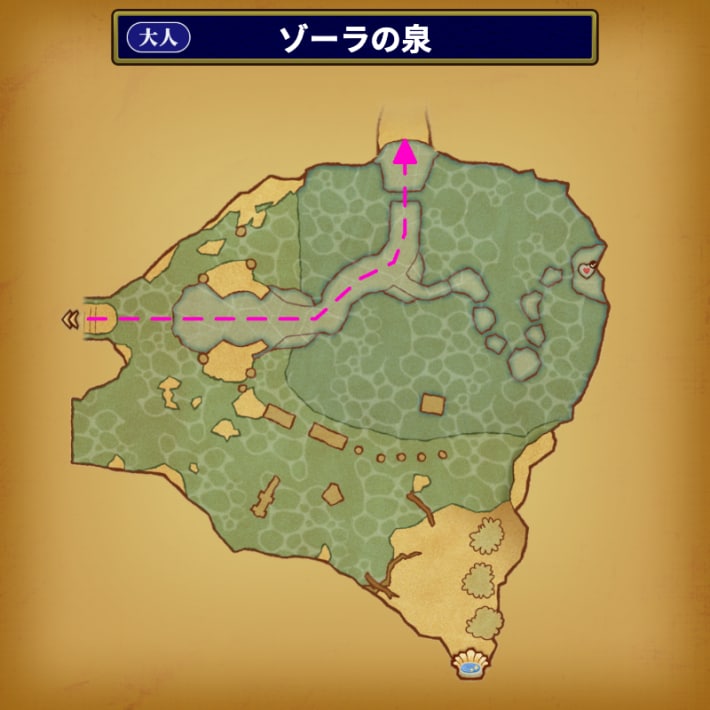
As adult Link, pass the frozen king into Zora’s Fountain. Jump across the floating ice to the northern cave.
Walkthrough · 1 / 6
Reach the cave
Zora's Fountain
- As adult Link, pass the frozen king into Zora’s Fountain. Jump across the floating ice to the northern cave.
- If you fall, climb the second ice floe from shore.
Could not save. Export your records before leaving.
Source maps and images
GameWith · 2026-11-06Source-based guide · individual gameplay conditions may need verification Maps and screenshots retain their source attribution. Third-party ownership and reuse terms are unchanged.
Step location is described in the guide; no precise map marker is available.
Walkthrough · 2 / 6
Clear the blade room
Ice Cavern
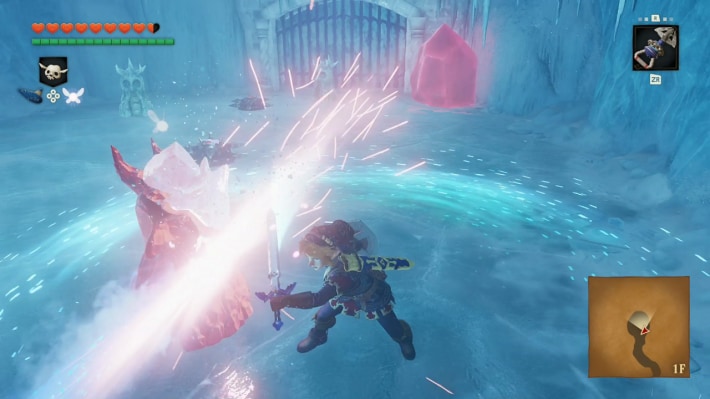
- Break icicles and defeat all three Freezards; sidestep their breath.
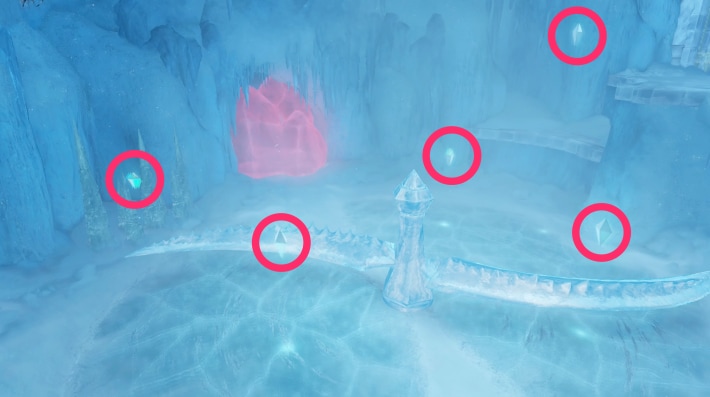
- Collect five silver rupees: three by the blade, one inside blue icicles and one reached from the raised ledge.
Could not save. Export your records before leaving.
Source maps and images
GameWith · 2026-11-06Source-based guide · individual gameplay conditions may need verification Maps and screenshots retain their source attribution. Third-party ownership and reuse terms are unchanged.
Walkthrough · 3 / 6
Bottle the blue fire
Ice Cavern
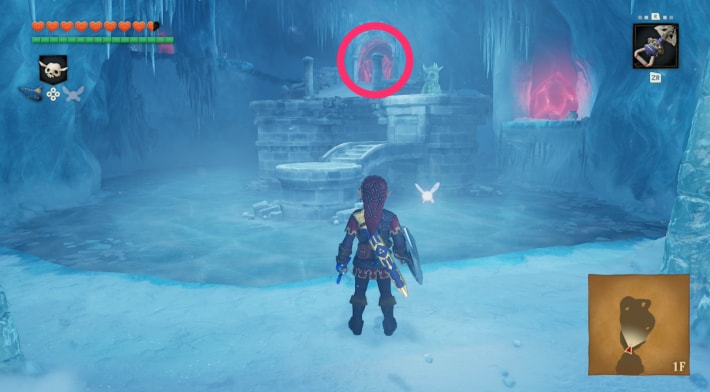
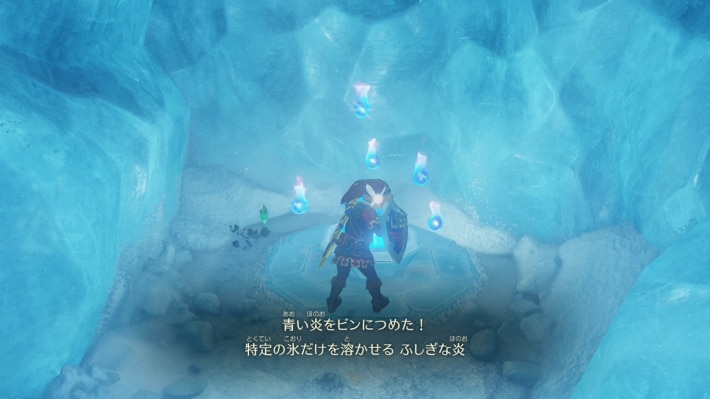
- Clear the enemies and climb toward the northeast red ice. Bottle the blue flame and melt the red ice to obtain the map.
- Refill, return to the blade room and melt its western red ice; east is the optional compass.
Could not save. Export your records before leaving.
Source maps and images
GameWith · 2026-11-06Source-based guide · individual gameplay conditions may need verification Maps and screenshots retain their source attribution. Third-party ownership and reuse terms are unchanged.
Walkthrough · 4 / 6
Slide the ice block
Ice Cavern
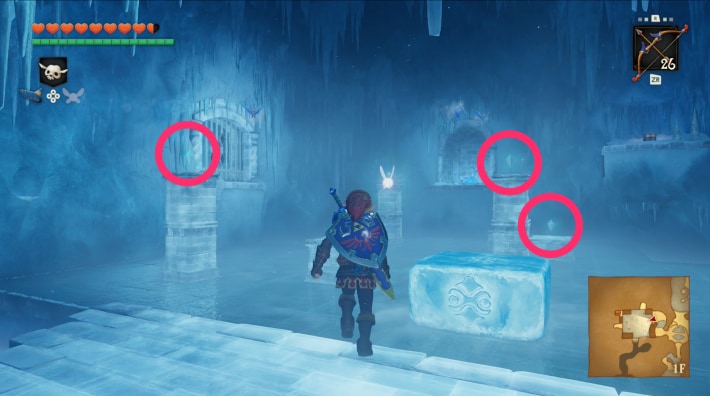
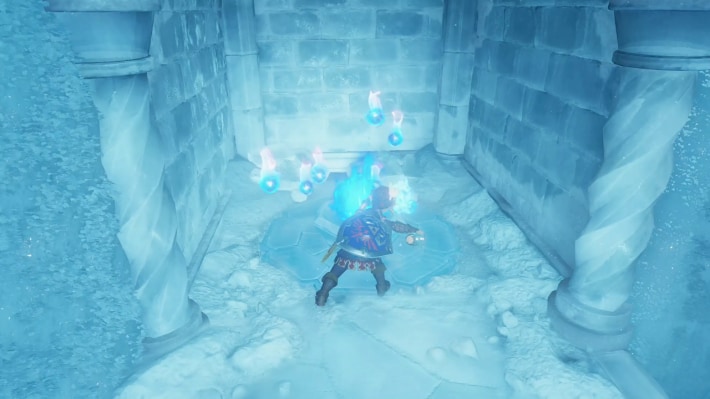
- Collect five silver rupees: one on foot, three using the sliding block as a step, and one beneath red ice melted with blue fire.
- A misplaced block resets if pushed into the water. Refill blue fire southwest before leaving.
Could not save. Export your records before leaving.
Source maps and images
GameWith · 2026-11-06Source-based guide · individual gameplay conditions may need verification Maps and screenshots retain their source attribution. Third-party ownership and reuse terms are unchanged.
Step location is described in the guide; no precise map marker is available.
Walkthrough · 5 / 6
Iron Boots and the Serenade
Ice Cavern
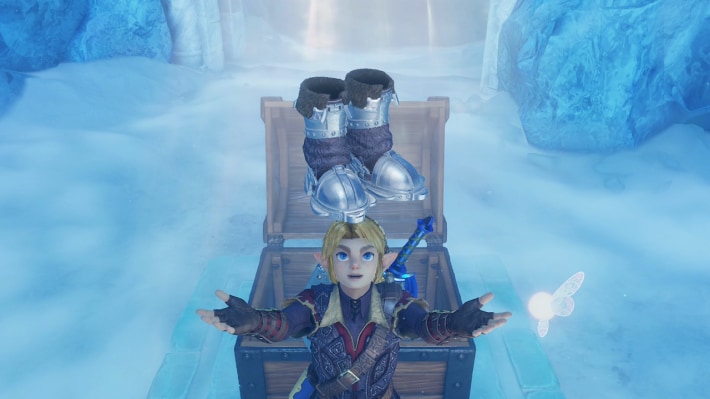
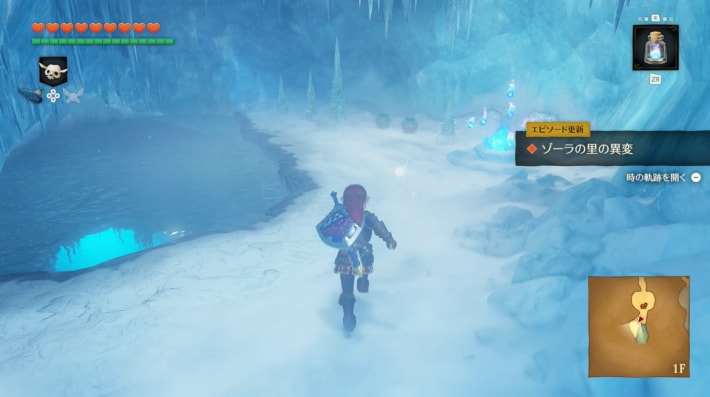
- Melt the passage ice. Let the White Wolfos miss its attack, then strike its back.
- Open the chest for Iron Boots and learn the Serenade of Water. Refill blue fire beyond the boss room, then sink through the exit with the boots.
Could not save. Export your records before leaving.
Source maps and images
GameWith · 2026-11-06Source-based guide · individual gameplay conditions may need verification Maps and screenshots retain their source attribution. Third-party ownership and reuse terms are unchanged.
Walkthrough · 6 / 6
Thaw King Zora
Zora's Domain
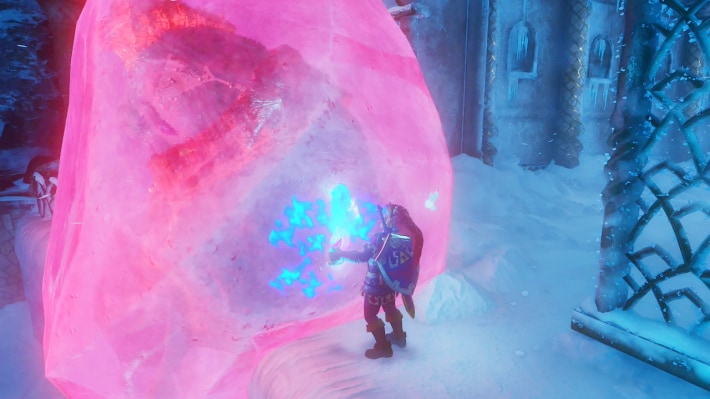
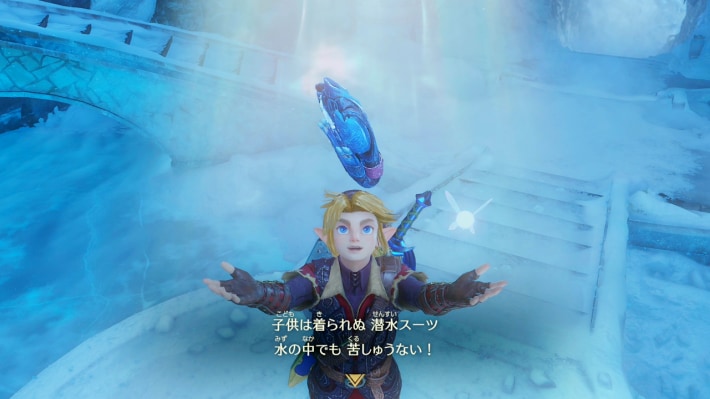
- Return to Zora’s Domain carrying blue fire. Use it on the red ice around King Zora.
- Speak to him from the platform to receive the Zora Tunic before entering the Water Temple.
Could not save. Export your records before leaving.
Source maps and images
GameWith · 2026-11-06Source-based guide · individual gameplay conditions may need verification Maps and screenshots retain their source attribution. Third-party ownership and reuse terms are unchanged.
Step location is described in the guide; no precise map marker is available.
Related guides
Related Articles
dungeons
Bottom of the Well: Walkthrough (Switch 2)
Follow the Switch 2 route through Bottom of the Well: Drain the village well. Illustrated steps explain the actions, requirements and next objectives.
dungeons
Dodongo's Cavern: Walkthrough (Switch 2)
Follow the Switch 2 route through Dodongo's Cavern: Open the lobby and take the map. Illustrated steps explain the actions, requirements and next objectives.
dungeons
Fire Temple: Walkthrough (Switch 2)
Follow the Switch 2 route through Fire Temple: Rescue the first Goron. Illustrated steps explain the actions, requirements and next objectives.
Was this helpful?
Thanks for the feedback!