Water Temple Remake Guide: Water Levels, Longshot & Morpha
Follow the Switch 2 Water Temple guide through water levels, key chests, Dark Link, the Longshot and Morpha, with illustrated room-by-room instructions.
Where should I resume?
Work through low, middle and high water, collect the keys on the route and defeat Dark Link for the Longshot. The 12 illustrated steps below continue through the river, Boss Key and Morpha. Match the room and water state before following the next action.
- Meet Ruto and lower the water
- First small key
- Opposite passage: second key
- Middle water and third key
- Raise the water fully
- Waterfall and dragon platforms
- Dark Link and the Longshot
- Escape the whirlpool river
- Lower the water again
- Middle-water block key
- Northern route to the Boss Key
- Reach and defeat Morpha
How do I finish this chapter?
Walkthrough · 1 / 12
Meet Ruto and lower the water
Water Temple
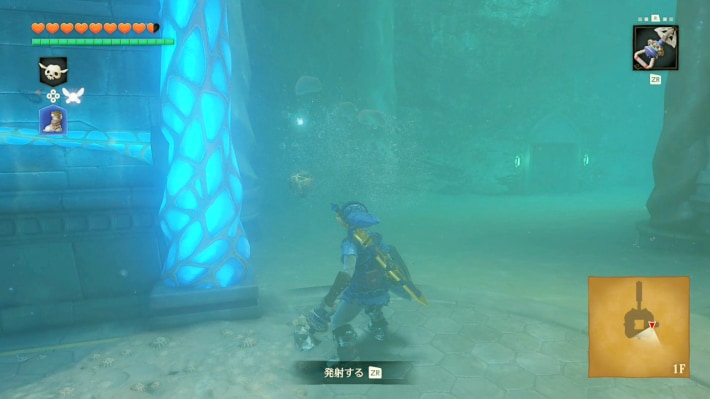
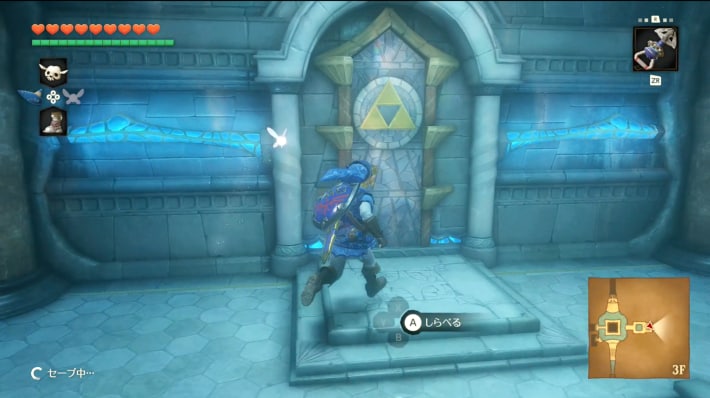
- From the central hall, sink with Iron Boots and enter the eastern passage marked by torches. After meeting Ruto, remove the boots and rise to the map chest.
- Play Zelda’s Lullaby at the royal crest to drain the hall, then drop back to the bottom.
Could not save. Export your records before leaving.
Source maps and images
GameWith · 2026-11-06Source-based guide · individual gameplay conditions may need verification Maps and screenshots retain their source attribution. Third-party ownership and reuse terms are unchanged.
Walkthrough · 2 / 12
First small key
Water Temple
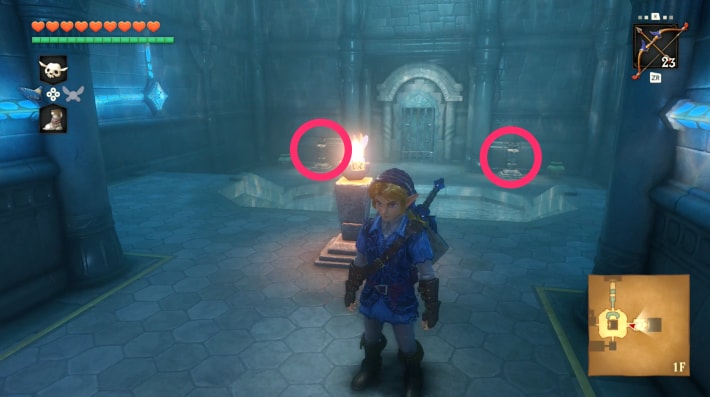
- Light both unlit torches with arrows through the central flame, or use Din’s Fire.
- Enter the opened room and defeat all three Spikes. Break their spikes with one hit, then hit again; open the key chest.
Could not save. Export your records before leaving.
Source maps and images
GameWith · 2026-11-06Source-based guide · individual gameplay conditions may need verification Maps and screenshots retain their source attribution. Third-party ownership and reuse terms are unchanged.
Walkthrough · 3 / 12
Opposite passage: second key
Water Temple
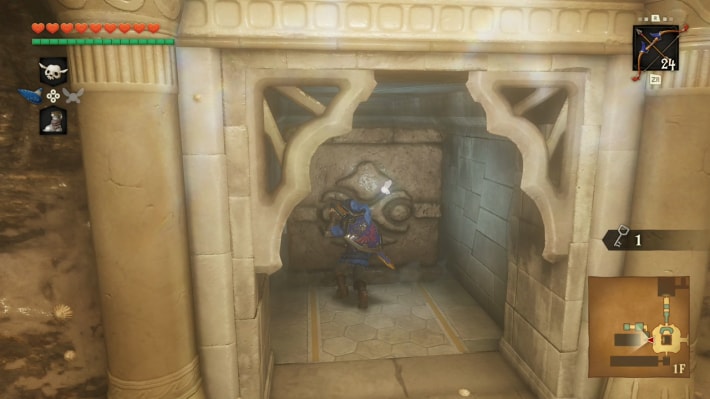
- Return to the hall, enter the opposite passage and push its blocking cube. Hookshot the clams when they open, then surface.
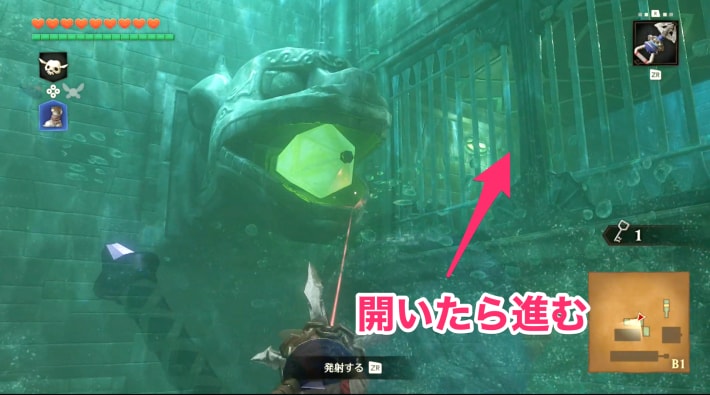
- In the next room, sink and activate the underwater switch. Pass the raised grate, defeat two clams and surface to the second key chest.
Could not save. Export your records before leaving.
Source maps and images
GameWith · 2026-11-06Source-based guide · individual gameplay conditions may need verification Maps and screenshots retain their source attribution. Third-party ownership and reuse terms are unchanged.
Step location is described in the guide; no precise map marker is available.
Walkthrough · 4 / 12
Middle water and third key
Water Temple
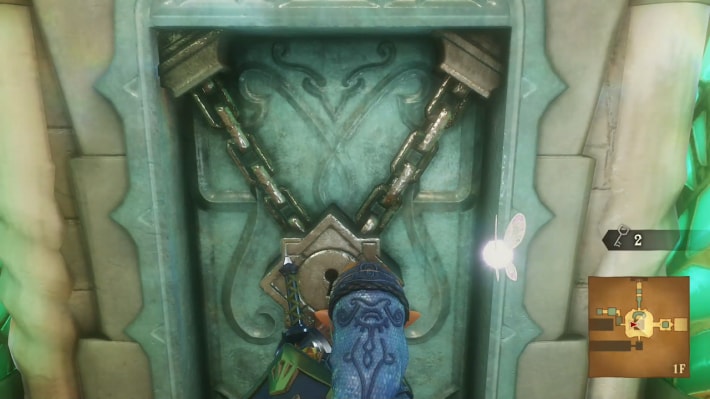
- Unlock the central tower and Hookshot to its second-floor target. Play Zelda’s Lullaby at the crest to raise the water to the middle level.
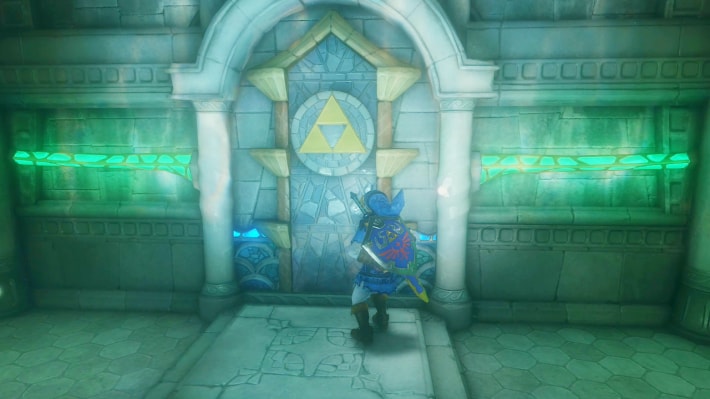
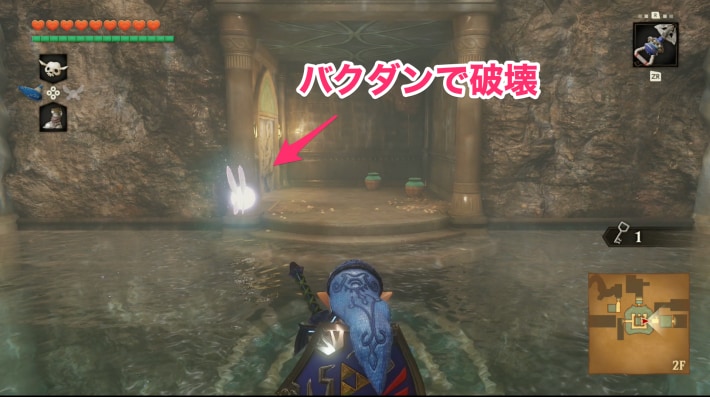
- Exit onto the floating platform; cross to the wall facing the exit and bomb it. Follow the passage, activate its switch, board the lowered platform and activate again to reach the key chest.
Could not save. Export your records before leaving.
Source maps and images
GameWith · 2026-11-06Source-based guide · individual gameplay conditions may need verification Maps and screenshots retain their source attribution. Third-party ownership and reuse terms are unchanged.
Step location is described in the guide; no precise map marker is available.
Walkthrough · 5 / 12
Raise the water fully
Water Temple
- Return to the hall and unlock the western room. Clear the enemies, stand on the water-jet floor and shoot the distant switch to ride up.
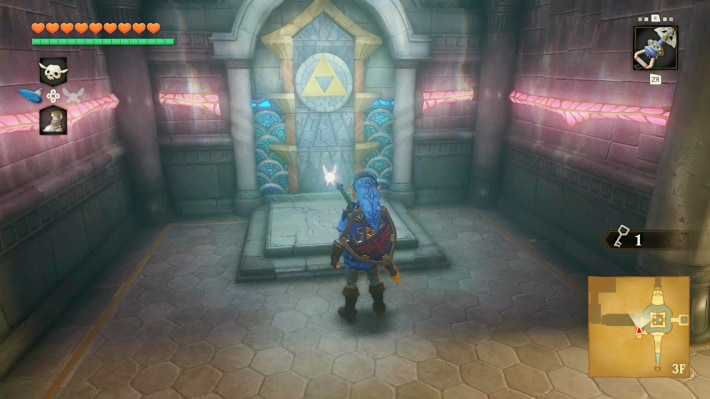
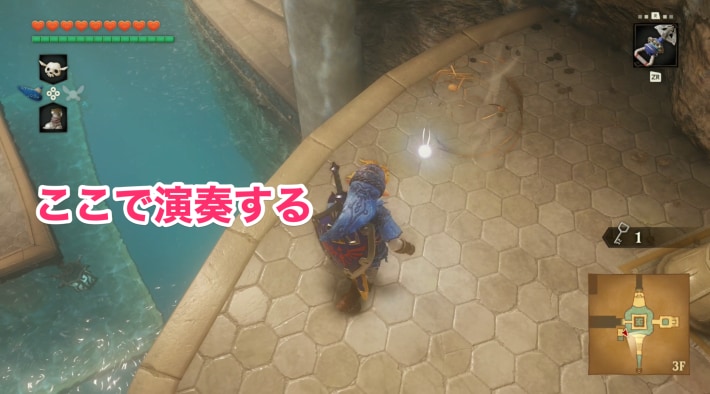
- Play Zelda’s Lullaby at the upper crest. If you know the Scarecrow’s Song, summon it beside this crest now for a later return.
Could not save. Export your records before leaving.
Source maps and images
GameWith · 2026-11-06Source-based guide · individual gameplay conditions may need verification Maps and screenshots retain their source attribution. Third-party ownership and reuse terms are unchanged.
Step location is described in the guide; no precise map marker is available.
Walkthrough · 6 / 12
Waterfall and dragon platforms
Water Temple
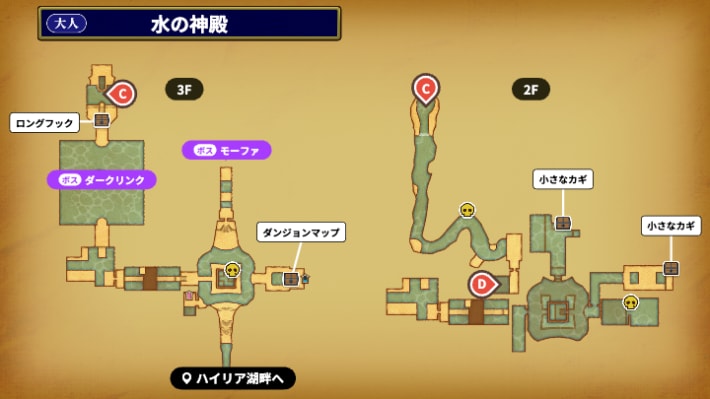
- Unlock the west door on the third floor and Hookshot across the moving waterfall platforms.
- In the dragon room, toggle the centre switch: reach the west dragon, toggle and use the wall target to reach the north platform. Reach the third dragon, lower it, stand on it and toggle again to ride up.
Could not save. Export your records before leaving.
Source maps and images
GameWith · 2026-11-06Source-based guide · individual gameplay conditions may need verification Maps and screenshots retain their source attribution. Third-party ownership and reuse terms are unchanged.
Step location is described in the guide; no precise map marker is available.
Walkthrough · 7 / 12
Dark Link and the Longshot
Water Temple
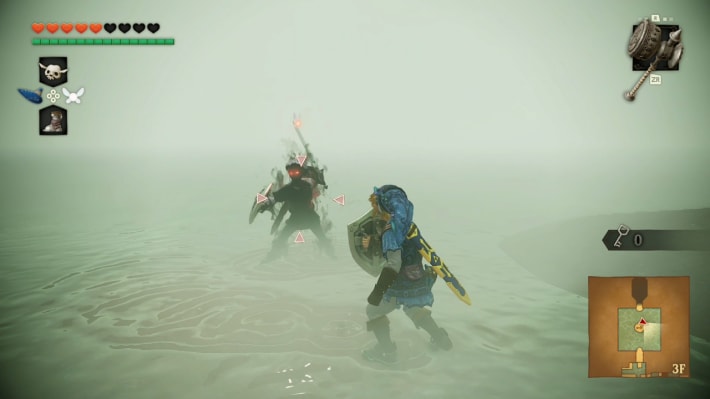
- Enter the misty room and defeat Dark Link. After he disappears and returns more aggressive, bait attacks and punish the recovery.
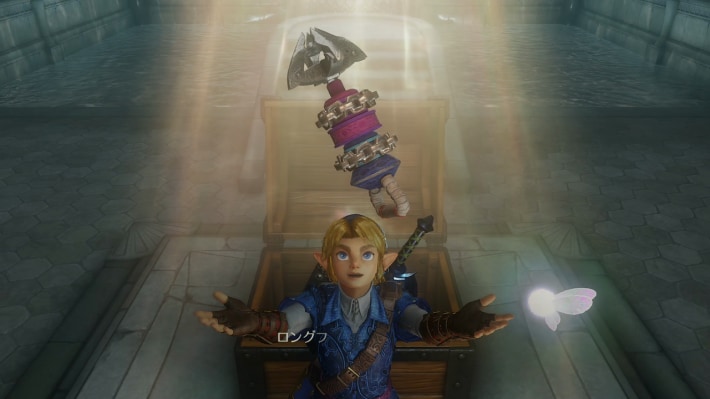
- Enter the building beyond the fight and open the Longshot chest; its extended reach is required for the next rooms.
Could not save. Export your records before leaving.
Source maps and images
GameWith · 2026-11-06Source-based guide · individual gameplay conditions may need verification Maps and screenshots retain their source attribution. Third-party ownership and reuse terms are unchanged.
Walkthrough · 8 / 12
Escape the whirlpool river
Water Temple
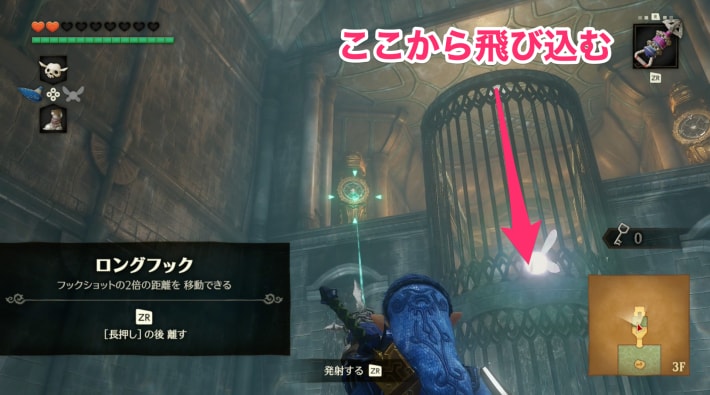
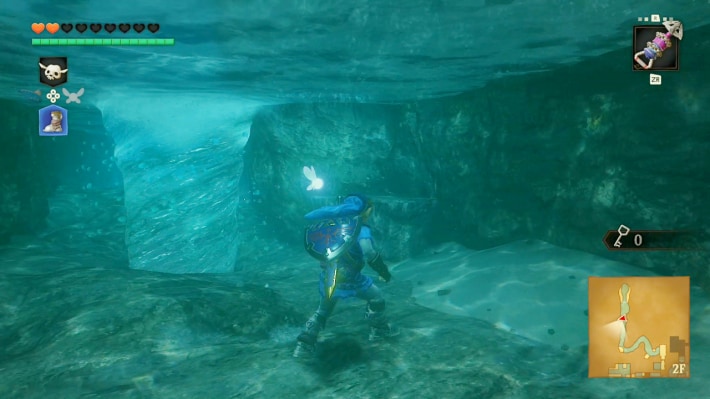
- Longshot the target north of the chest room and drop down its hole. Walk underwater with Iron Boots, keeping away from the whirlpools.
- Climb the rock before the grate, shoot the eye above it and quickly Longshot the target beyond. Continue via the chest and water route back to the hall.
Could not save. Export your records before leaving.
Source maps and images
GameWith · 2026-11-06Source-based guide · individual gameplay conditions may need verification Maps and screenshots retain their source attribution. Third-party ownership and reuse terms are unchanged.
Step location is described in the guide; no precise map marker is available.
Walkthrough · 9 / 12
Lower the water again
Water Temple
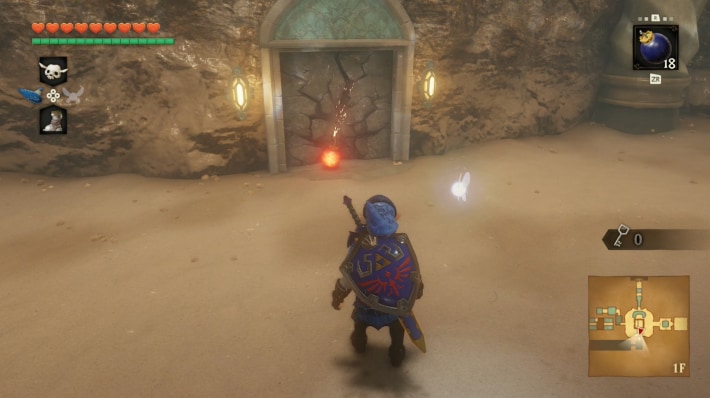
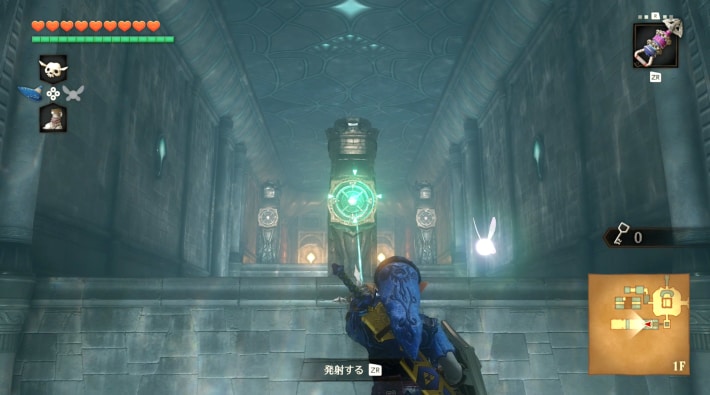
- Return through the eastern bottom passage where you met Ruto, surface to the crest and play the lullaby to drain the hall.
- Bomb the southern wall on the lowest level. Follow the water passage, press the room switch and chain Longshot targets to the compass chest. Return through the underwater hole.
Could not save. Export your records before leaving.
Source maps and images
GameWith · 2026-11-06Source-based guide · individual gameplay conditions may need verification Maps and screenshots retain their source attribution. Third-party ownership and reuse terms are unchanged.
Walkthrough · 10 / 12
Middle-water block key
Water Temple
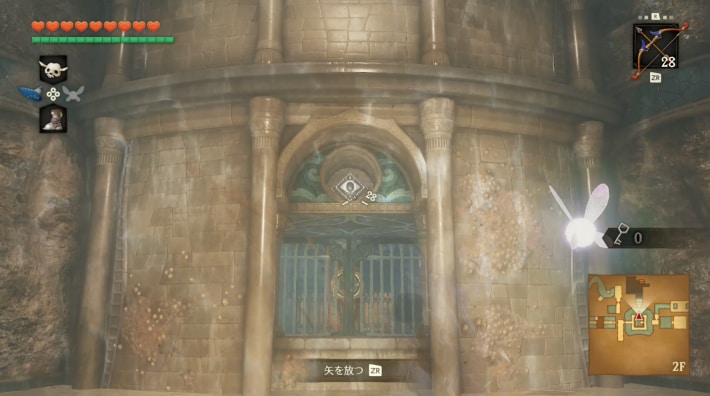
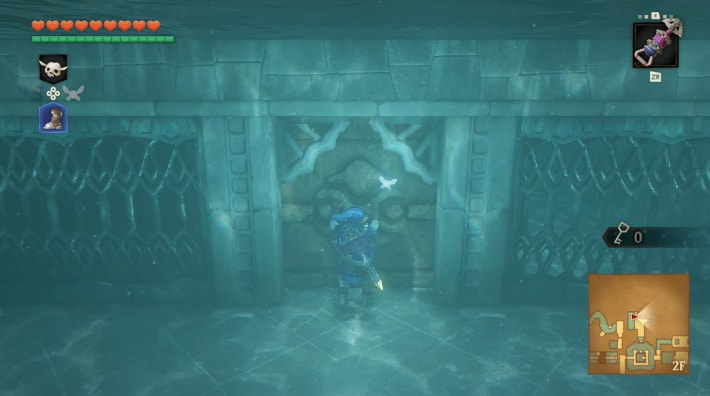
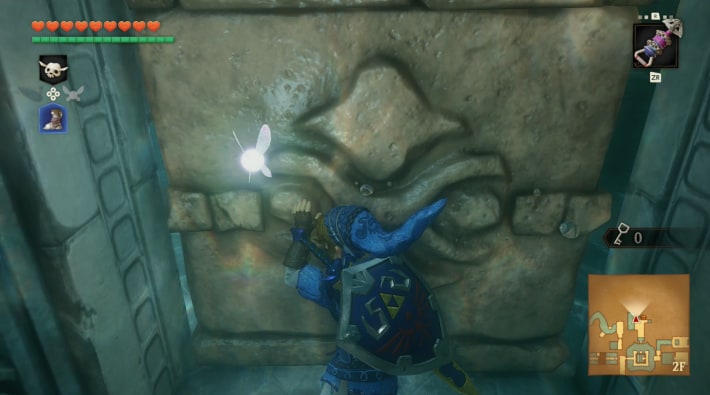
- Raise the water at the central tower’s second-floor crest. Outside, shoot the eye above the northern grate and quickly Longshot inside.
- Underwater, pull the block fully toward you. Surface and Longshot the ceiling target to reach its other side; push the block fully away, follow the opened path and surface for the key.
Could not save. Export your records before leaving.
Source maps and images
GameWith · 2026-11-06Source-based guide · individual gameplay conditions may need verification Maps and screenshots retain their source attribution. Third-party ownership and reuse terms are unchanged.
Walkthrough · 11 / 12
Northern route to the Boss Key
Water Temple
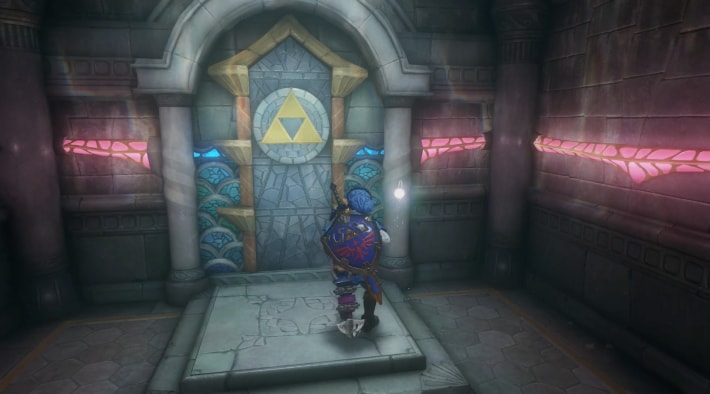
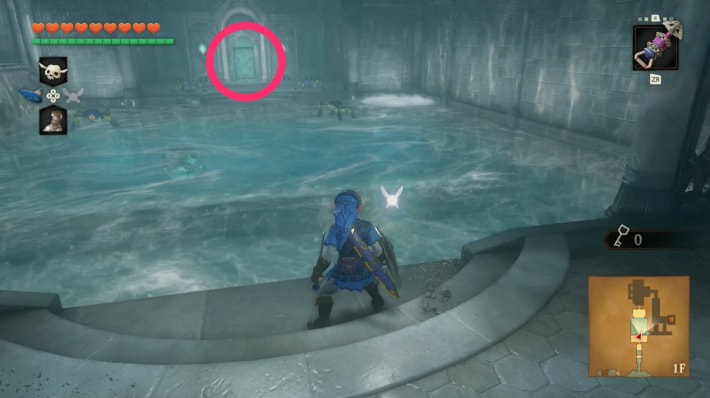
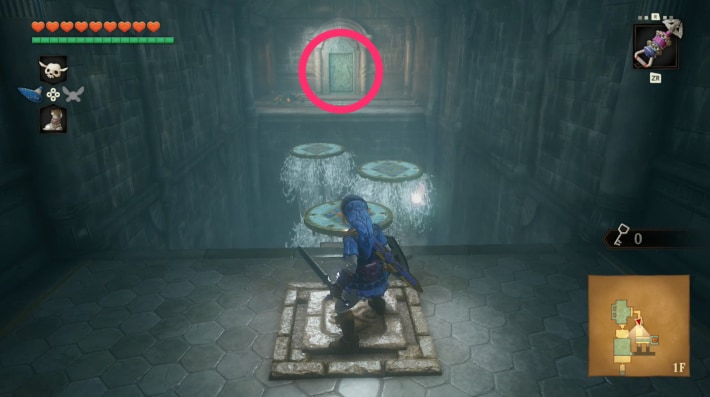
- Return to the upper water crest via your scarecrow or the western water-jet route; restore the highest level. Sink into the northern bottom passage, Longshot forward and unlock the door.
- Avoid the whirlpools. Bomb the next room’s cracked walls and push the exposed central block into the water. Use the next switch platforms, pass behind the waterfall between rolling rocks, then enter the left room for the Boss Key.
Could not save. Export your records before leaving.
Source maps and images
GameWith · 2026-11-06Source-based guide · individual gameplay conditions may need verification Maps and screenshots retain their source attribution. Third-party ownership and reuse terms are unchanged.
Step location is described in the guide; no precise map marker is available.
Walkthrough · 12 / 12
Reach and defeat Morpha
Water Temple
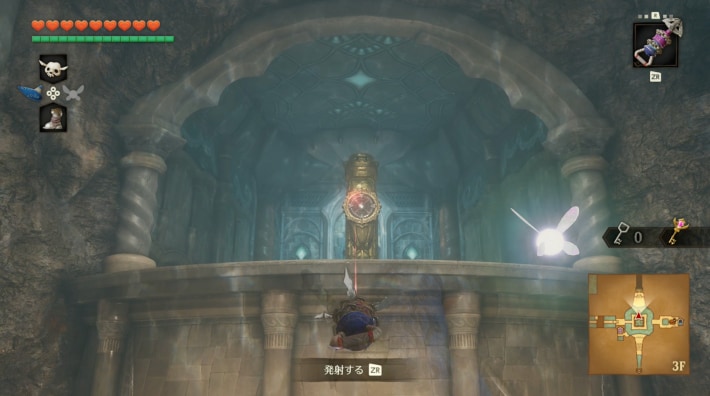
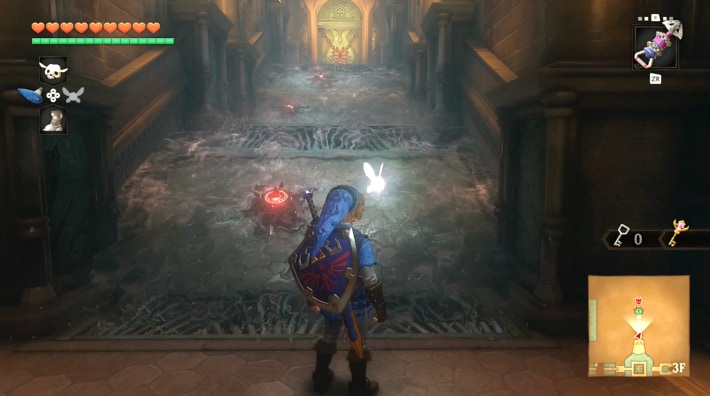
- Return through the left exit, Longshot across and follow the water back to the hall. Reach the third-floor north target. Wear Iron Boots up the flowing slope and avoid the spikes.
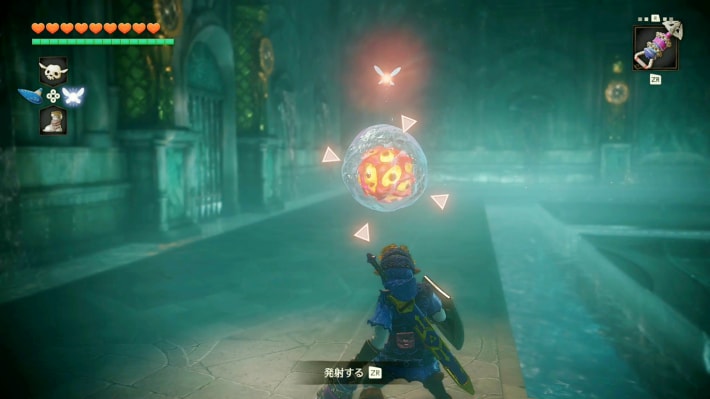
- In the boss room, keep clear of the tentacles; pull Morpha’s nucleus out with the Hookshot and strike it. Take the heart and enter the warp for the Water Medallion.
Could not save. Export your records before leaving.
Source maps and images
GameWith · 2026-11-06Source-based guide · individual gameplay conditions may need verification Maps and screenshots retain their source attribution. Third-party ownership and reuse terms are unchanged.
Where do I go next?
Guide map · Walkthrough overview · Pieces of Heart · Dungeon order
What are these instructions based on?
Instructions and images are organized from the linked remake sources. This is source-based guidance, not a claim that every step has been independently playtested. Check each step’s image and conditions.
Related Articles
dungeons
Bottom of the Well: Walkthrough (Switch 2)
Follow the Switch 2 route through Bottom of the Well: Drain the village well. Illustrated steps explain the actions, requirements and next objectives.
dungeons
Dodongo's Cavern: Walkthrough (Switch 2)
Follow the Switch 2 route through Dodongo's Cavern: Open the lobby and take the map. Illustrated steps explain the actions, requirements and next objectives.
dungeons
Fire Temple: Walkthrough (Switch 2)
Follow the Switch 2 route through Fire Temple: Rescue the first Goron. Illustrated steps explain the actions, requirements and next objectives.
Was this helpful?
Thanks for the feedback!